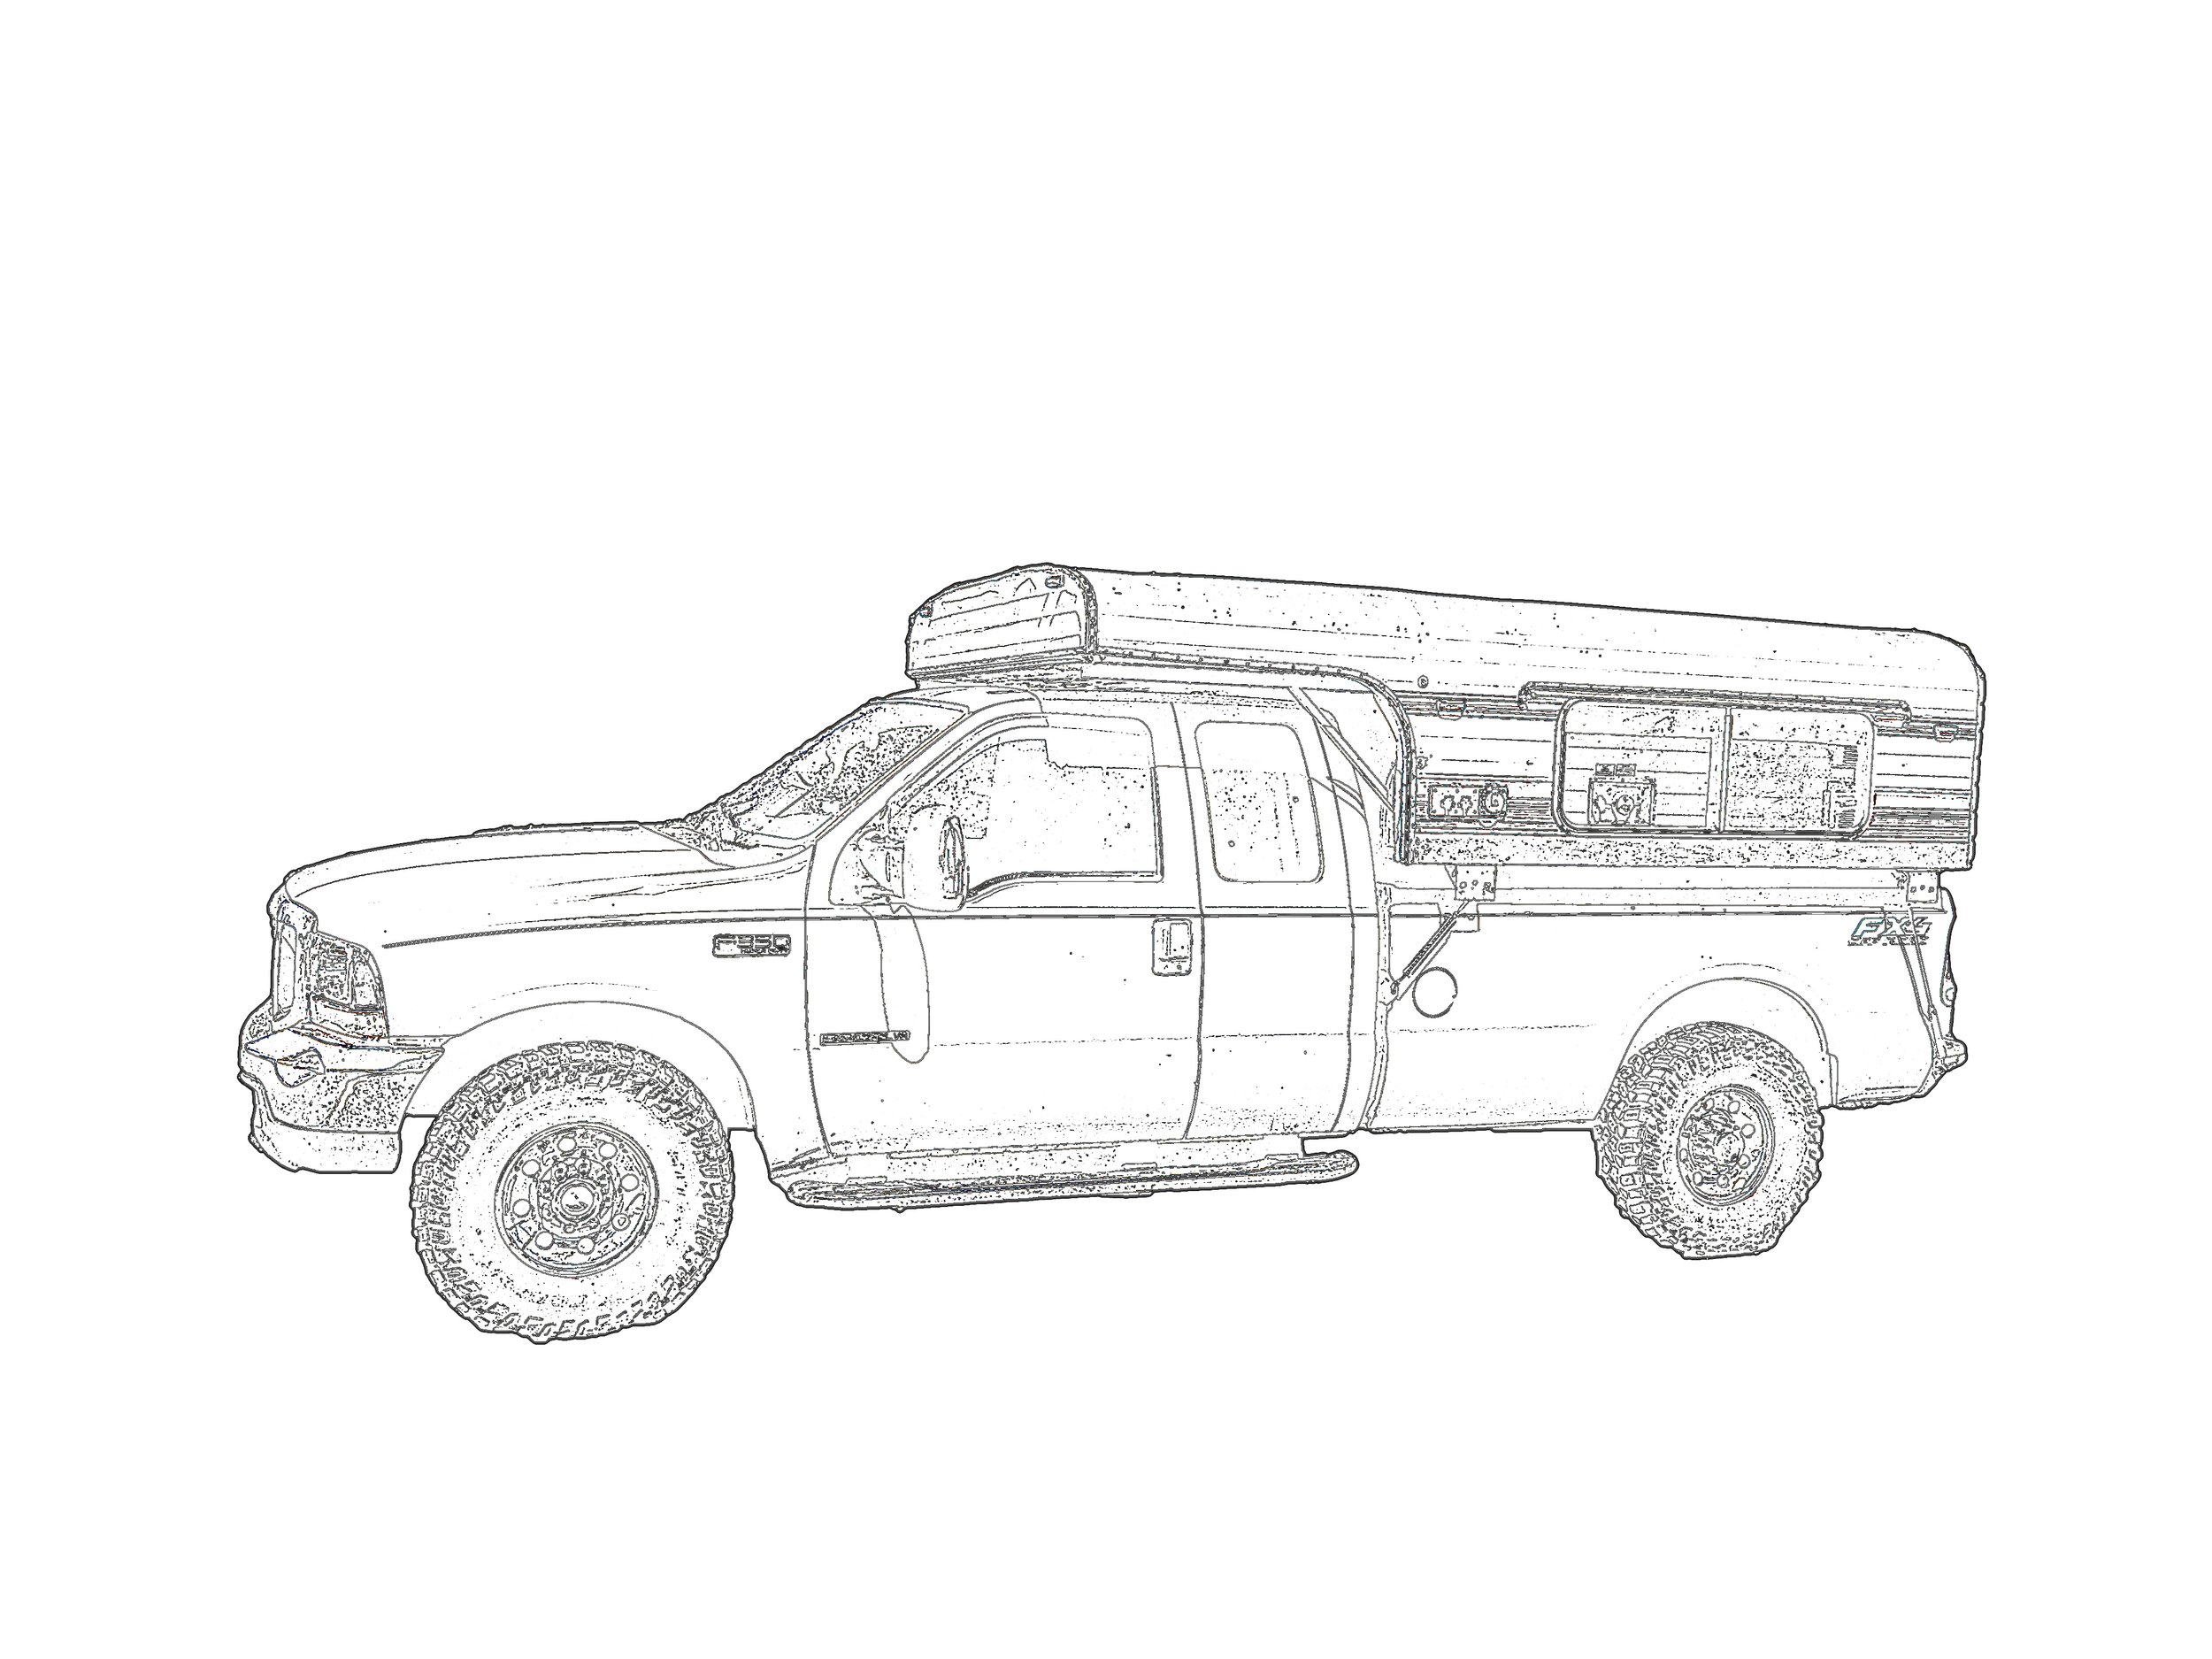
Diesel Heater vs Propane Heater
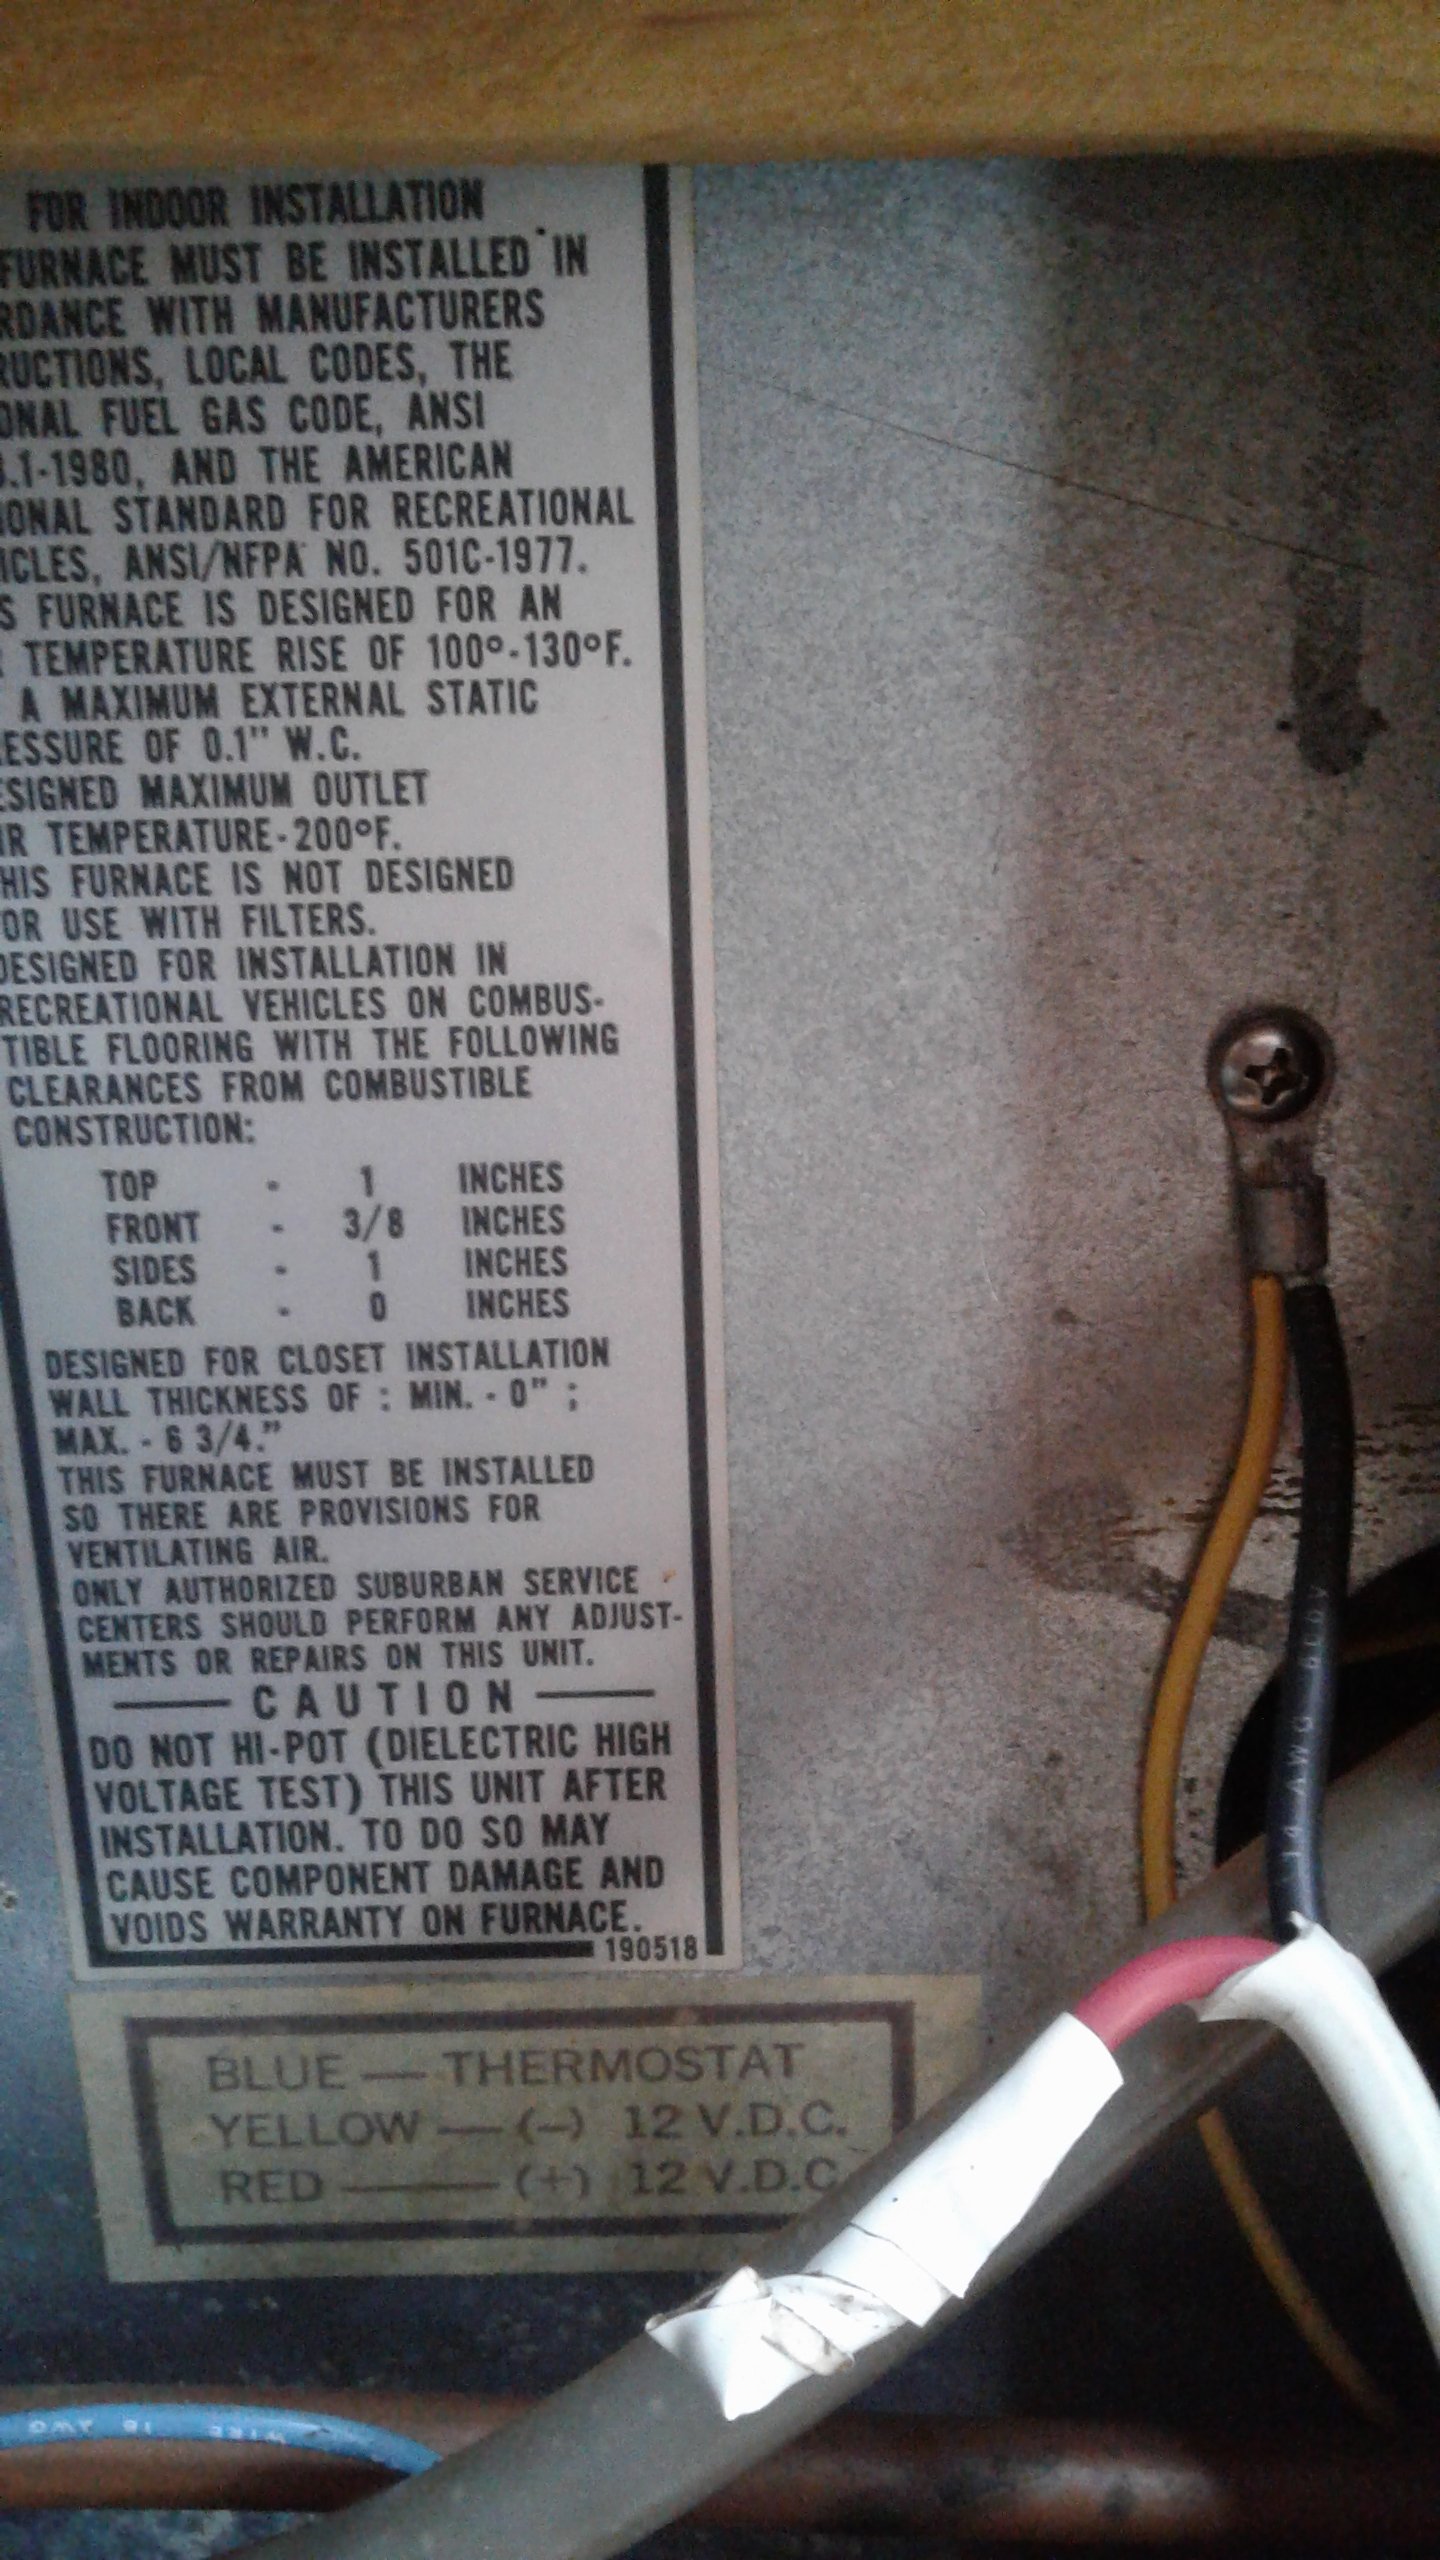
Original Heater - Removed for a Diesel Unit 01.
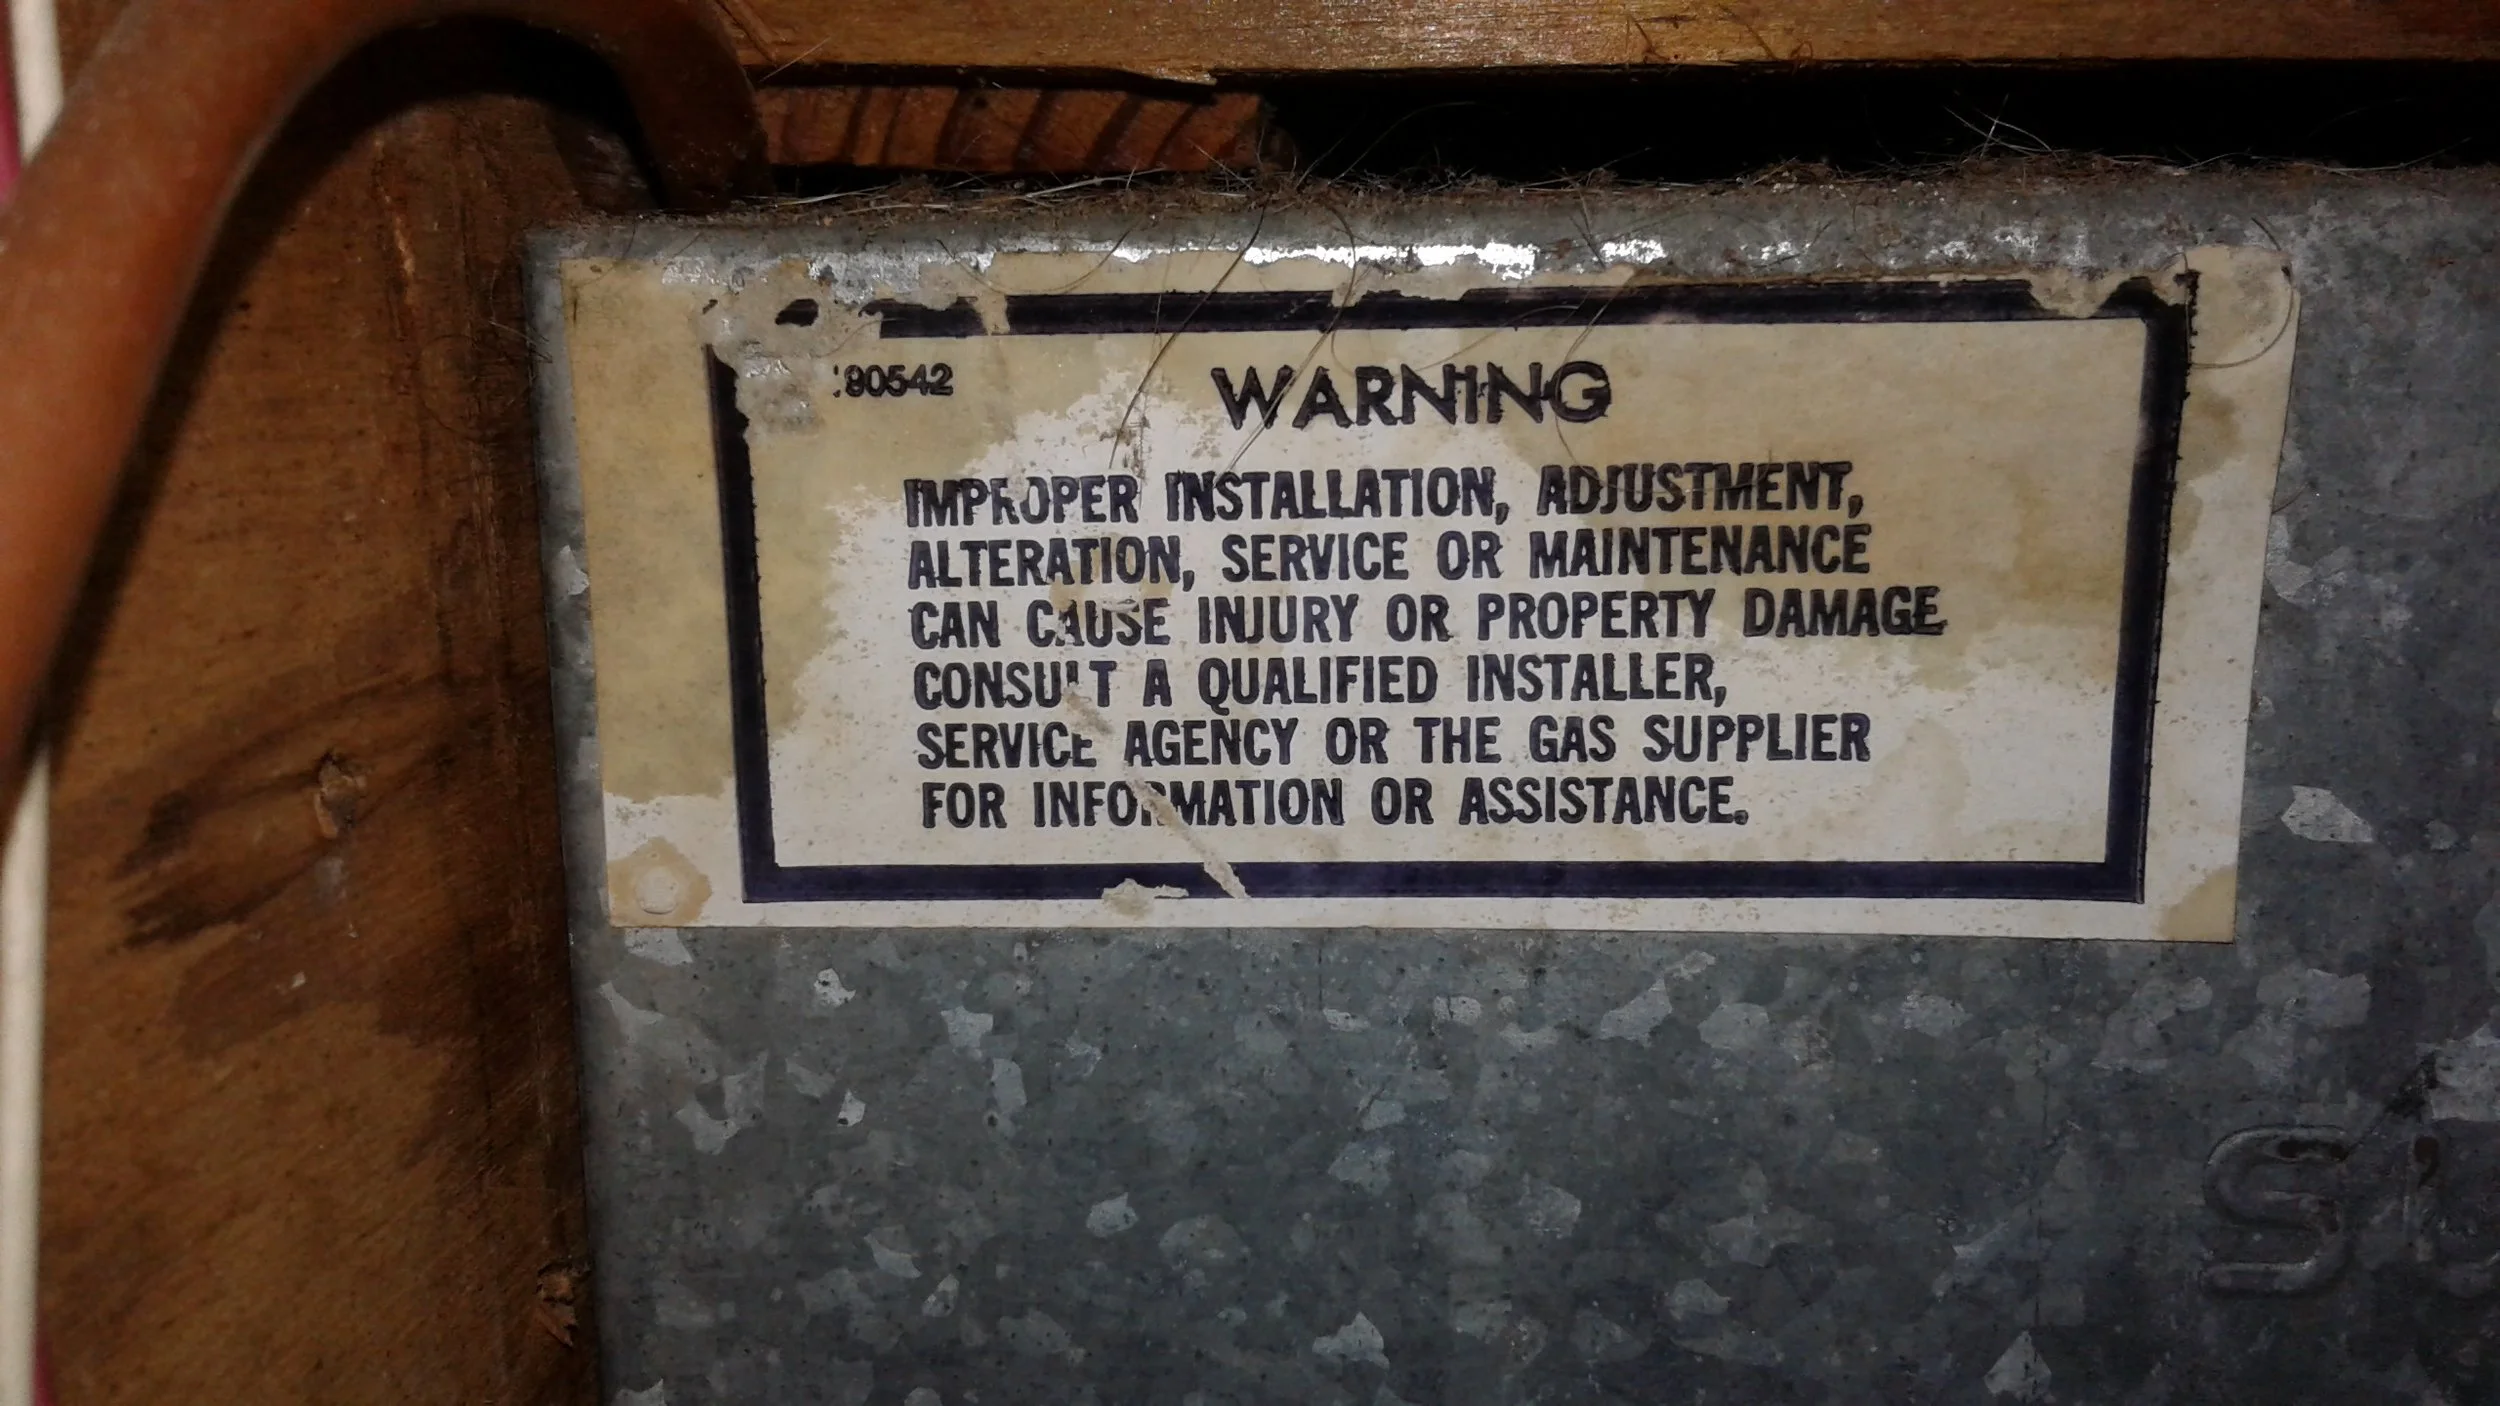
Original Heater - Removed for a Diesel Unit 02.

Concept drawing 01.

Concept drawing 02.
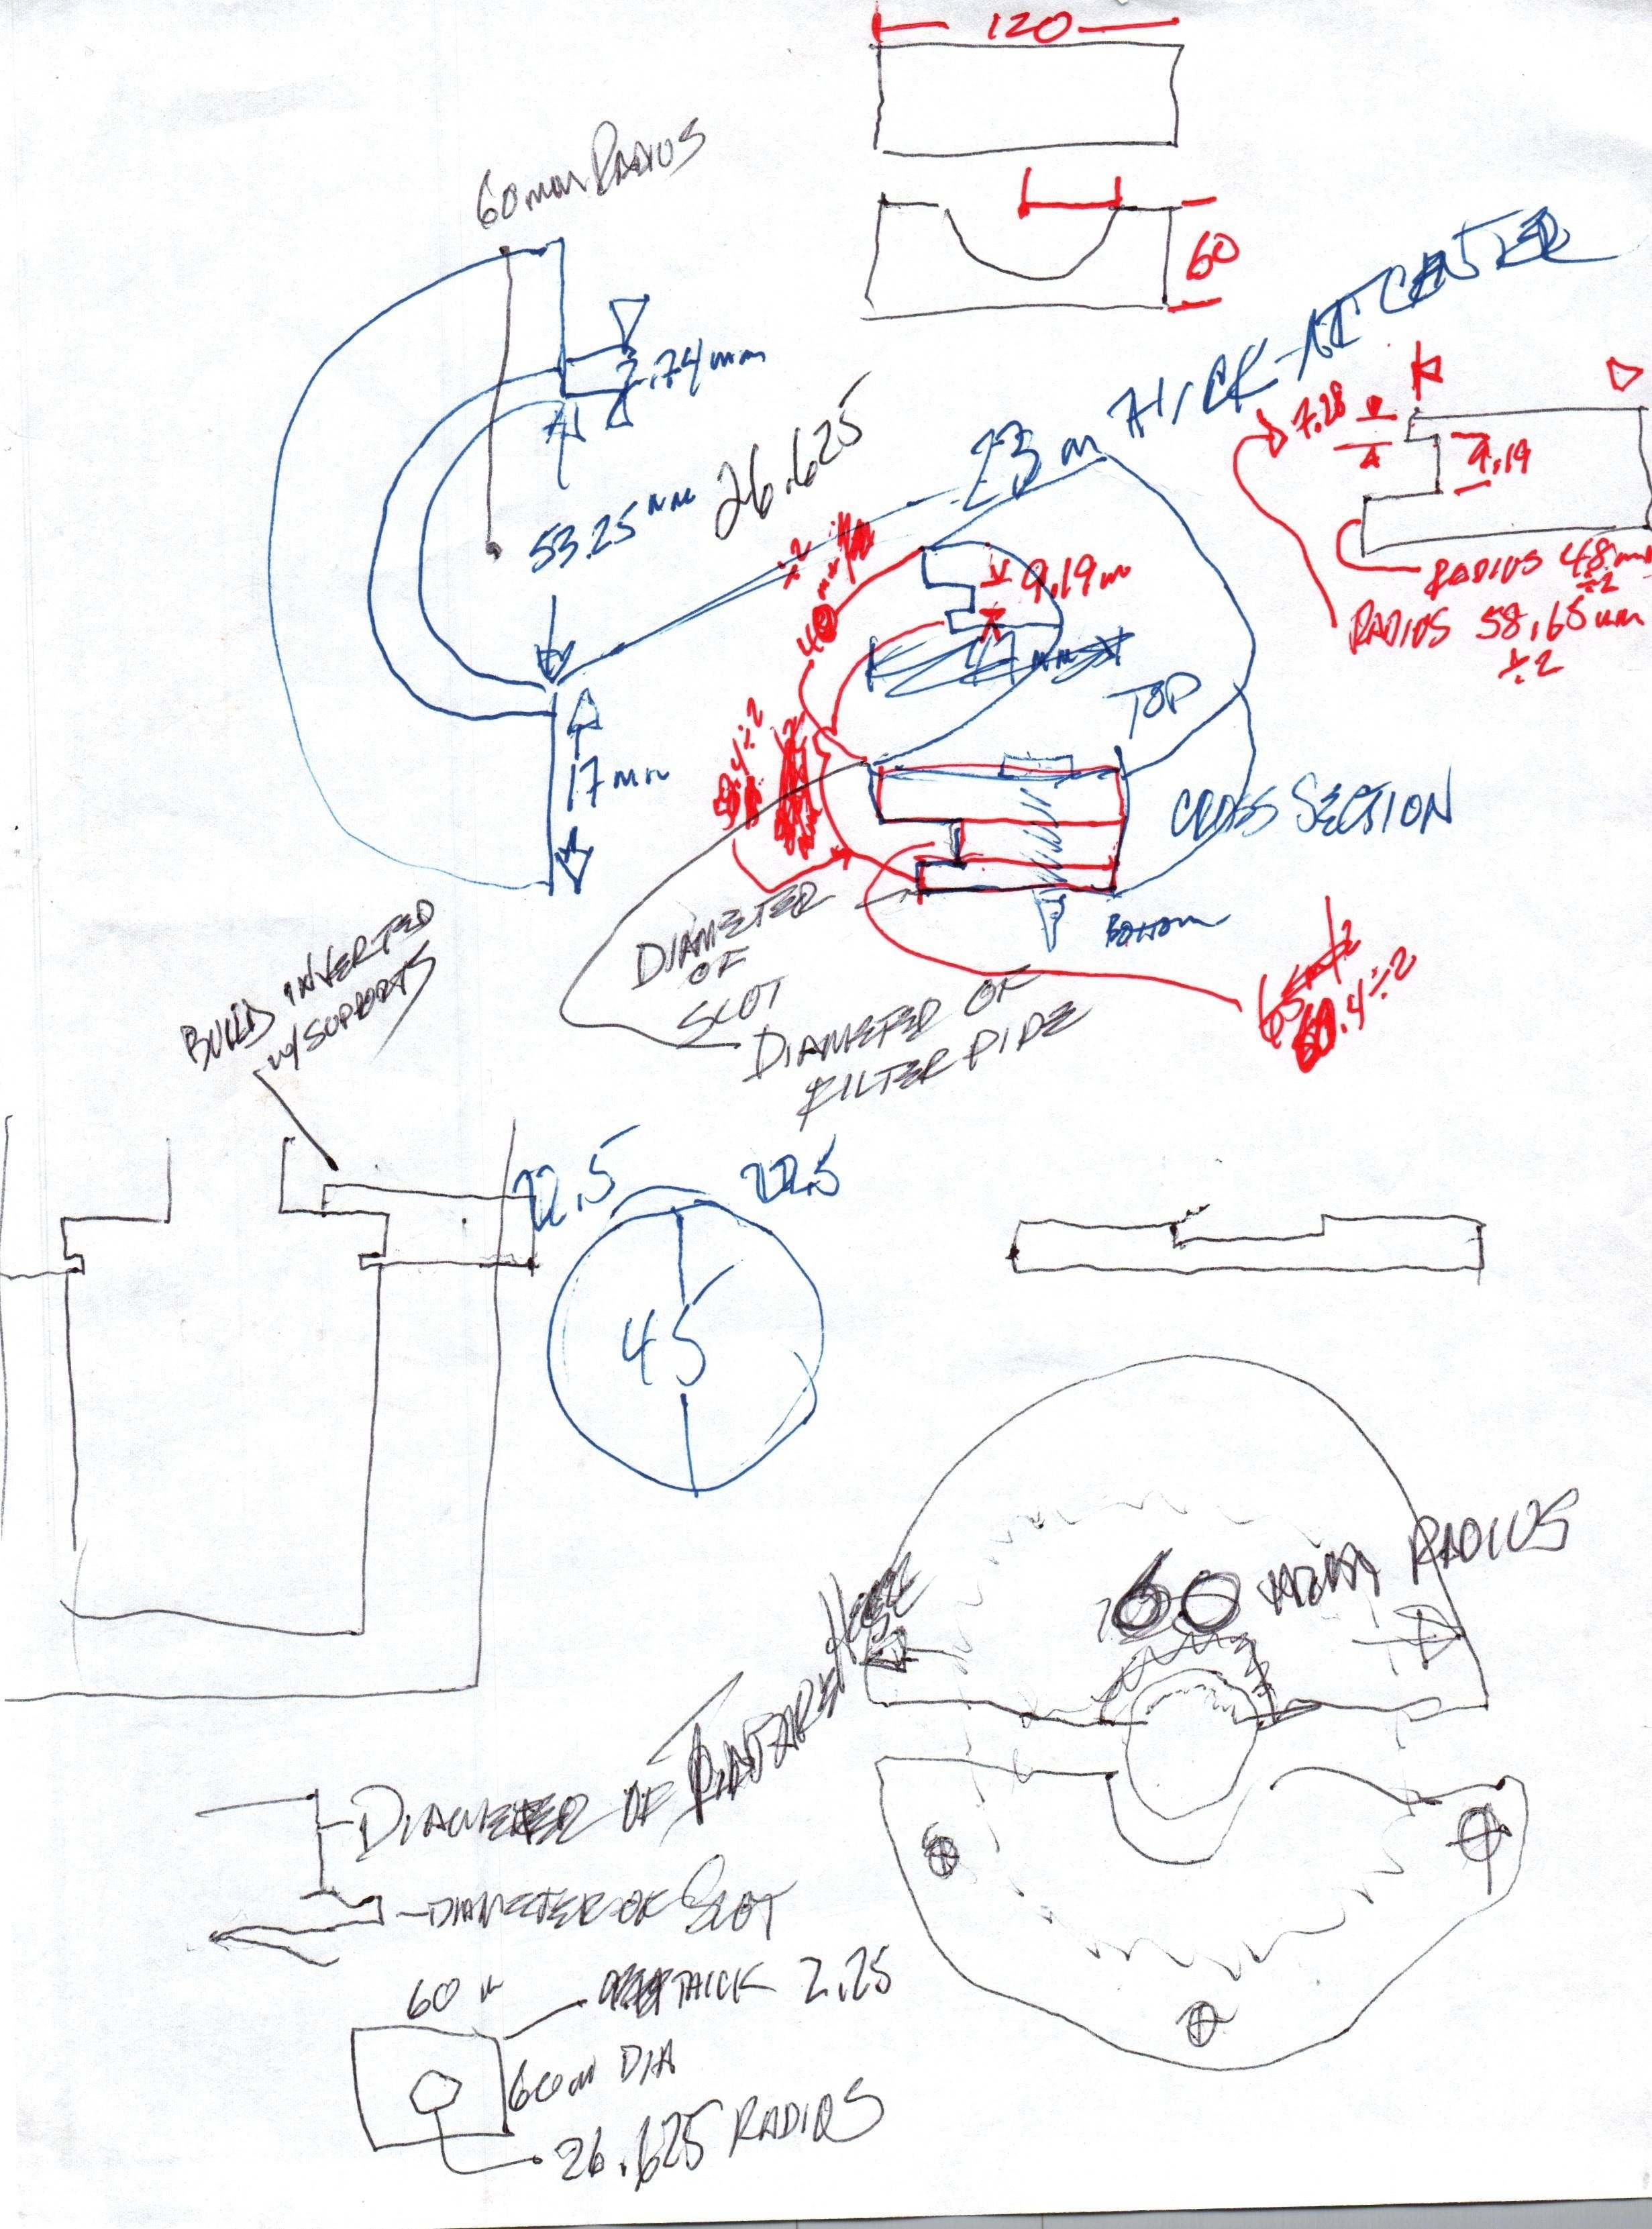
Concept drawing 03.
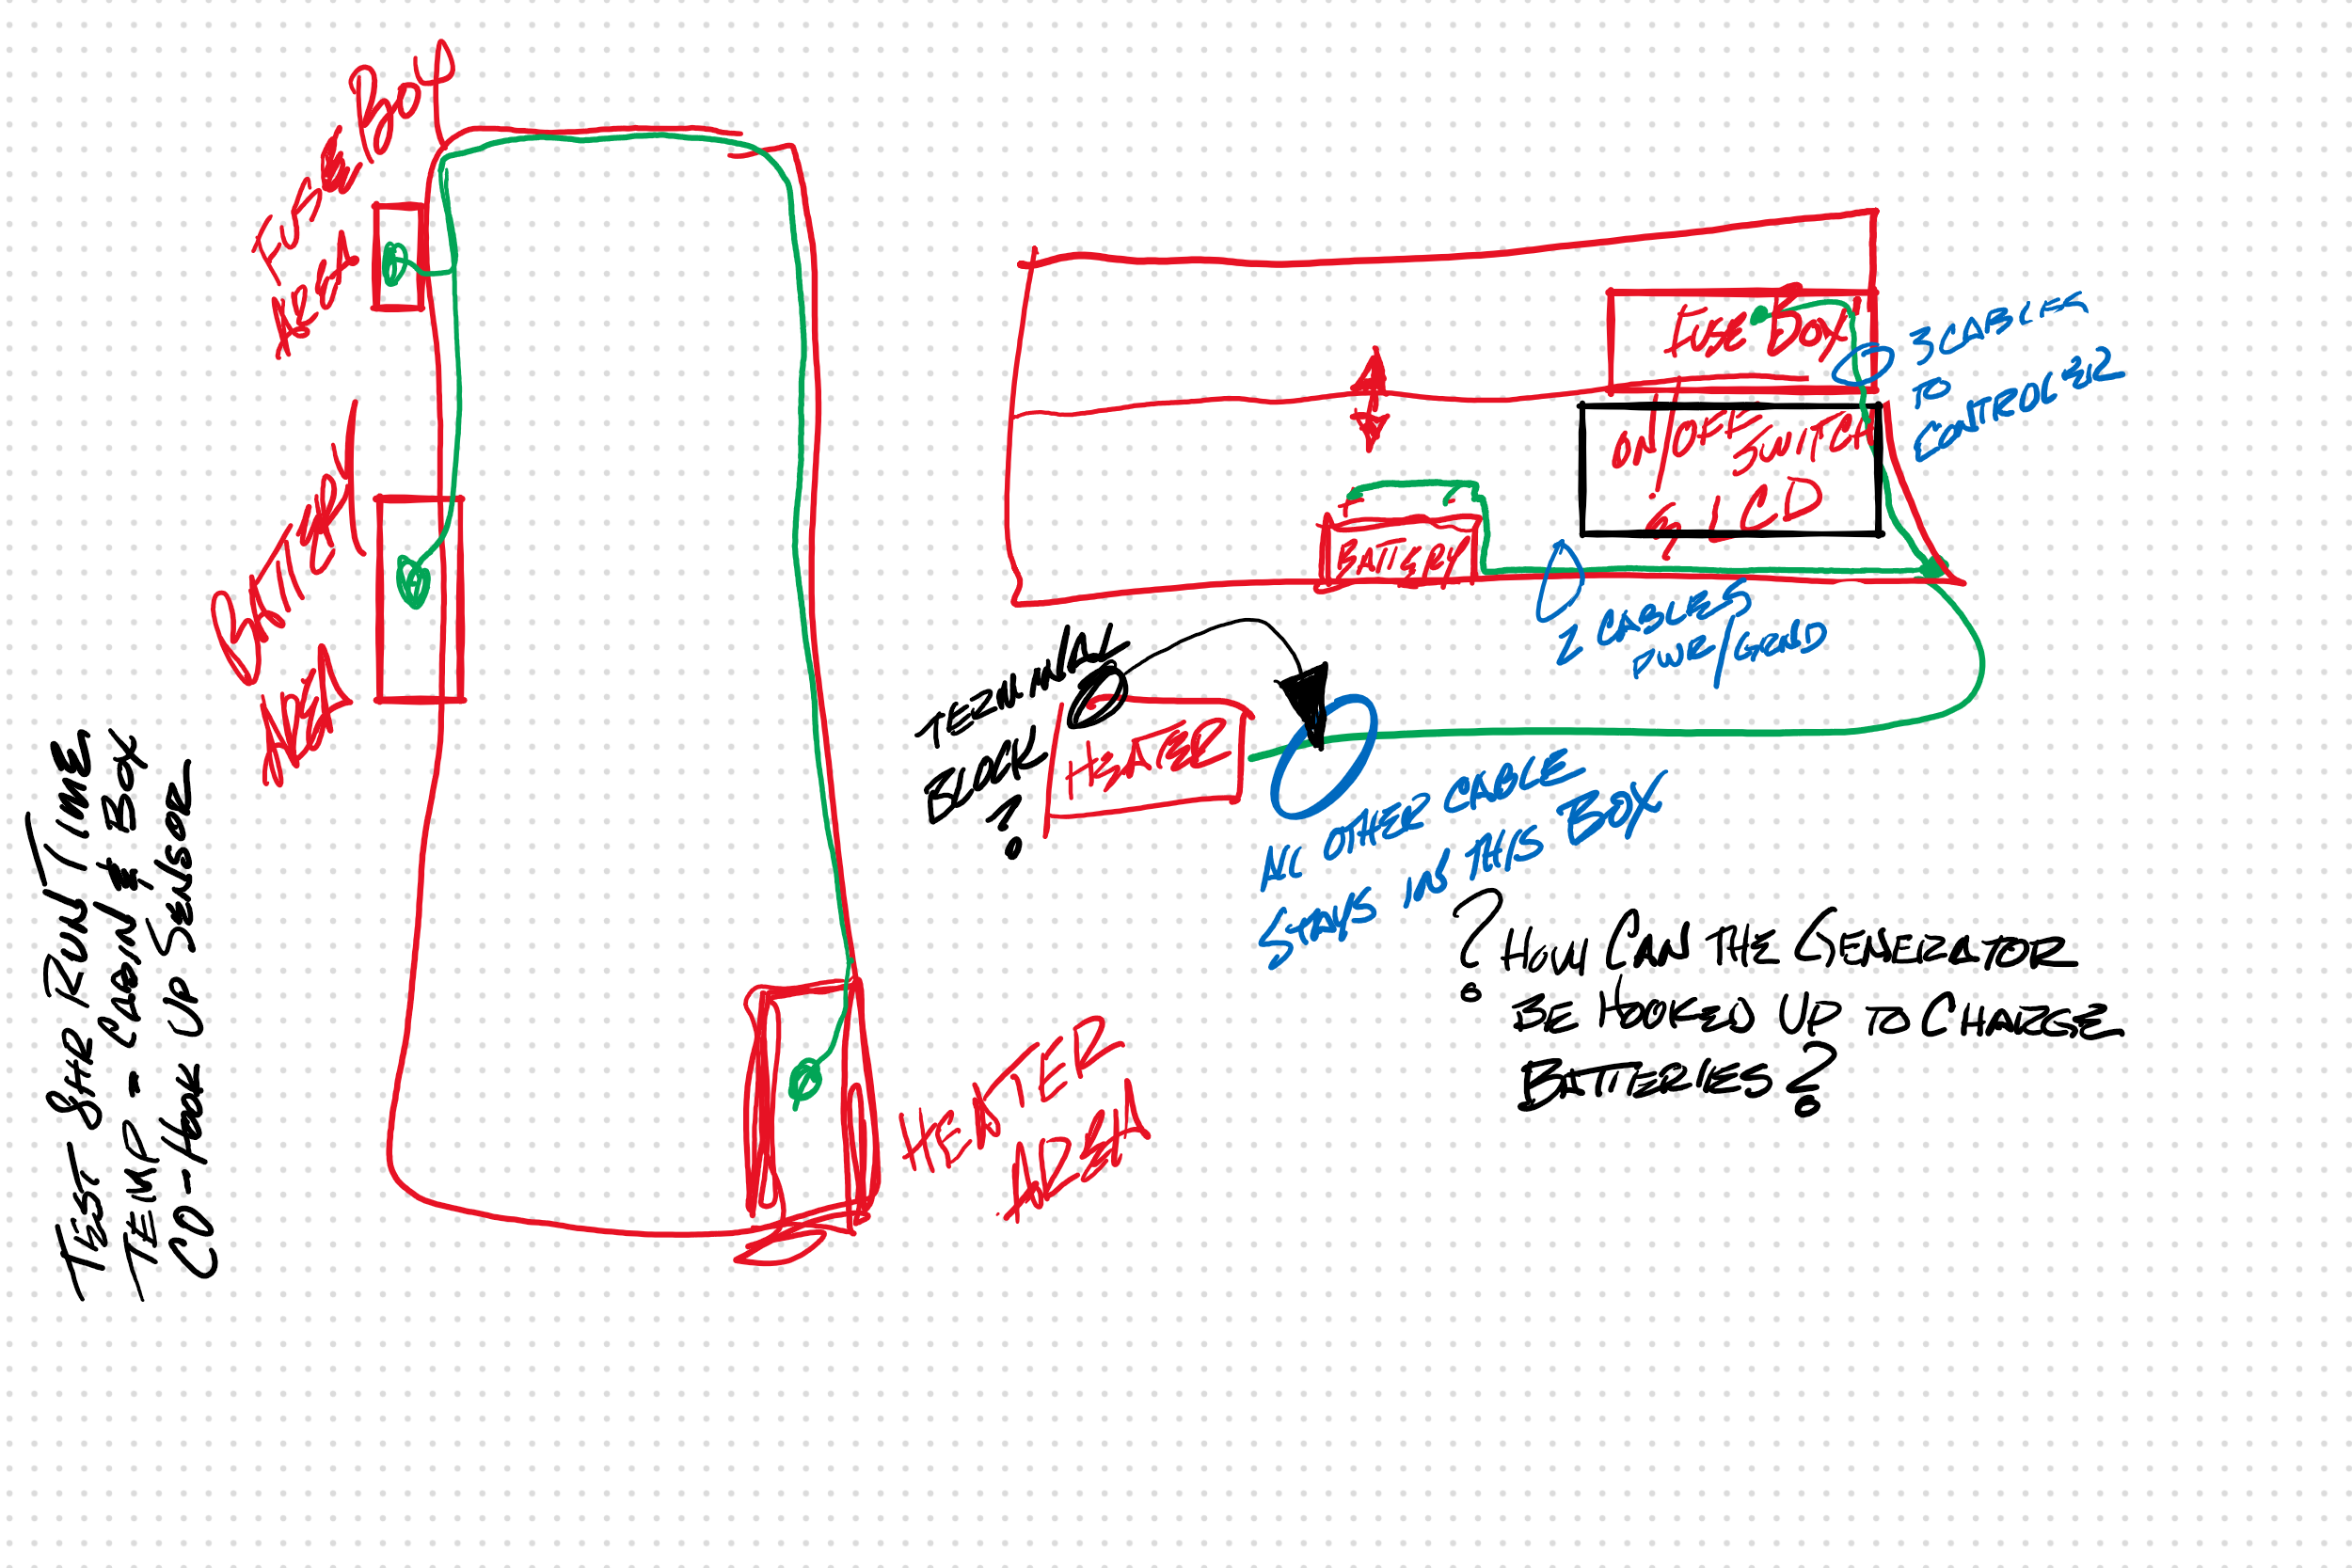
Concept drawing 04.
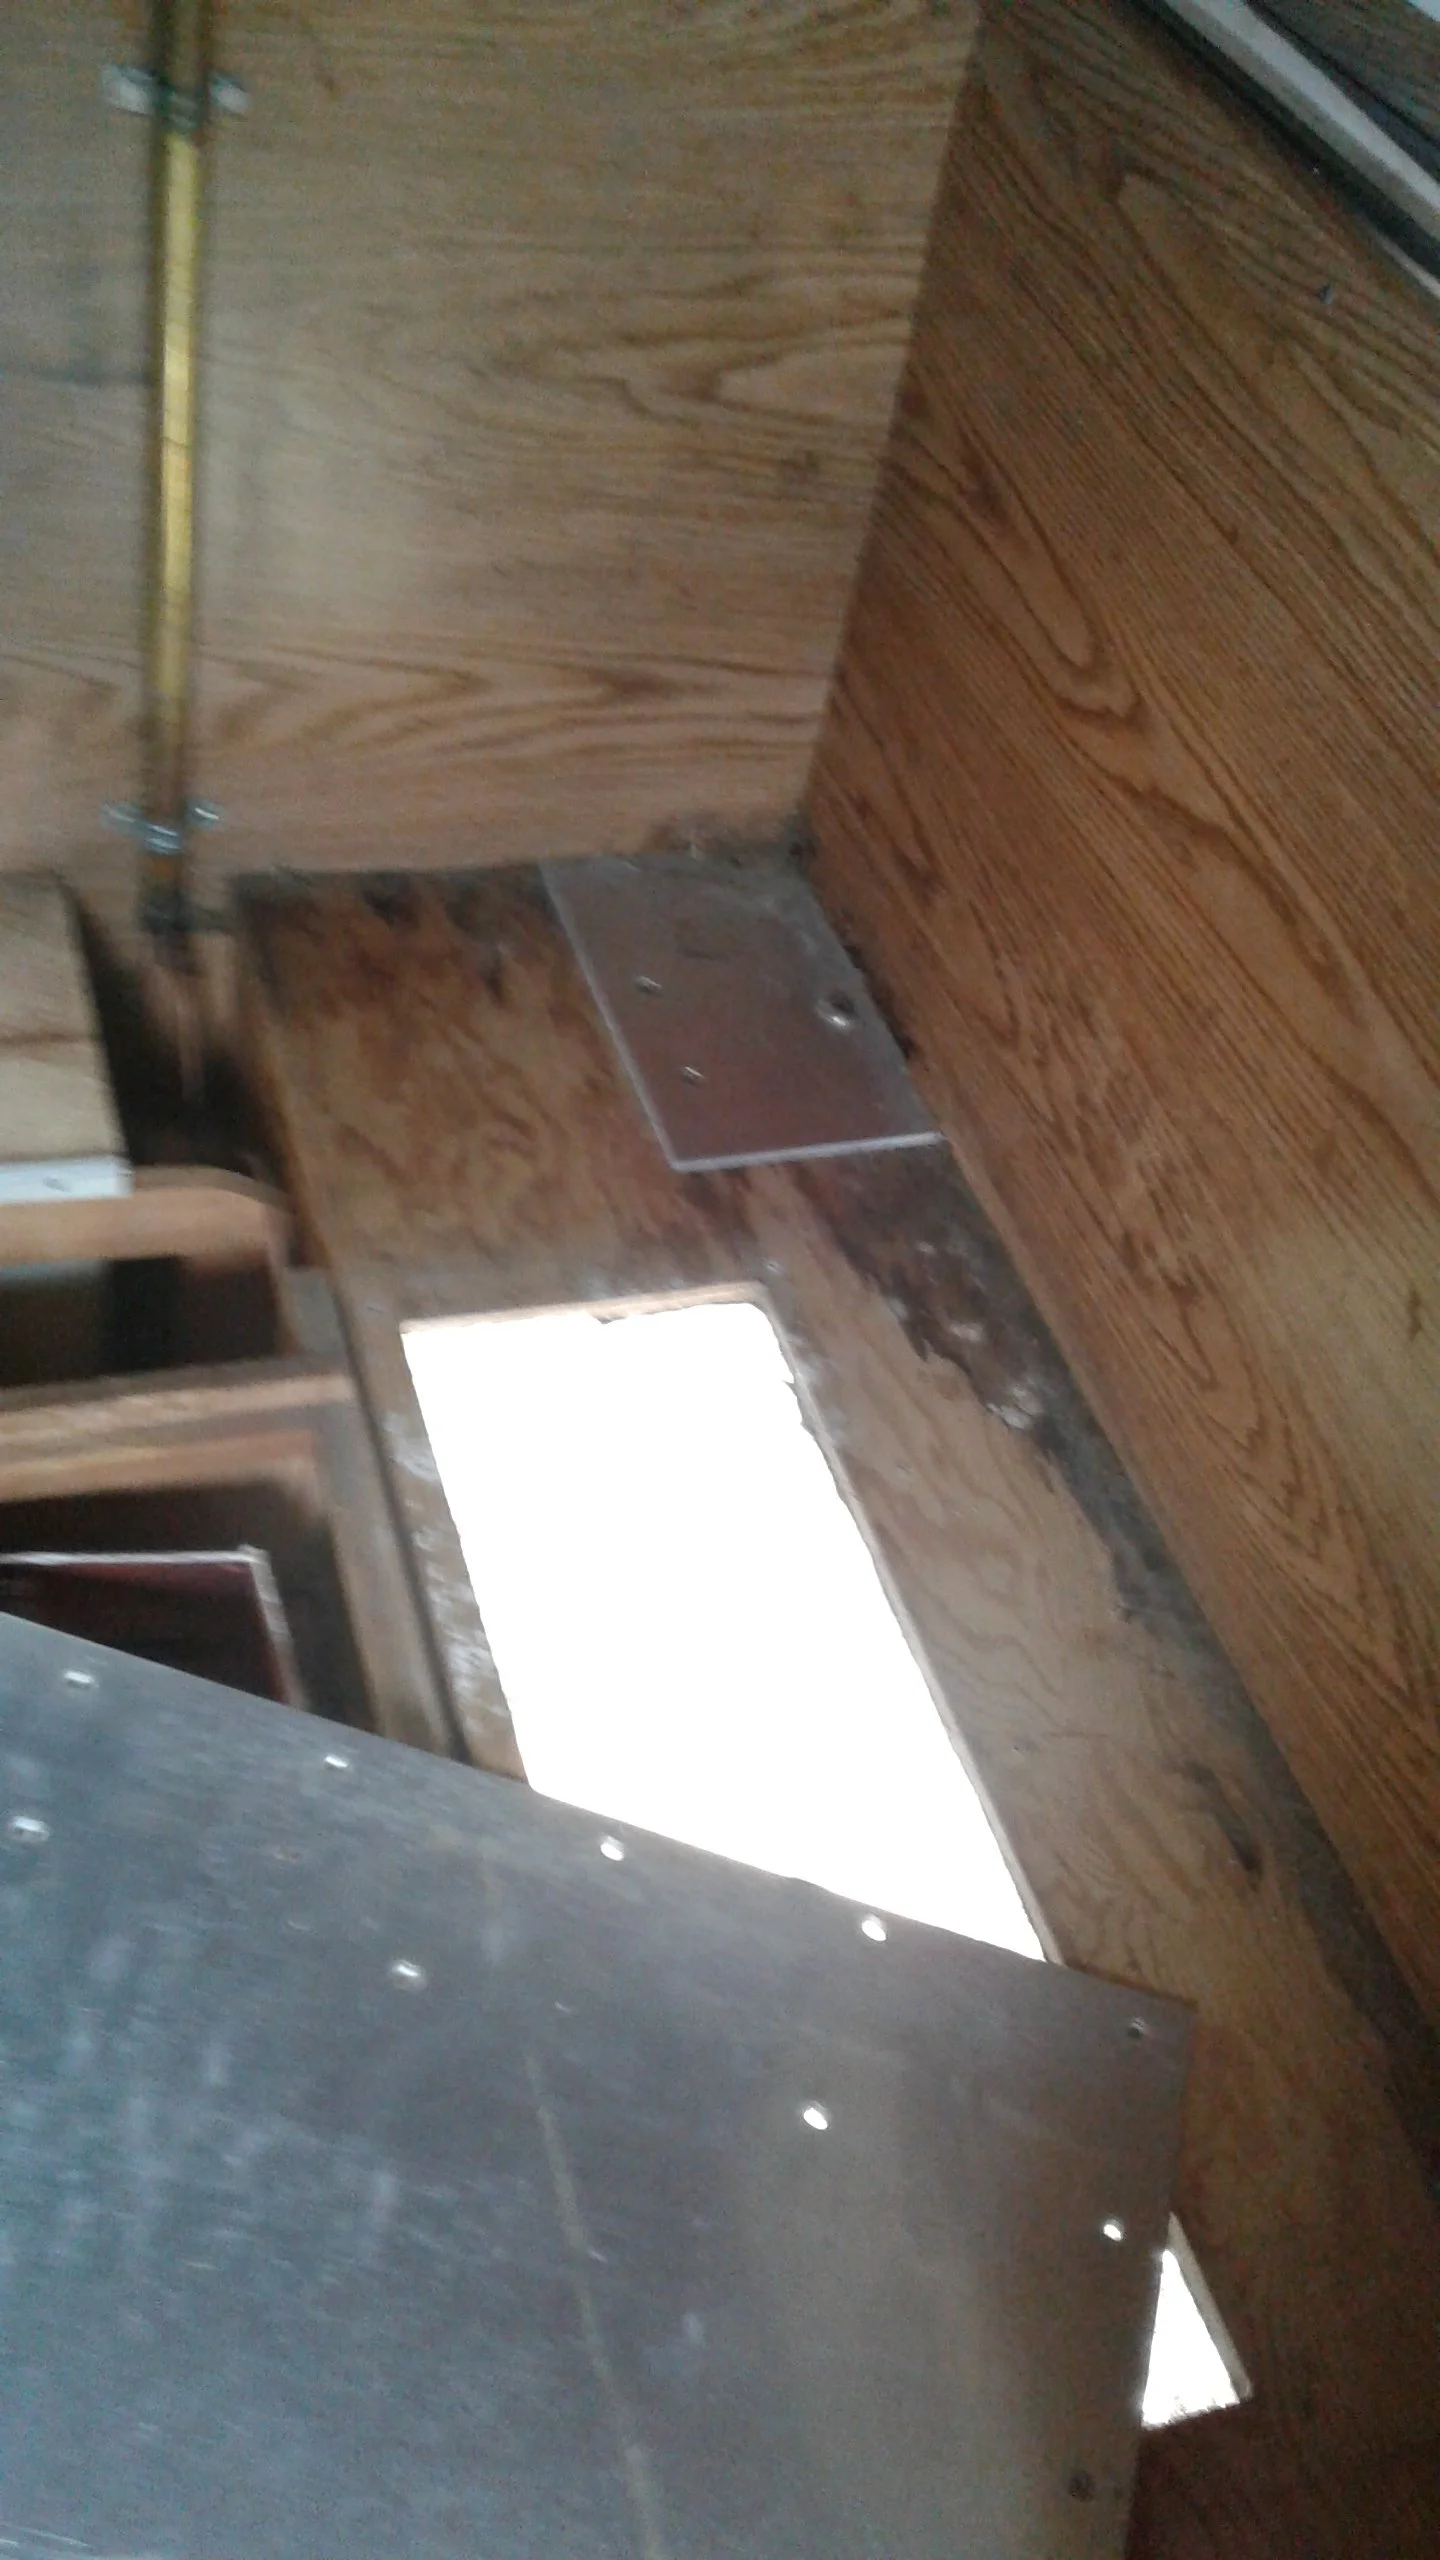
Access door forward of Passenger side Rear Wheel Well (existing from previous owner) - Holds Qty. 4 square diesel heater fuel tanks (approximately 10 gallons).

Access door wood added - undercoated it afterwards.

Aluminum plate in place 01.
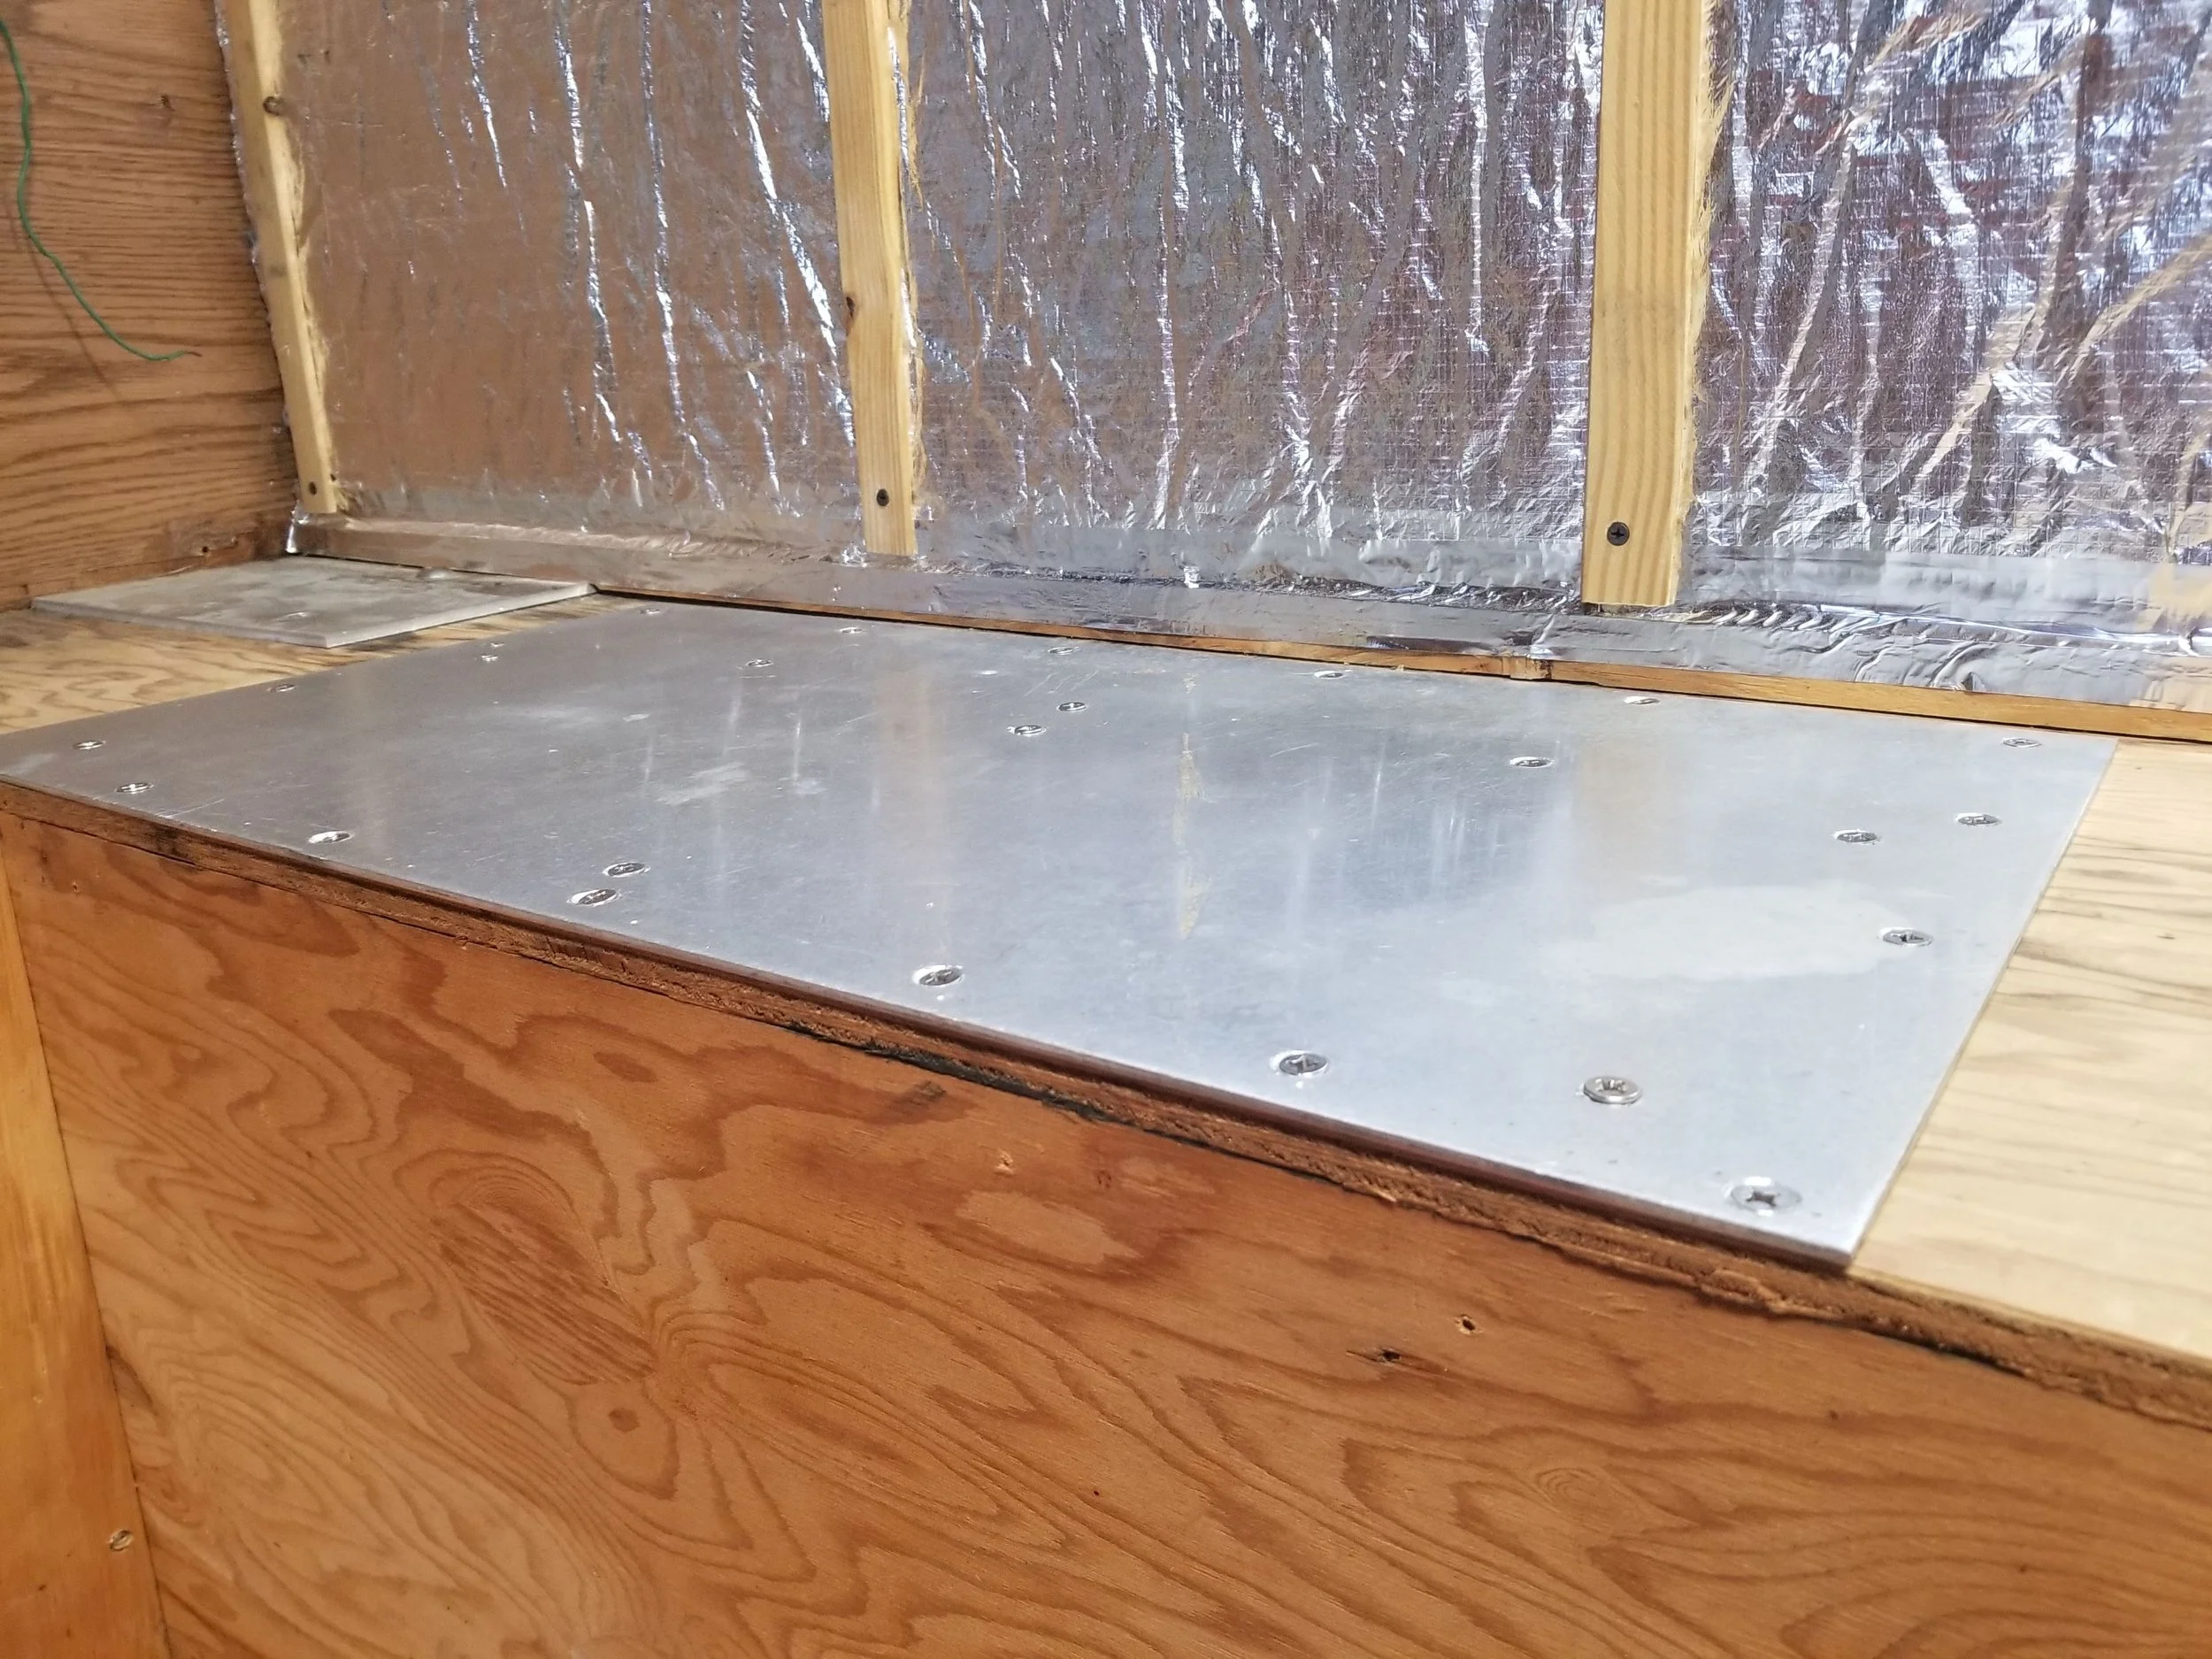
Aluminum plate in place 02.
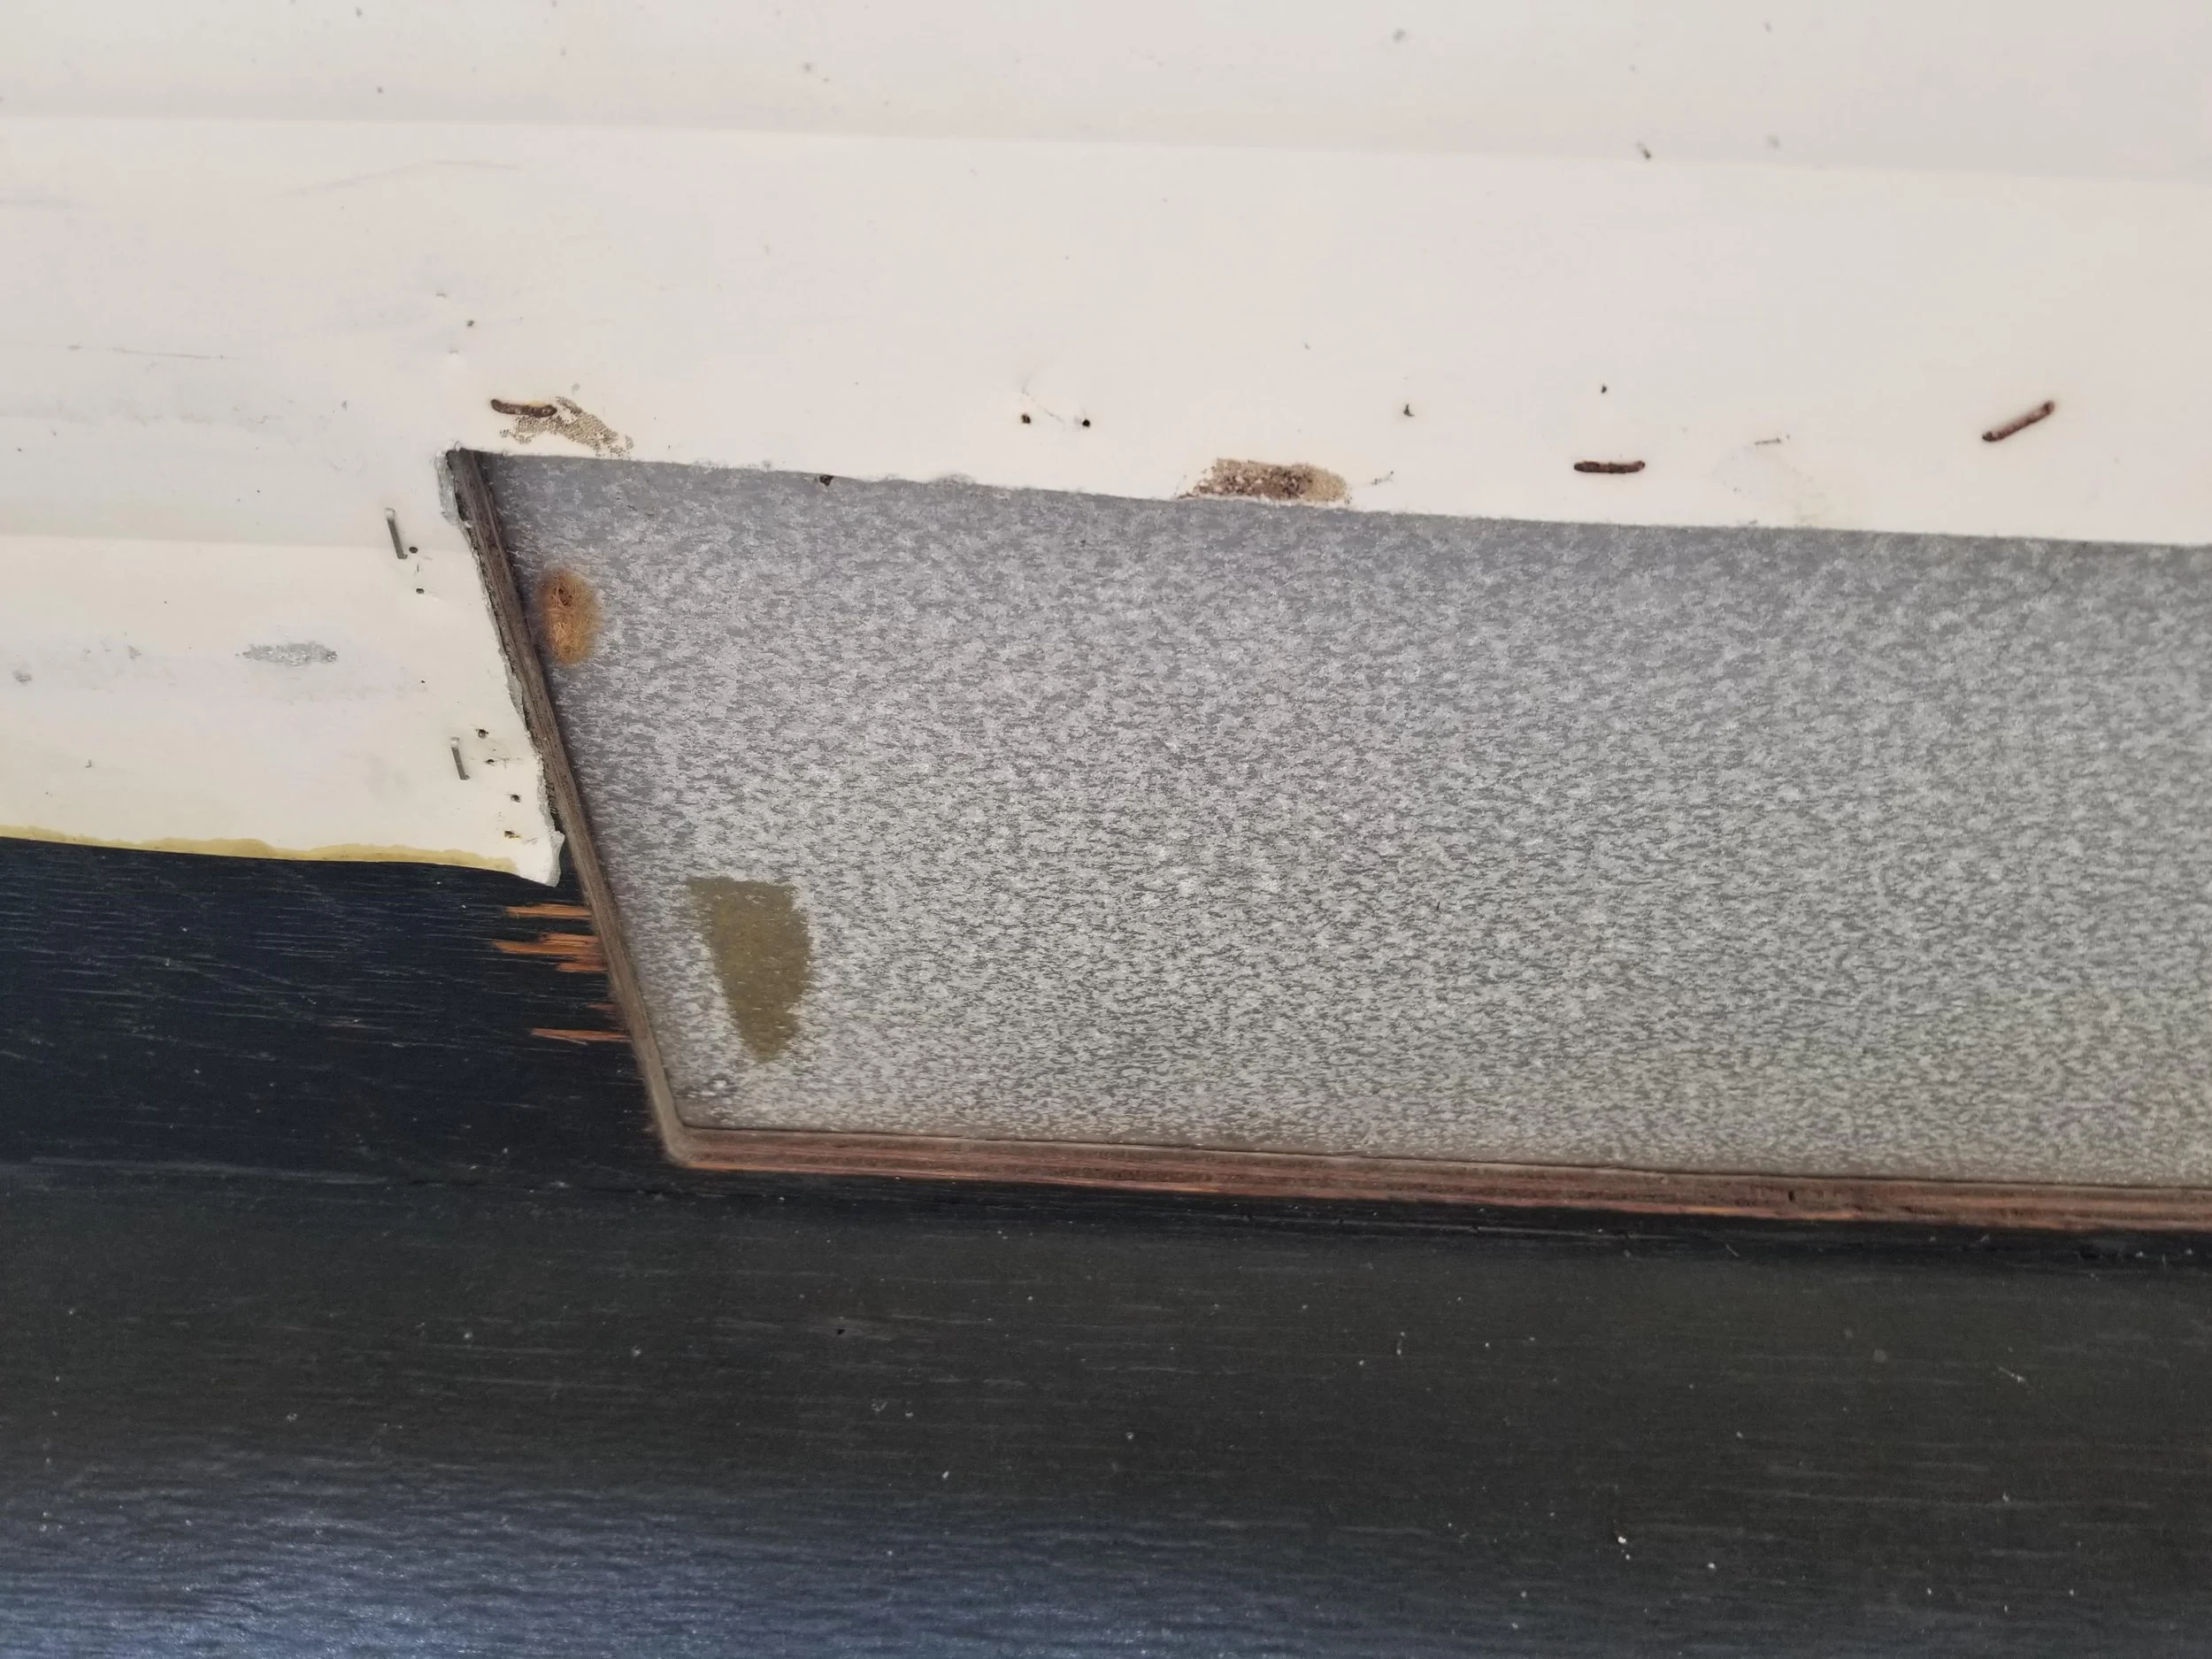
Access door from below 01- I undercoated it for a tight fit and added a layer of plywood.

Access door from below 02 - I undercoated it for a tight fit and added a layer of plywood.

Diesel heater area - old propane heater in background.

5Kw Chinese Diesel Heater.

Chinese Diesel Heater tests - Trying to figure out how to configure the heater 01.
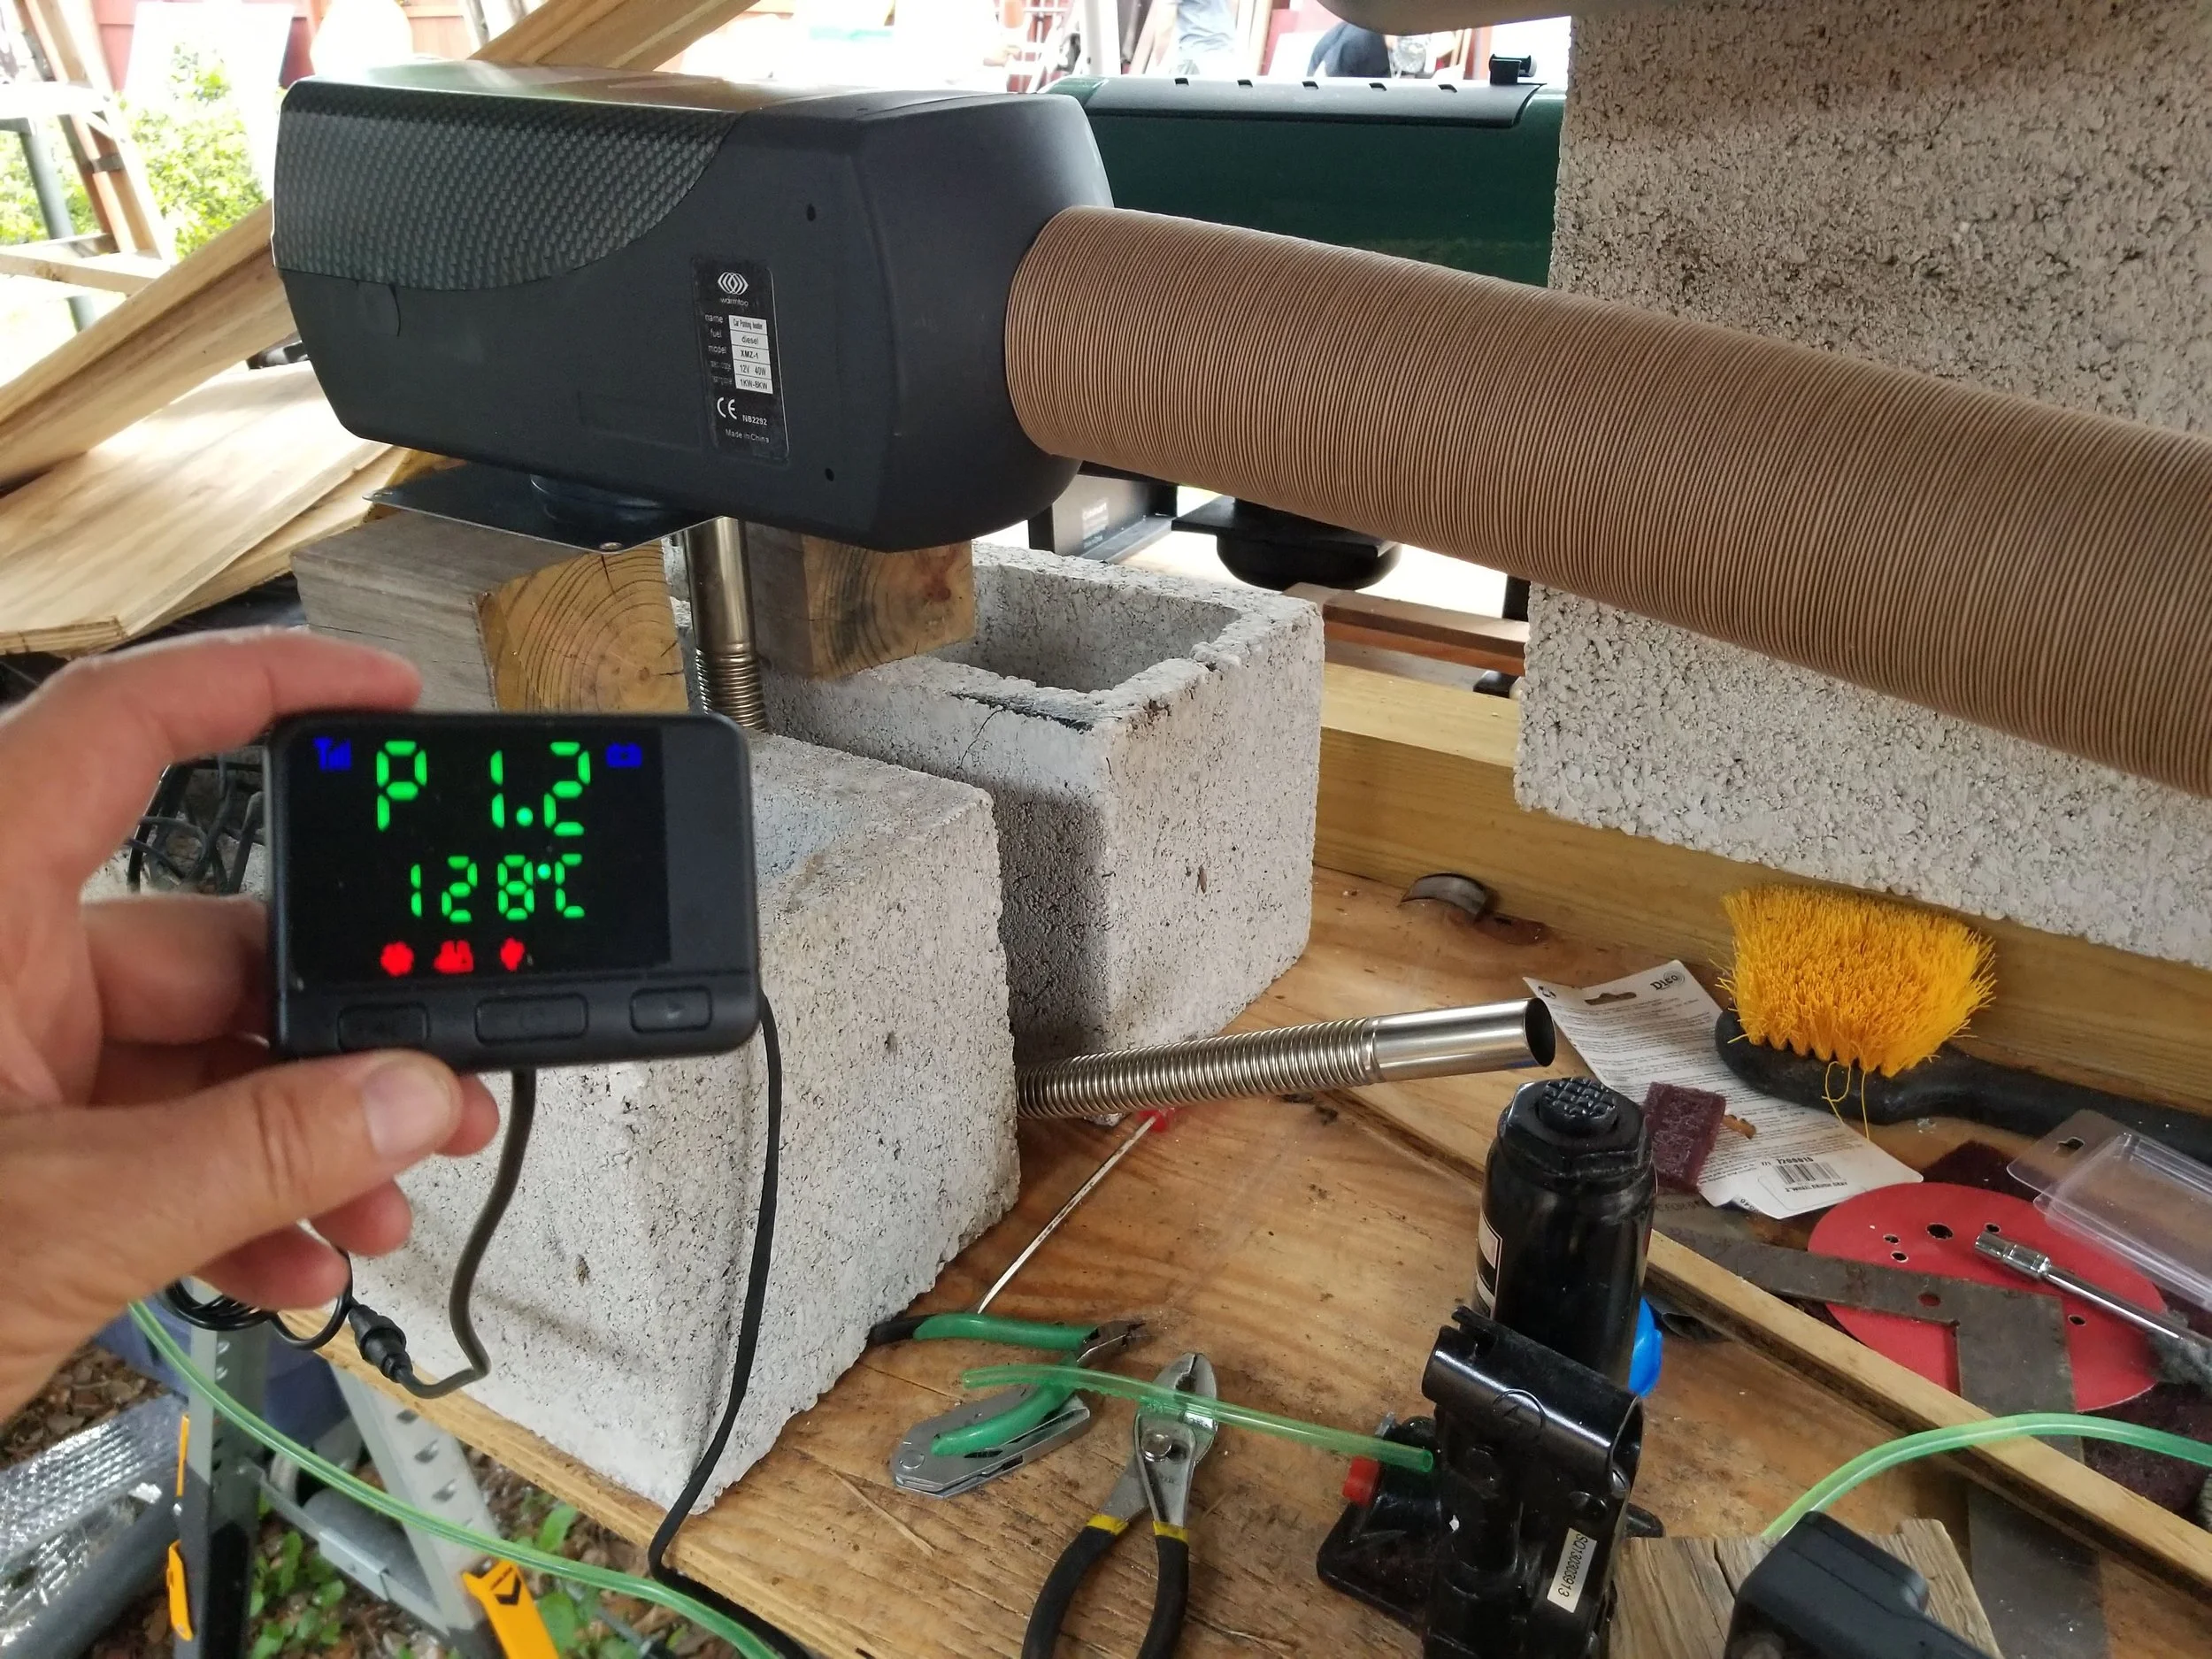
Chinese Diesel Heater tests - Trying to figure out how to configure the heater 02.

Chinese Diesel Heater output tests 03.
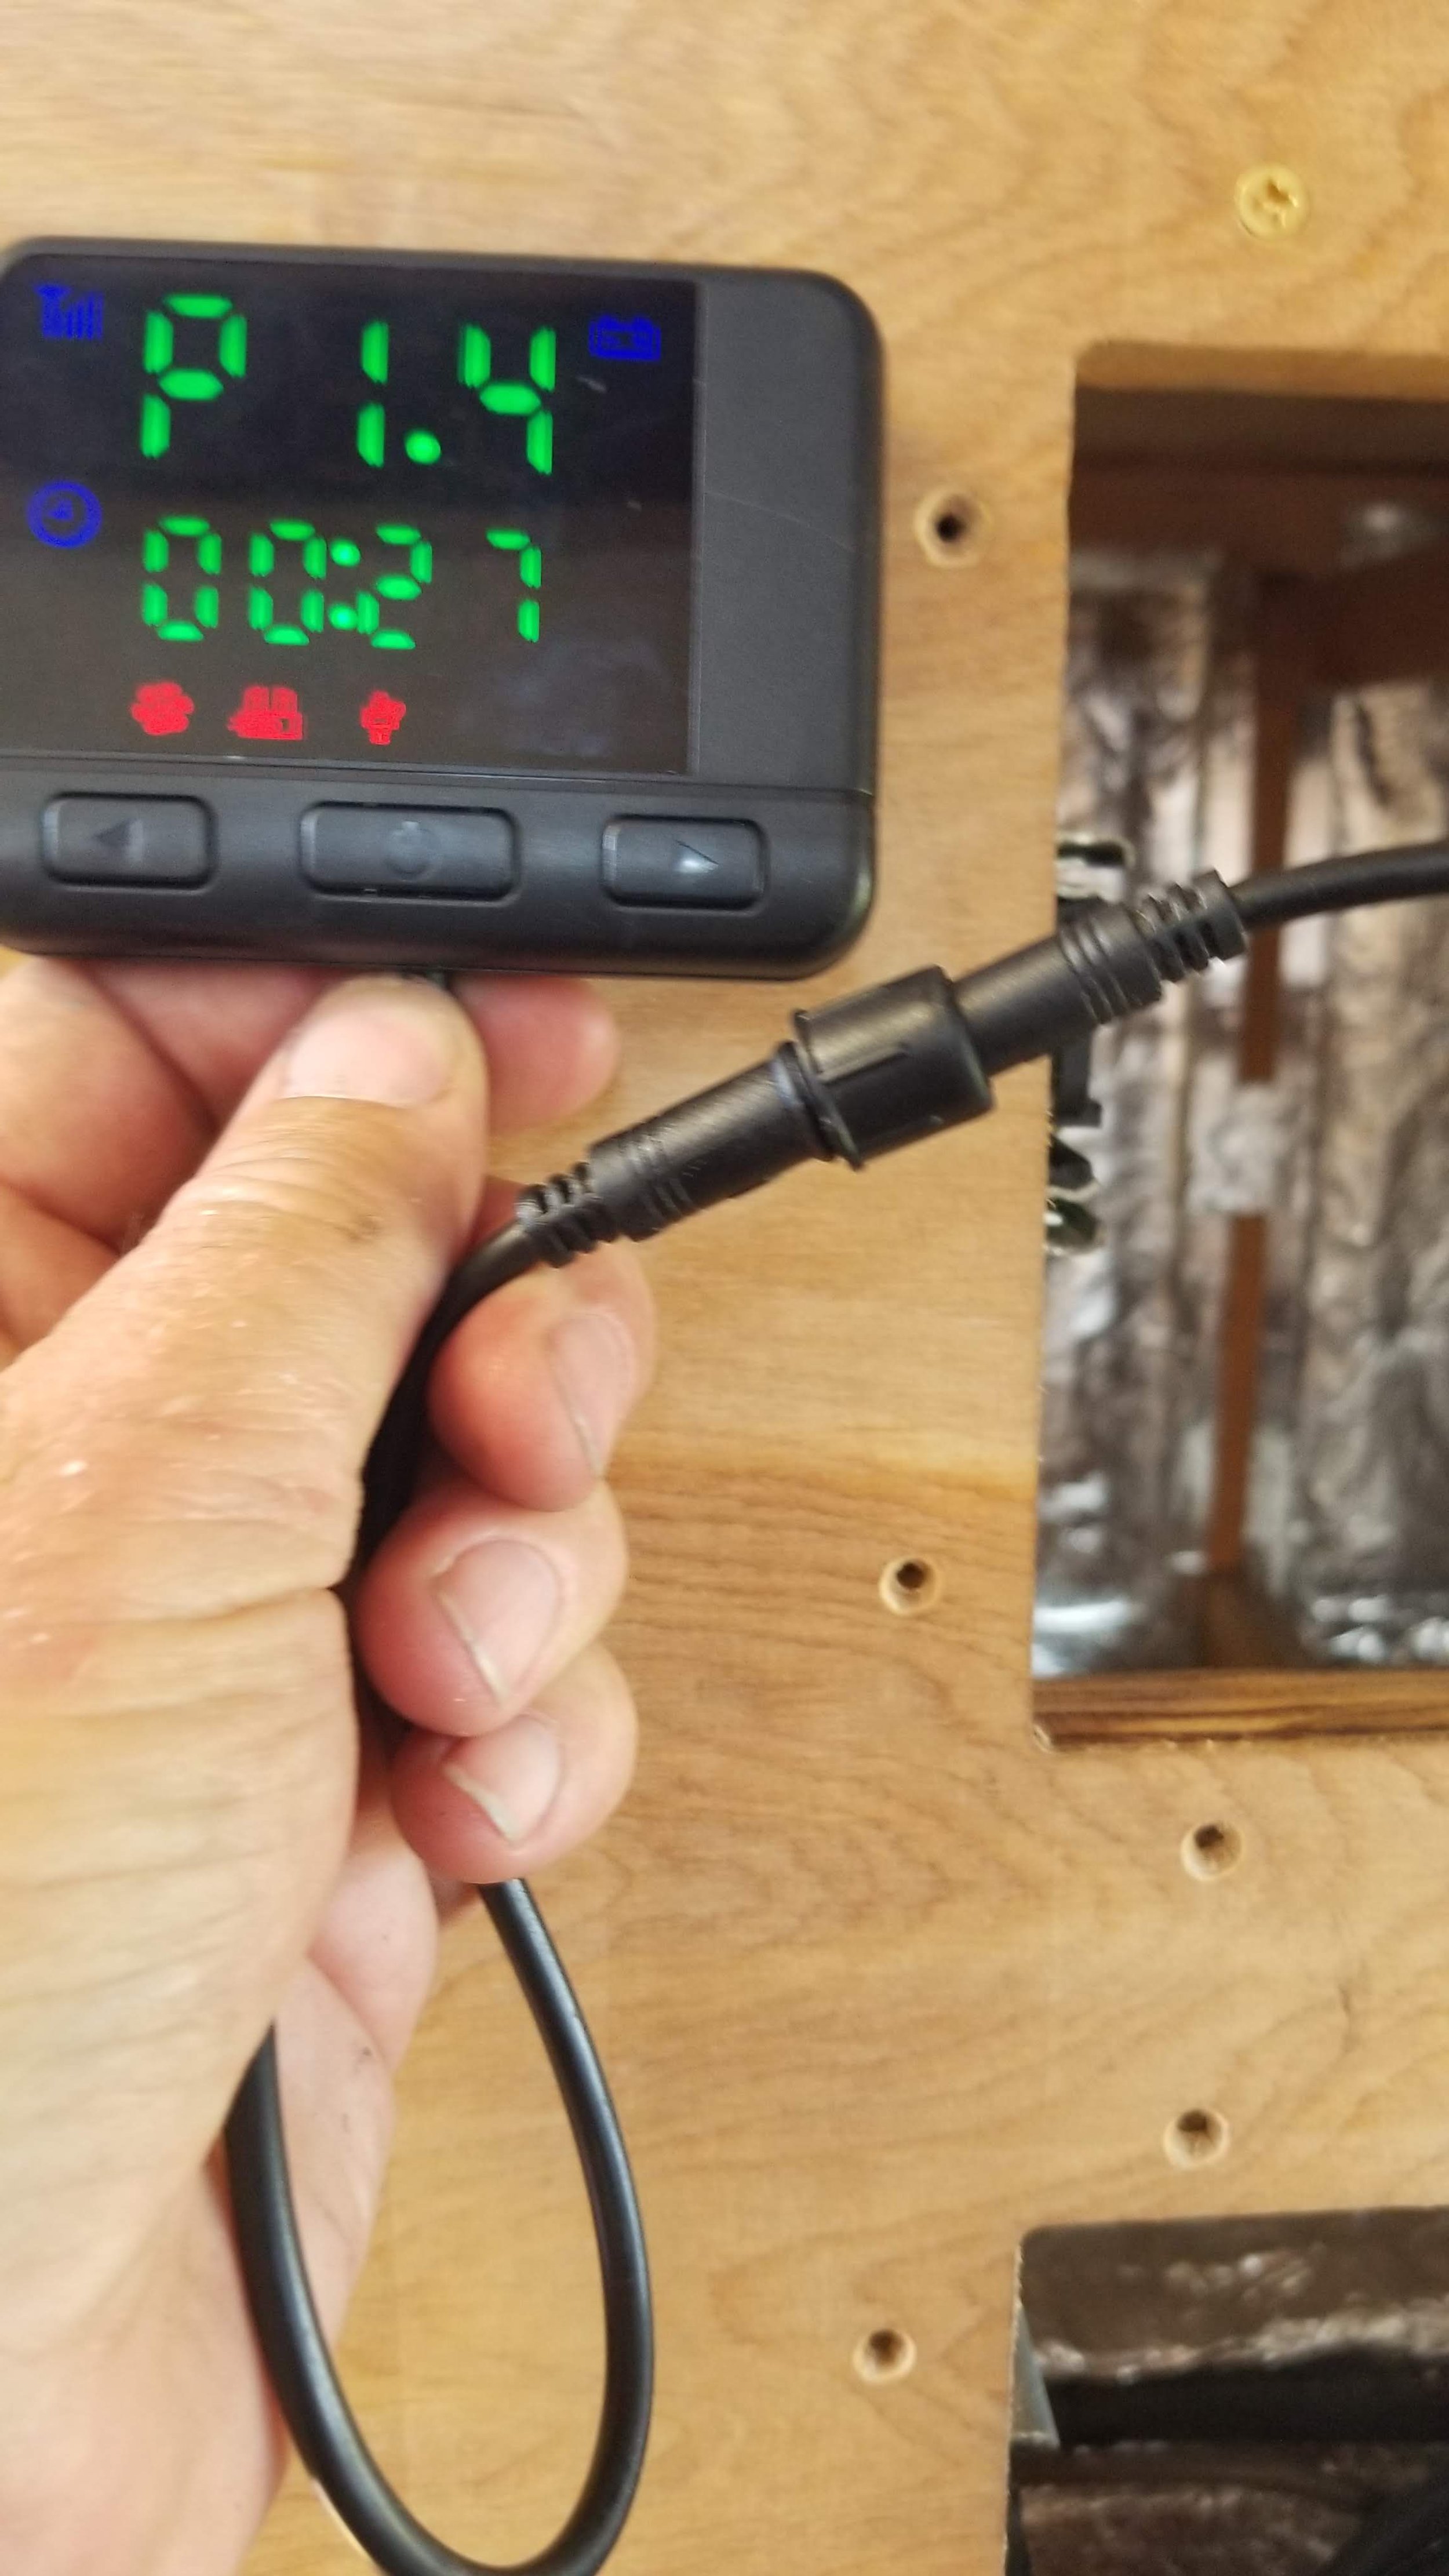
Chinese Diesel Heater tests 04.
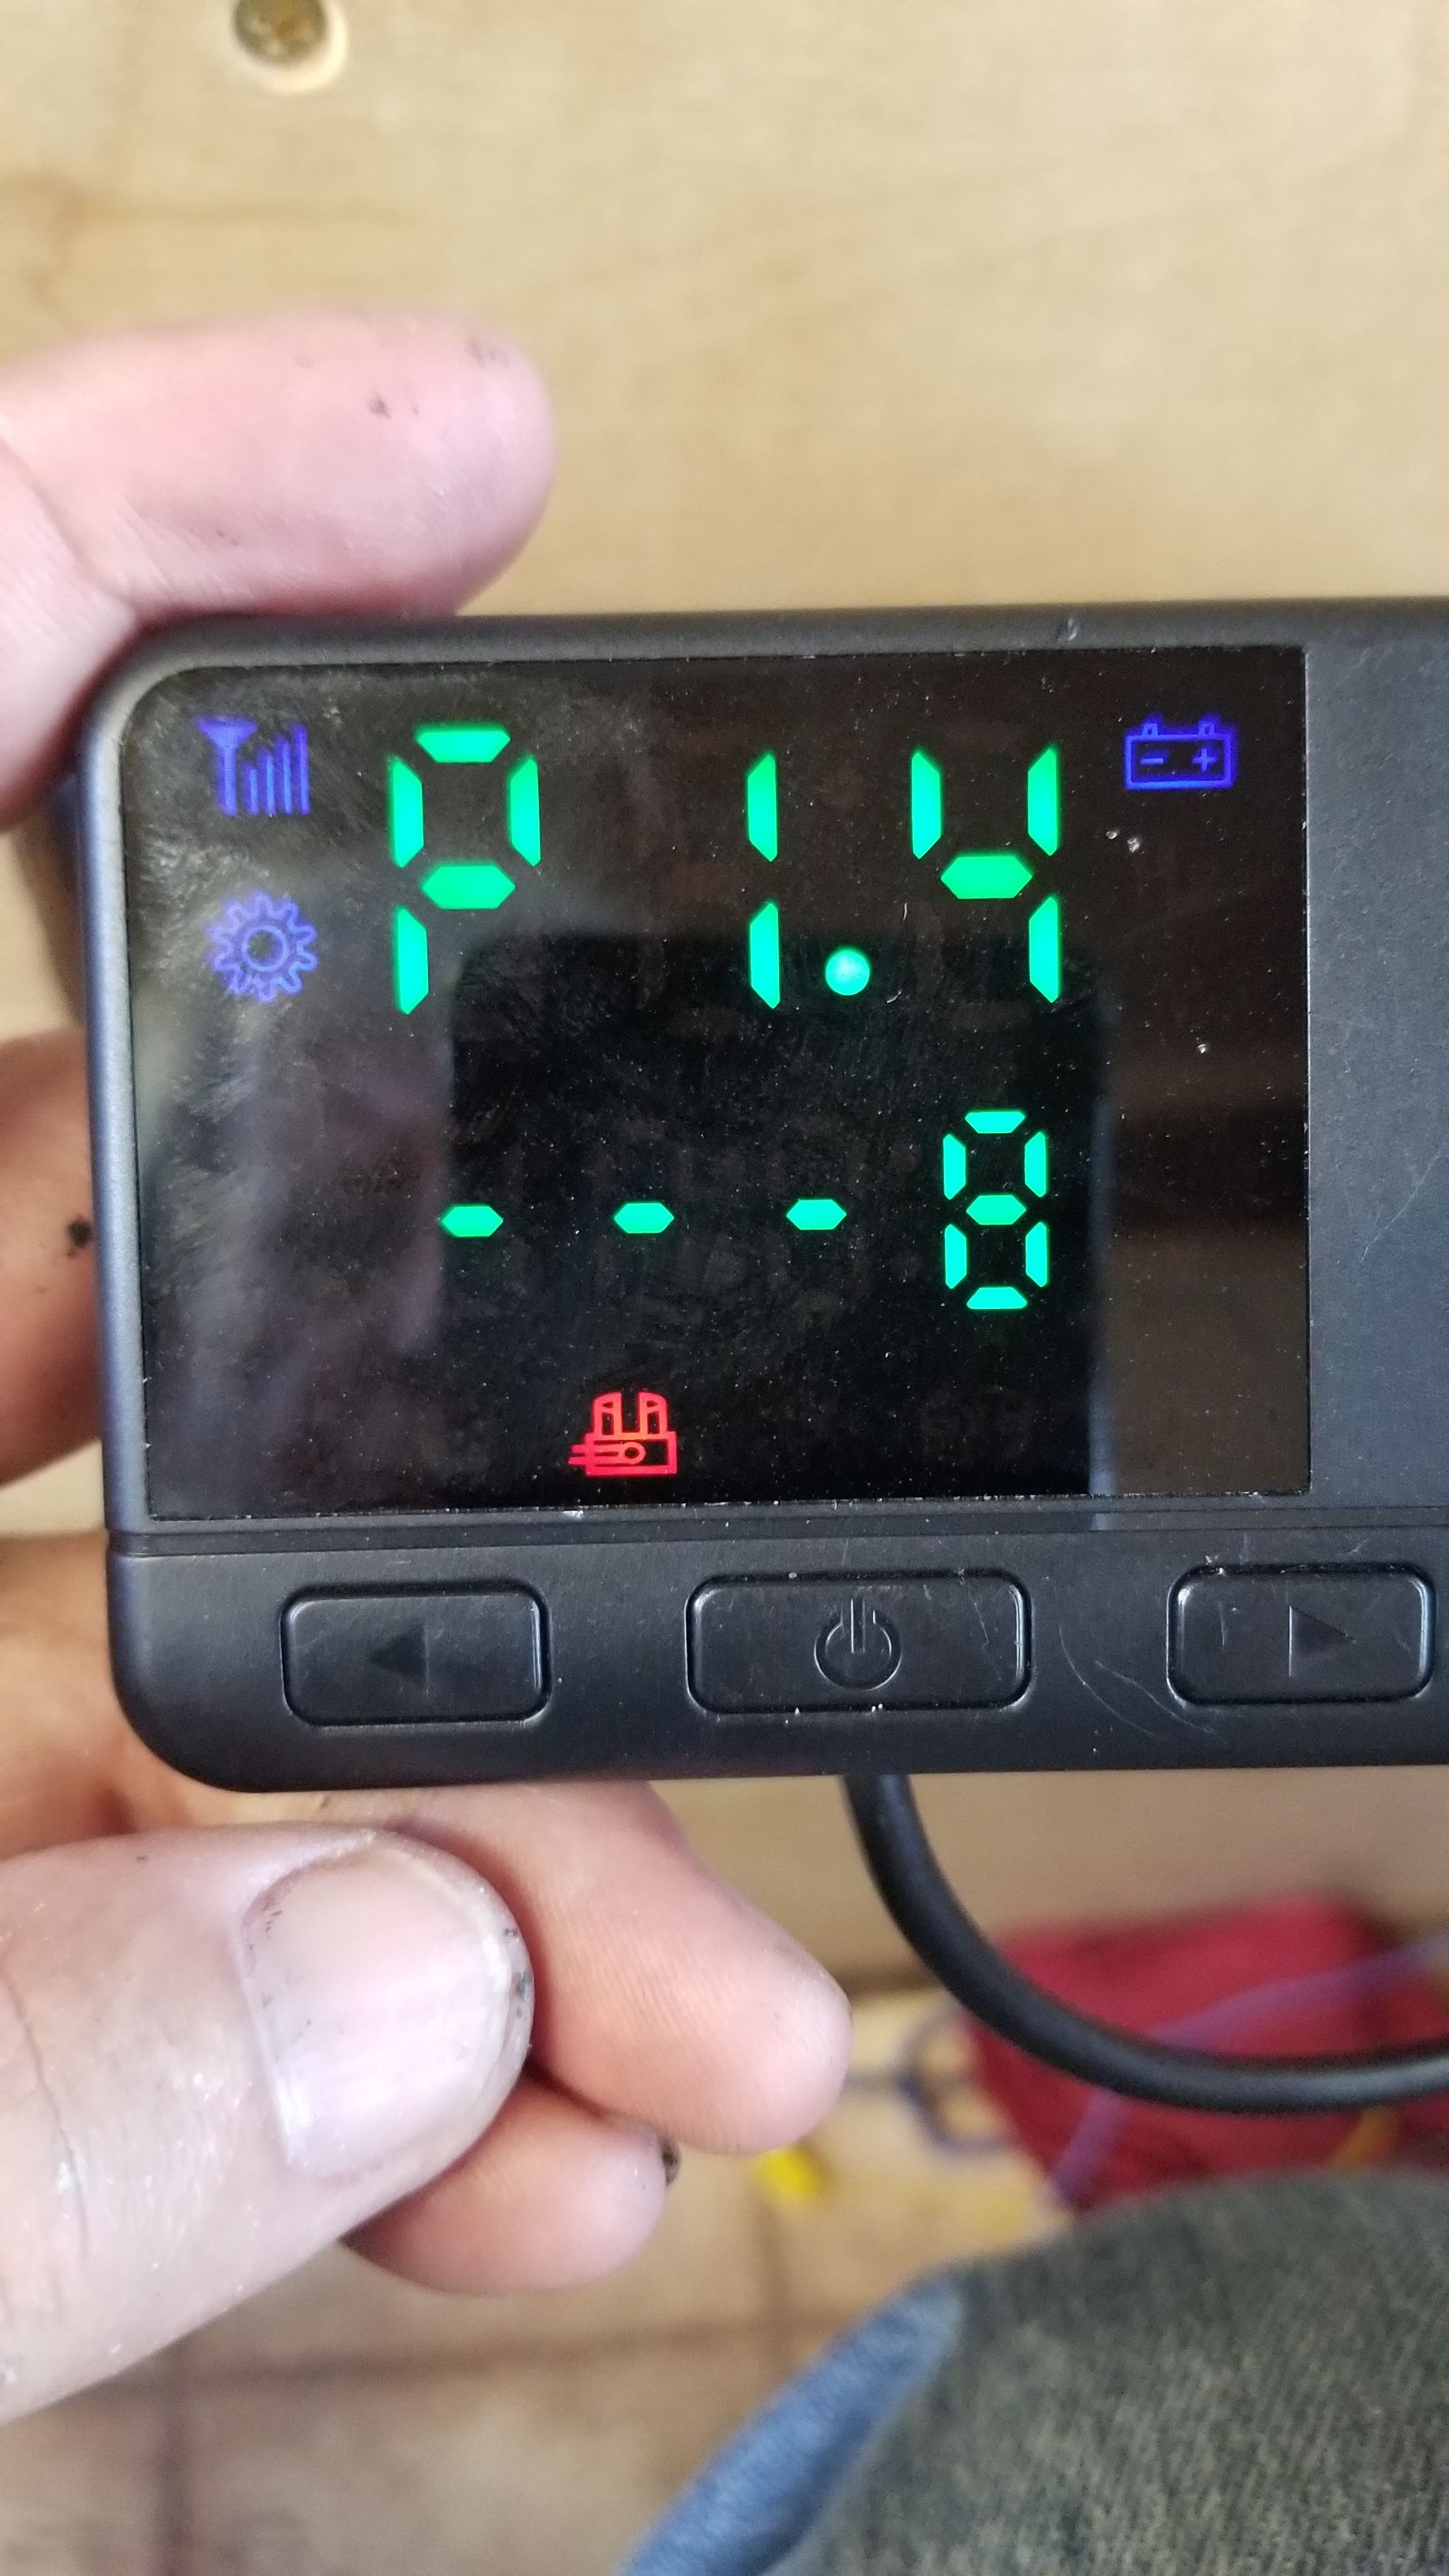
Chinese Diesel Heater tests 05.
Chinese Diesel Heater tests 06.

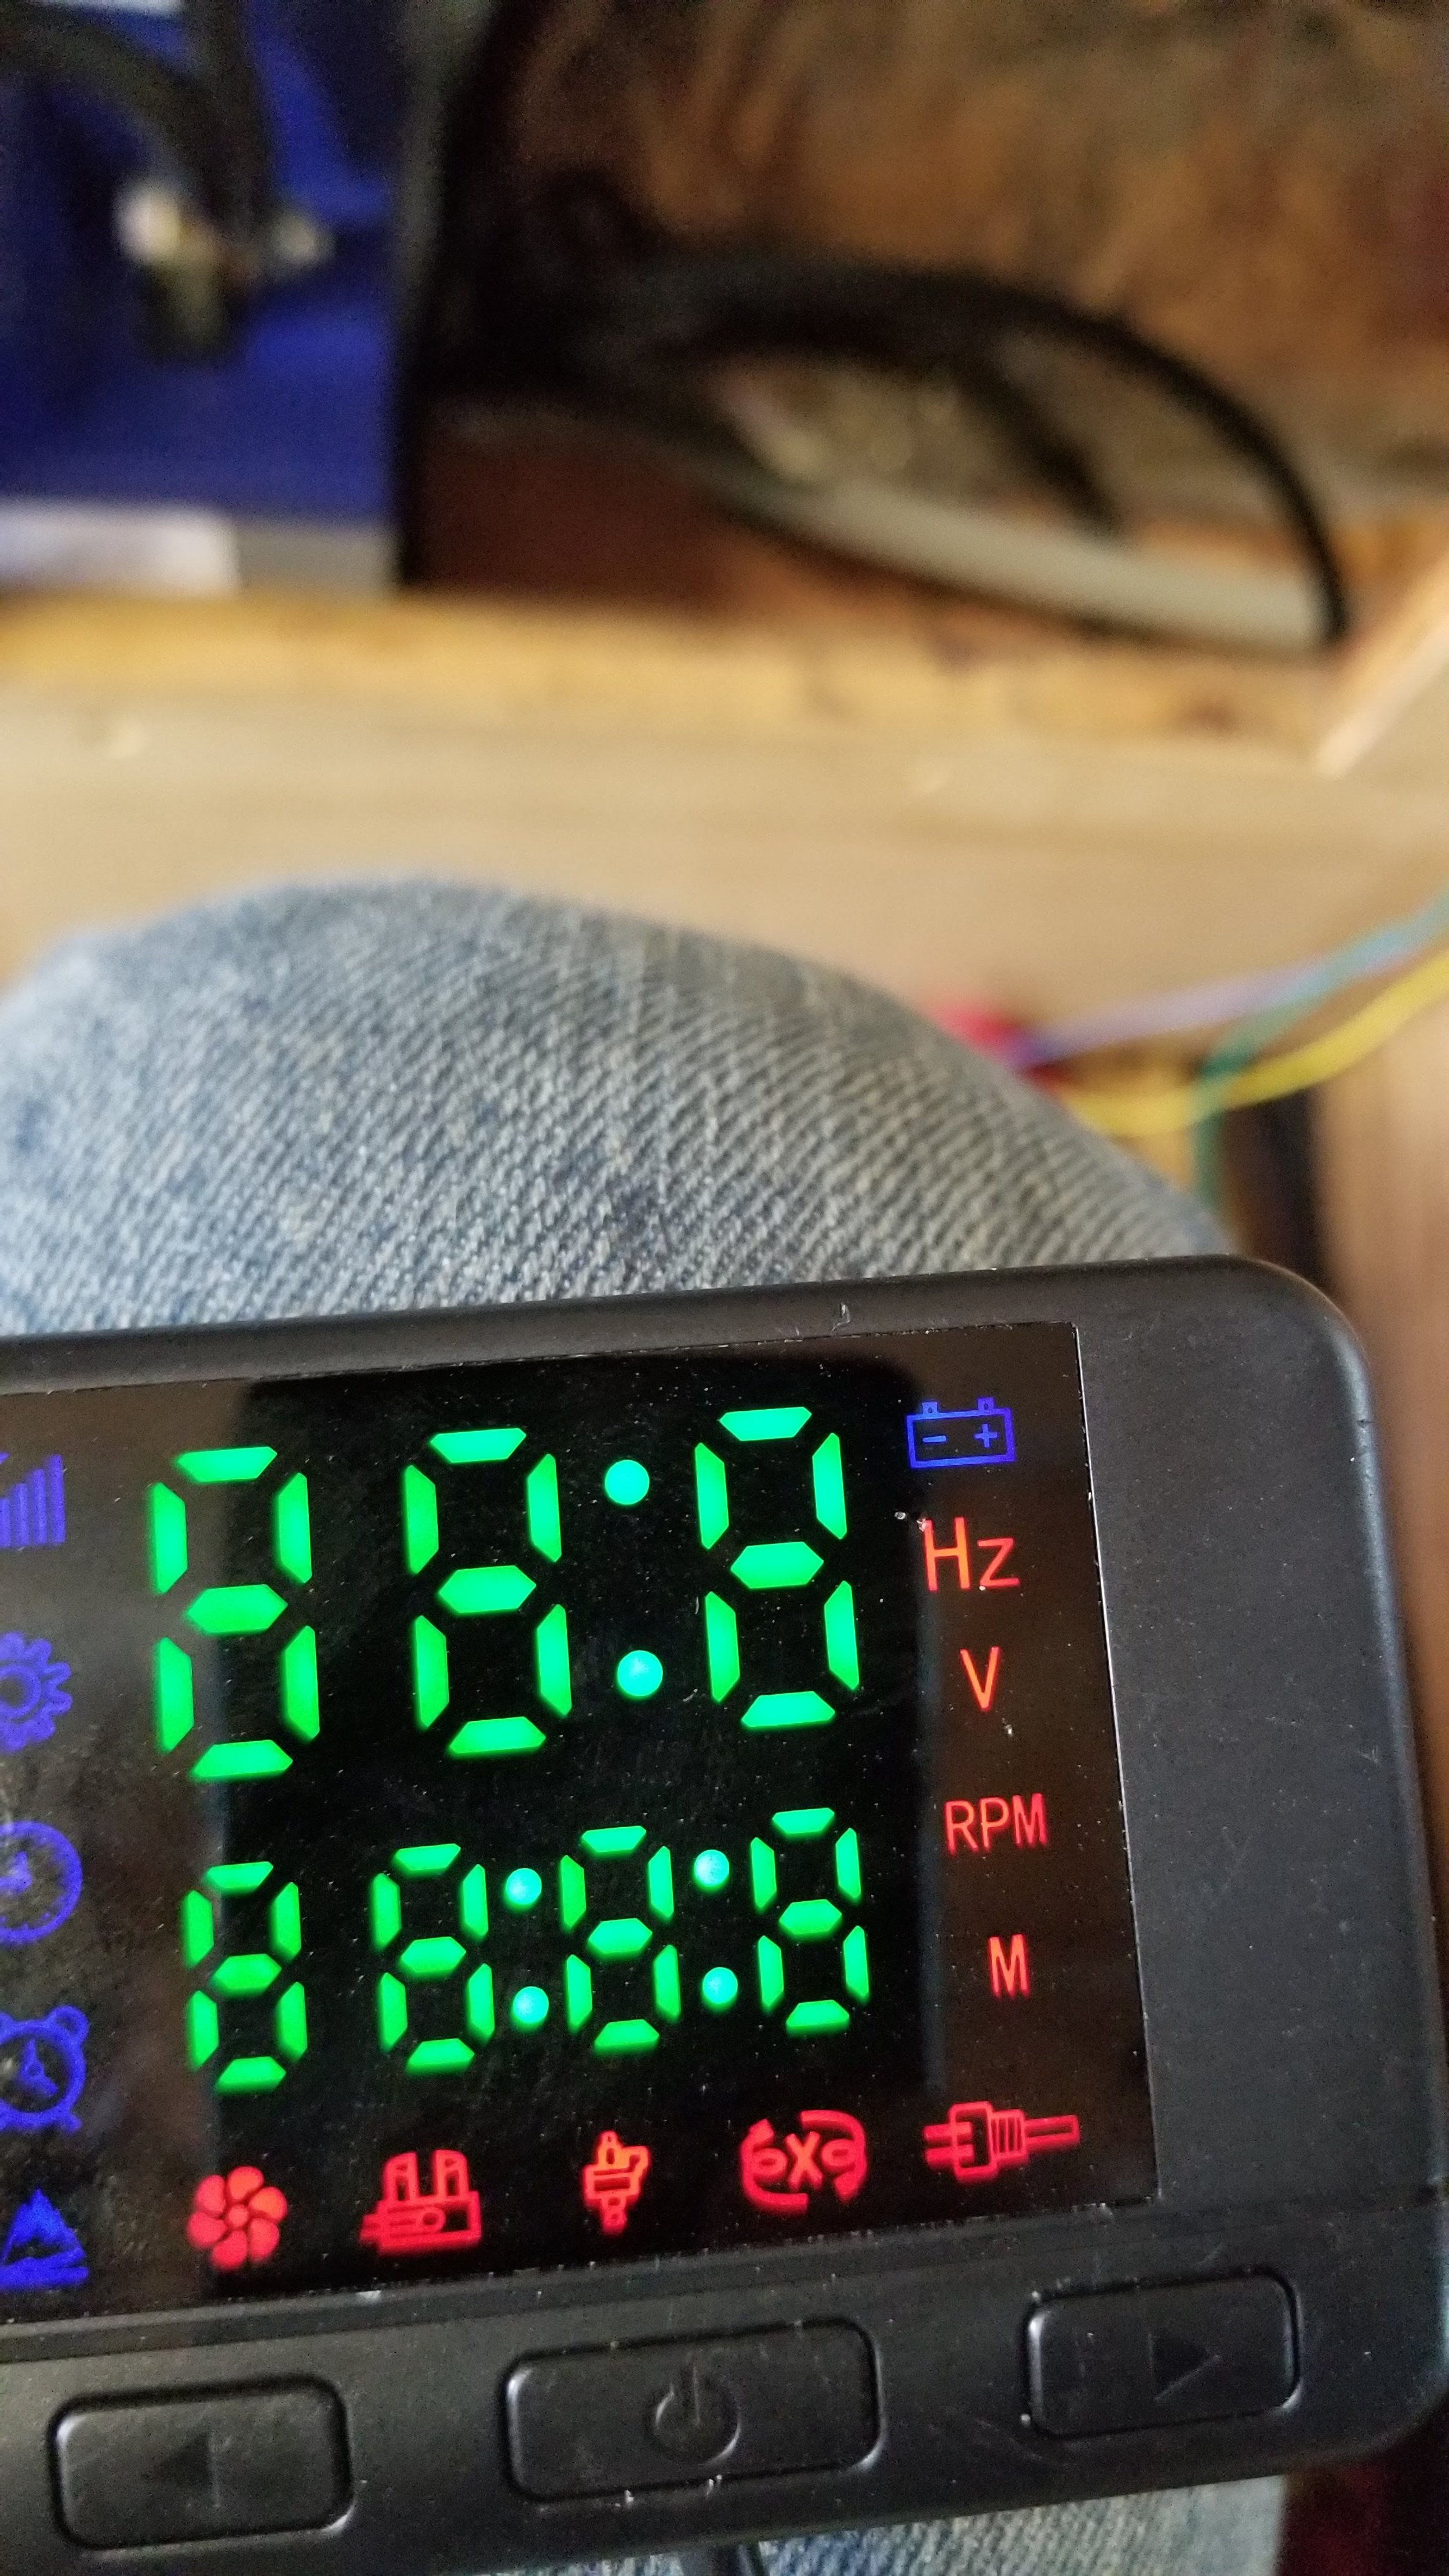
Chinese Diesel Heater tests 07.
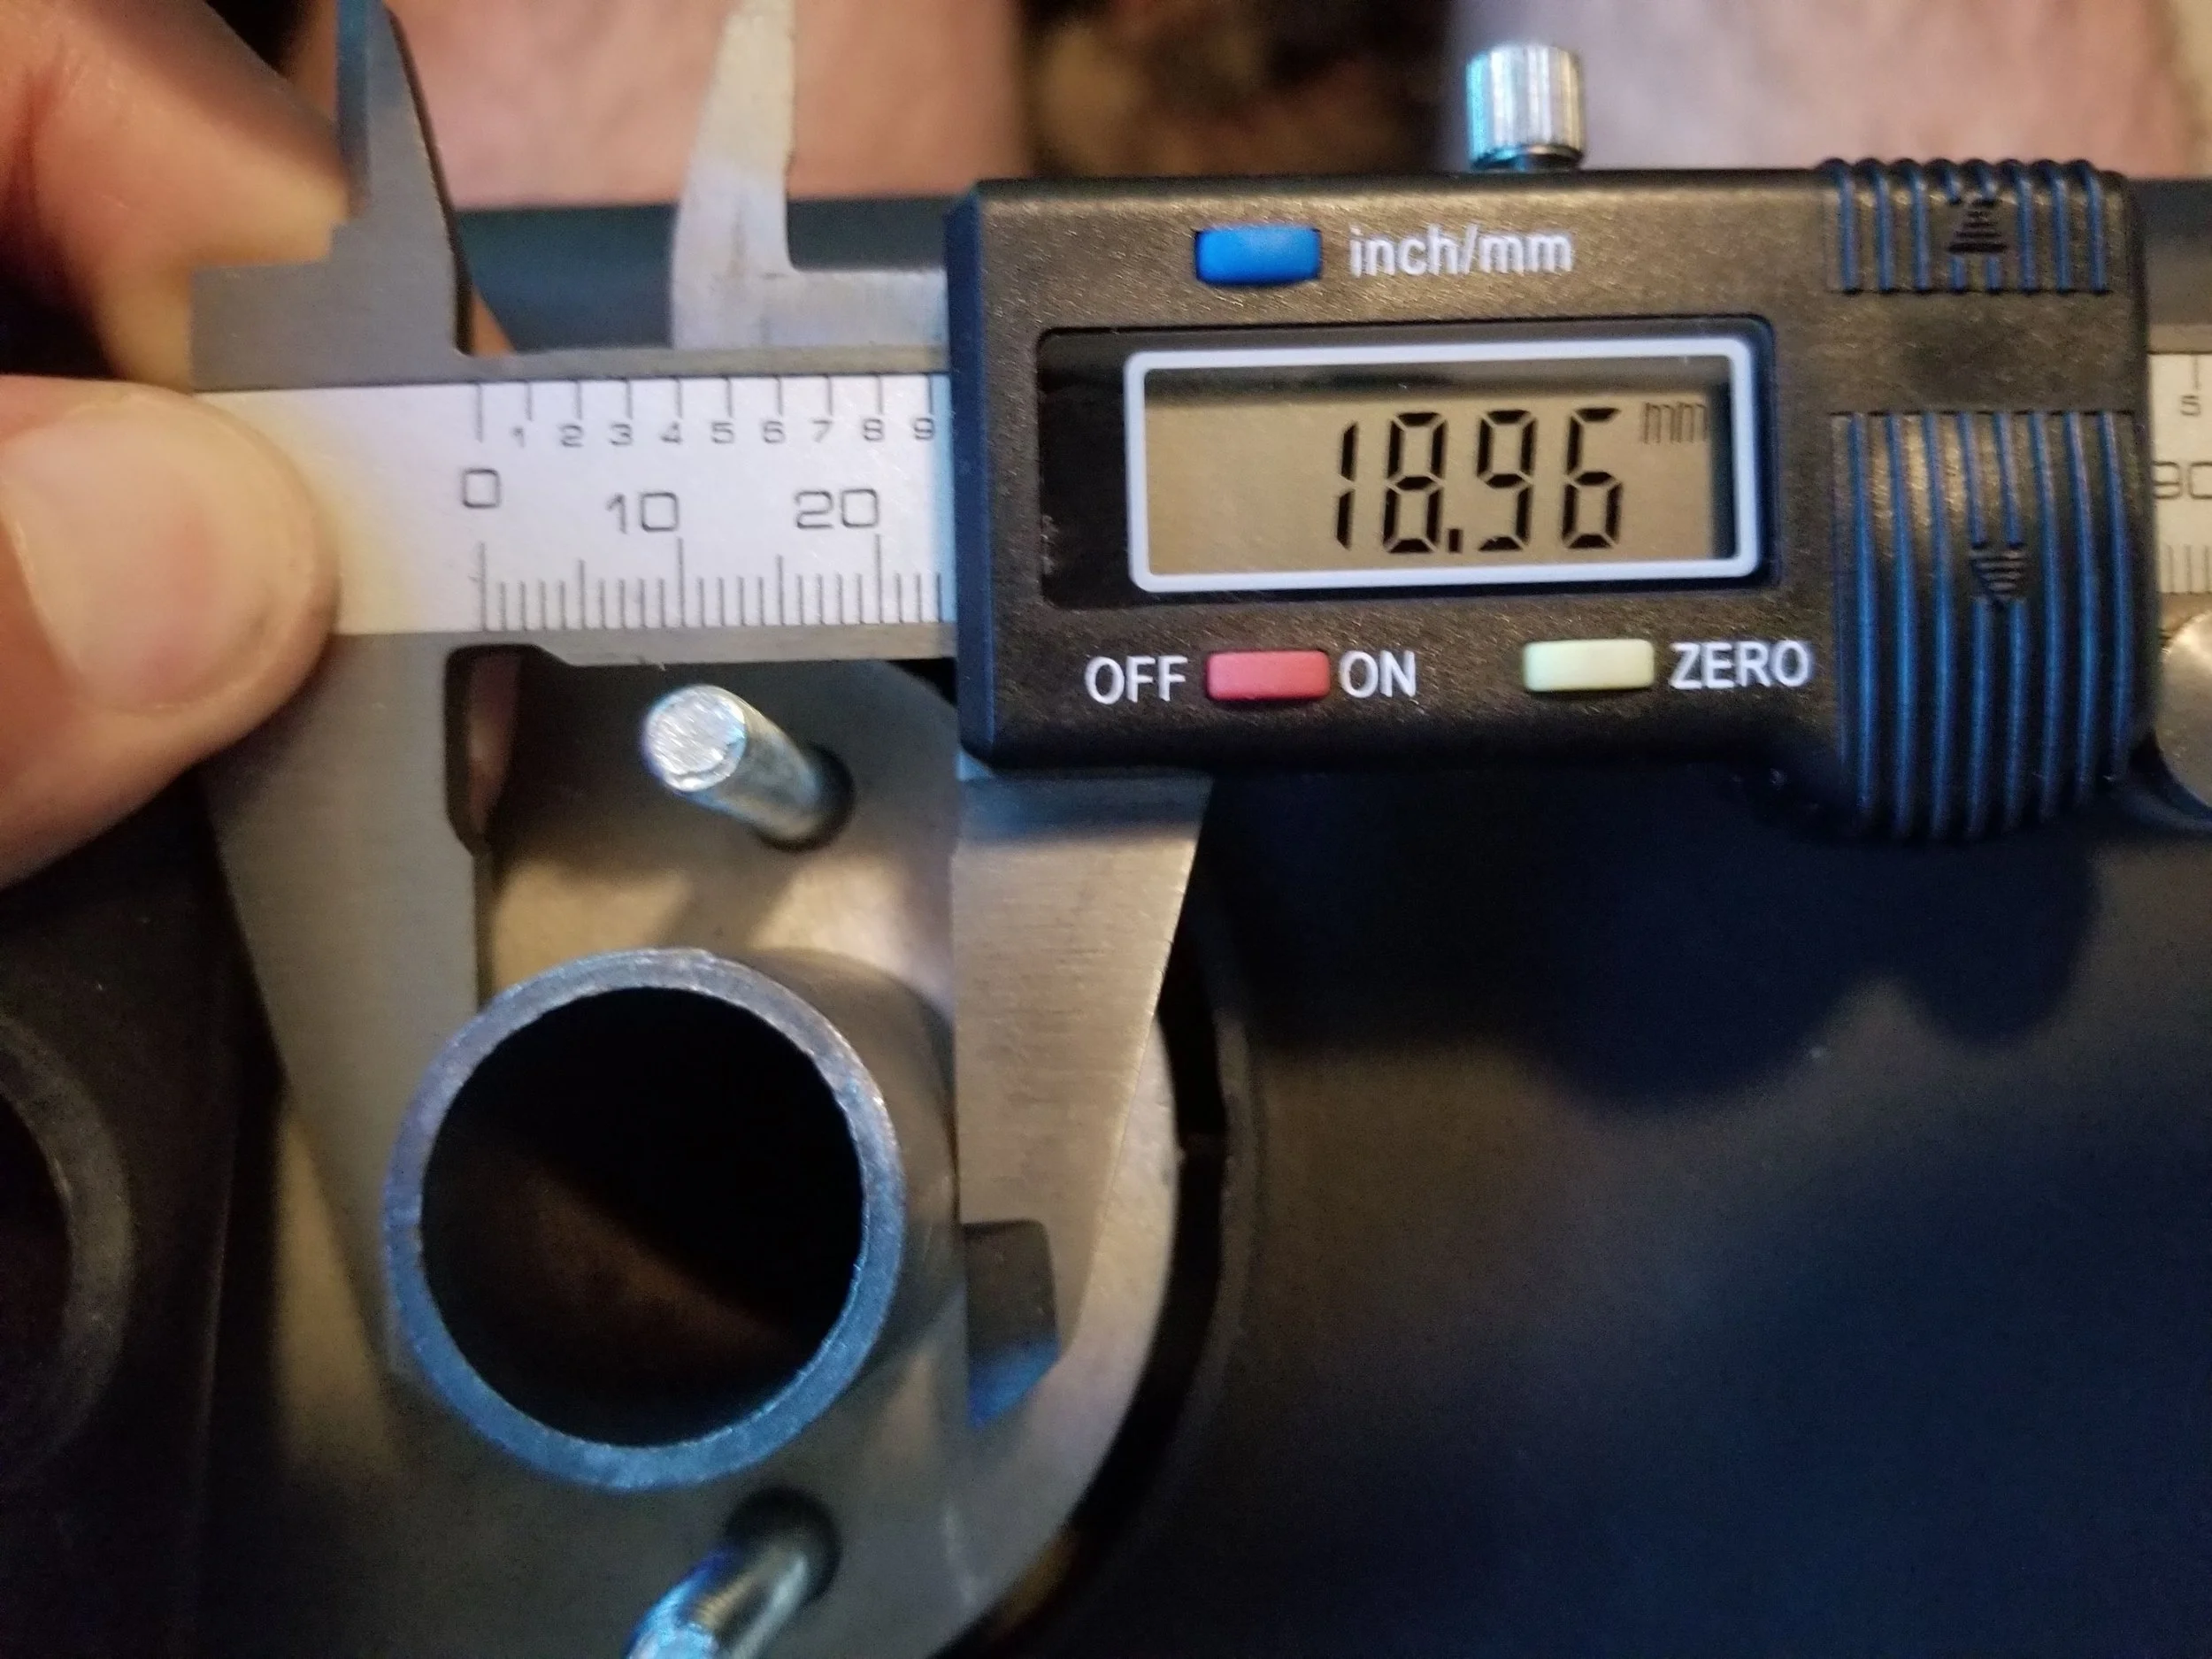
Checking exhaust diameters for brass routing elbows. 01.

Checking exhaust diameters for brass routing elbows 02.
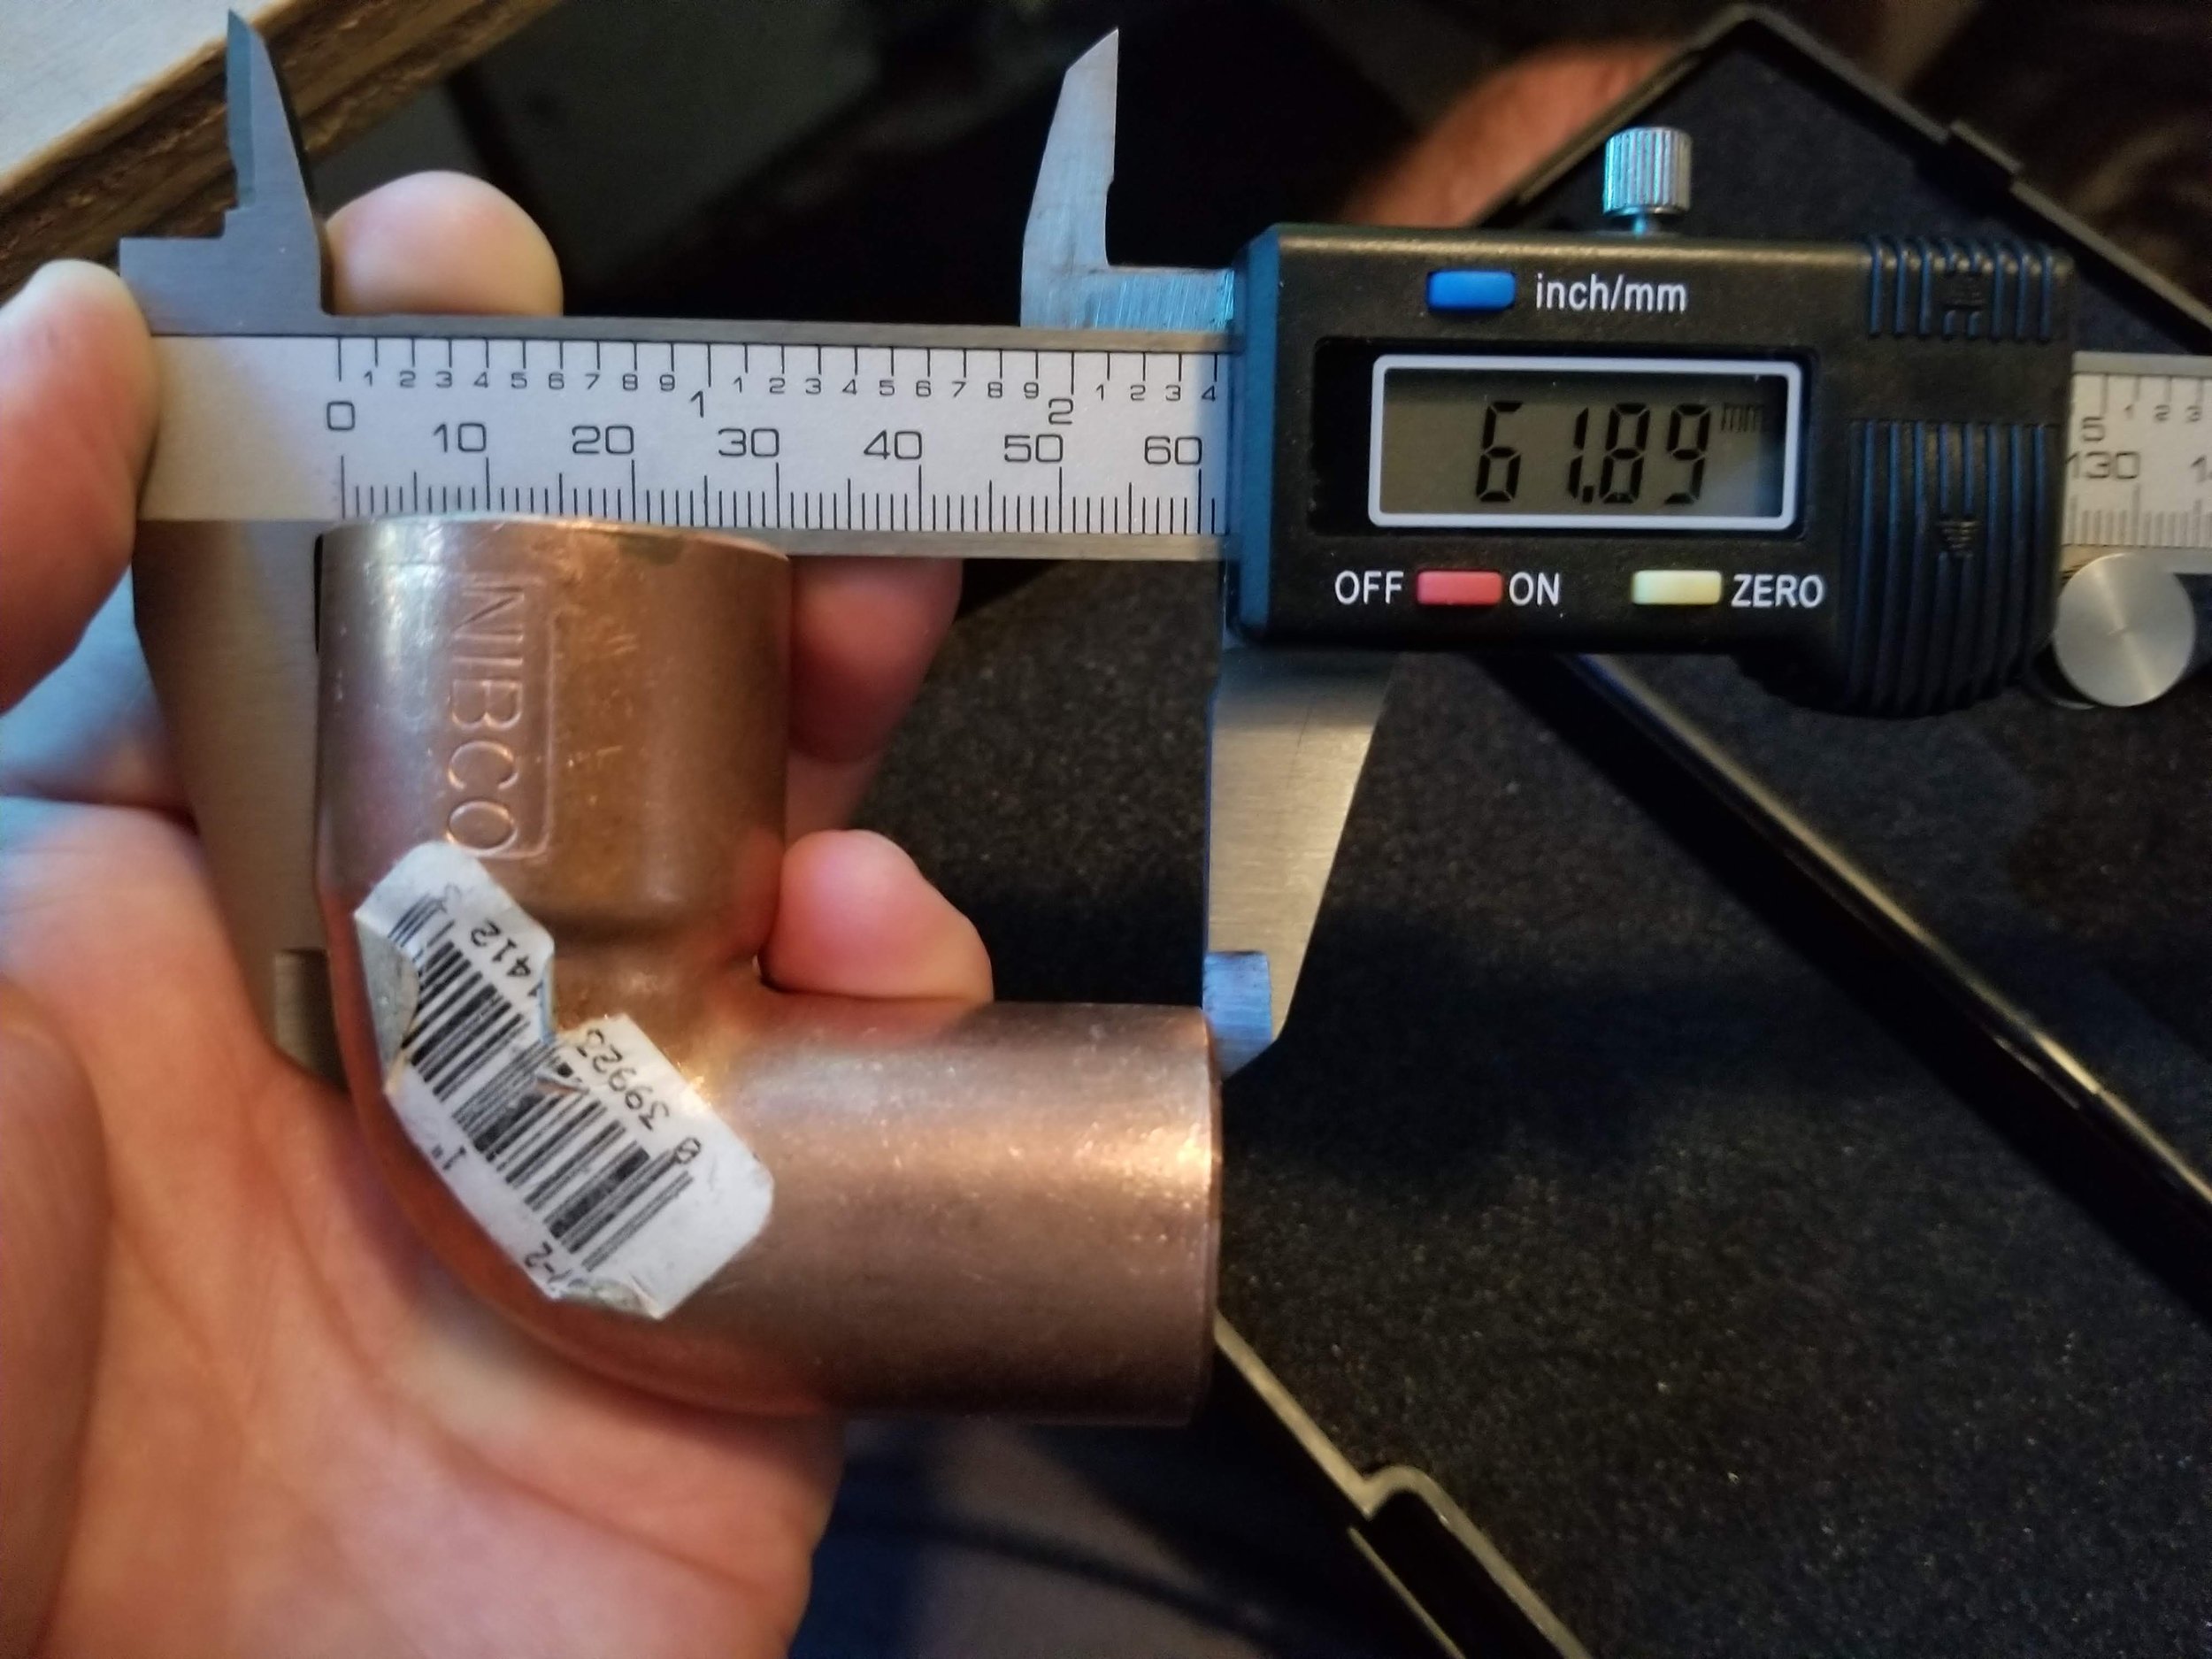
Checking exhaust diameters for brass routing elbows 03.
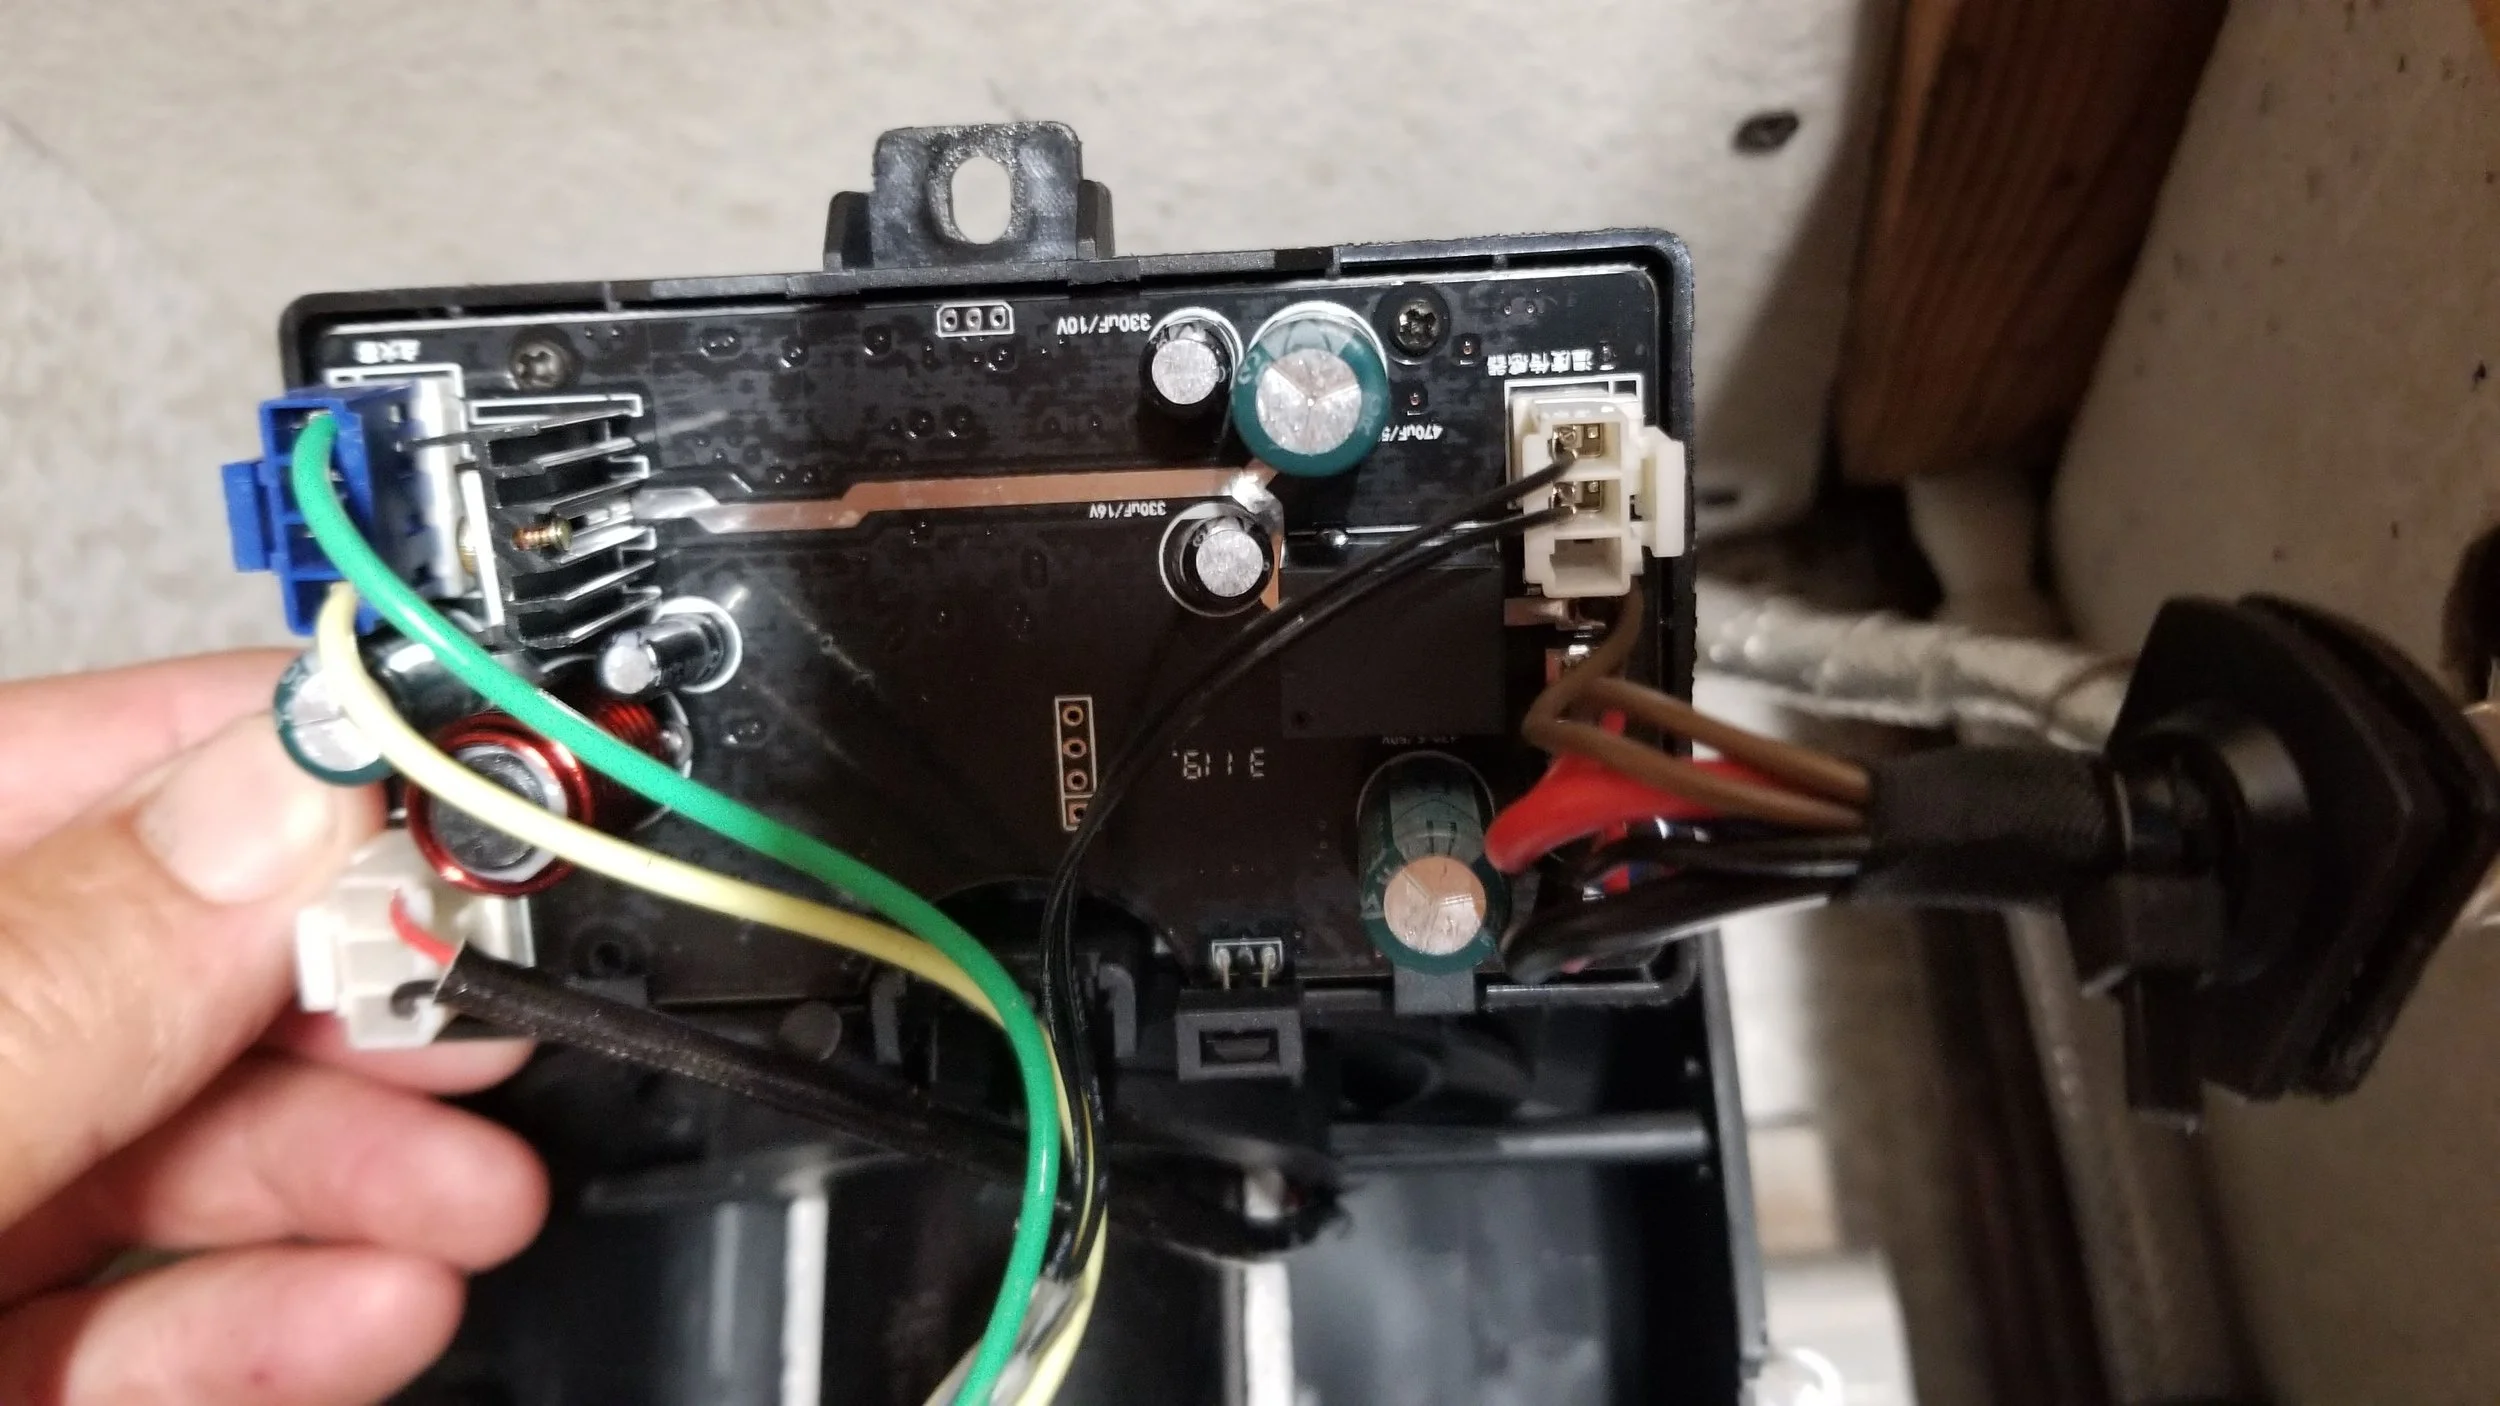
Confirmation photos 01 for the upgrade to an "Afterburner" controller - Not all models are compatible!

Confirmation photos 02 for the upgrade to an "Afterburner" con.troller - Not all models are compatible!

Confirmation photos 03 for the upgrade to an "Afterburner" controller - Not all models are compatiable!
Layout of the Cement Backerboard assembly 01.
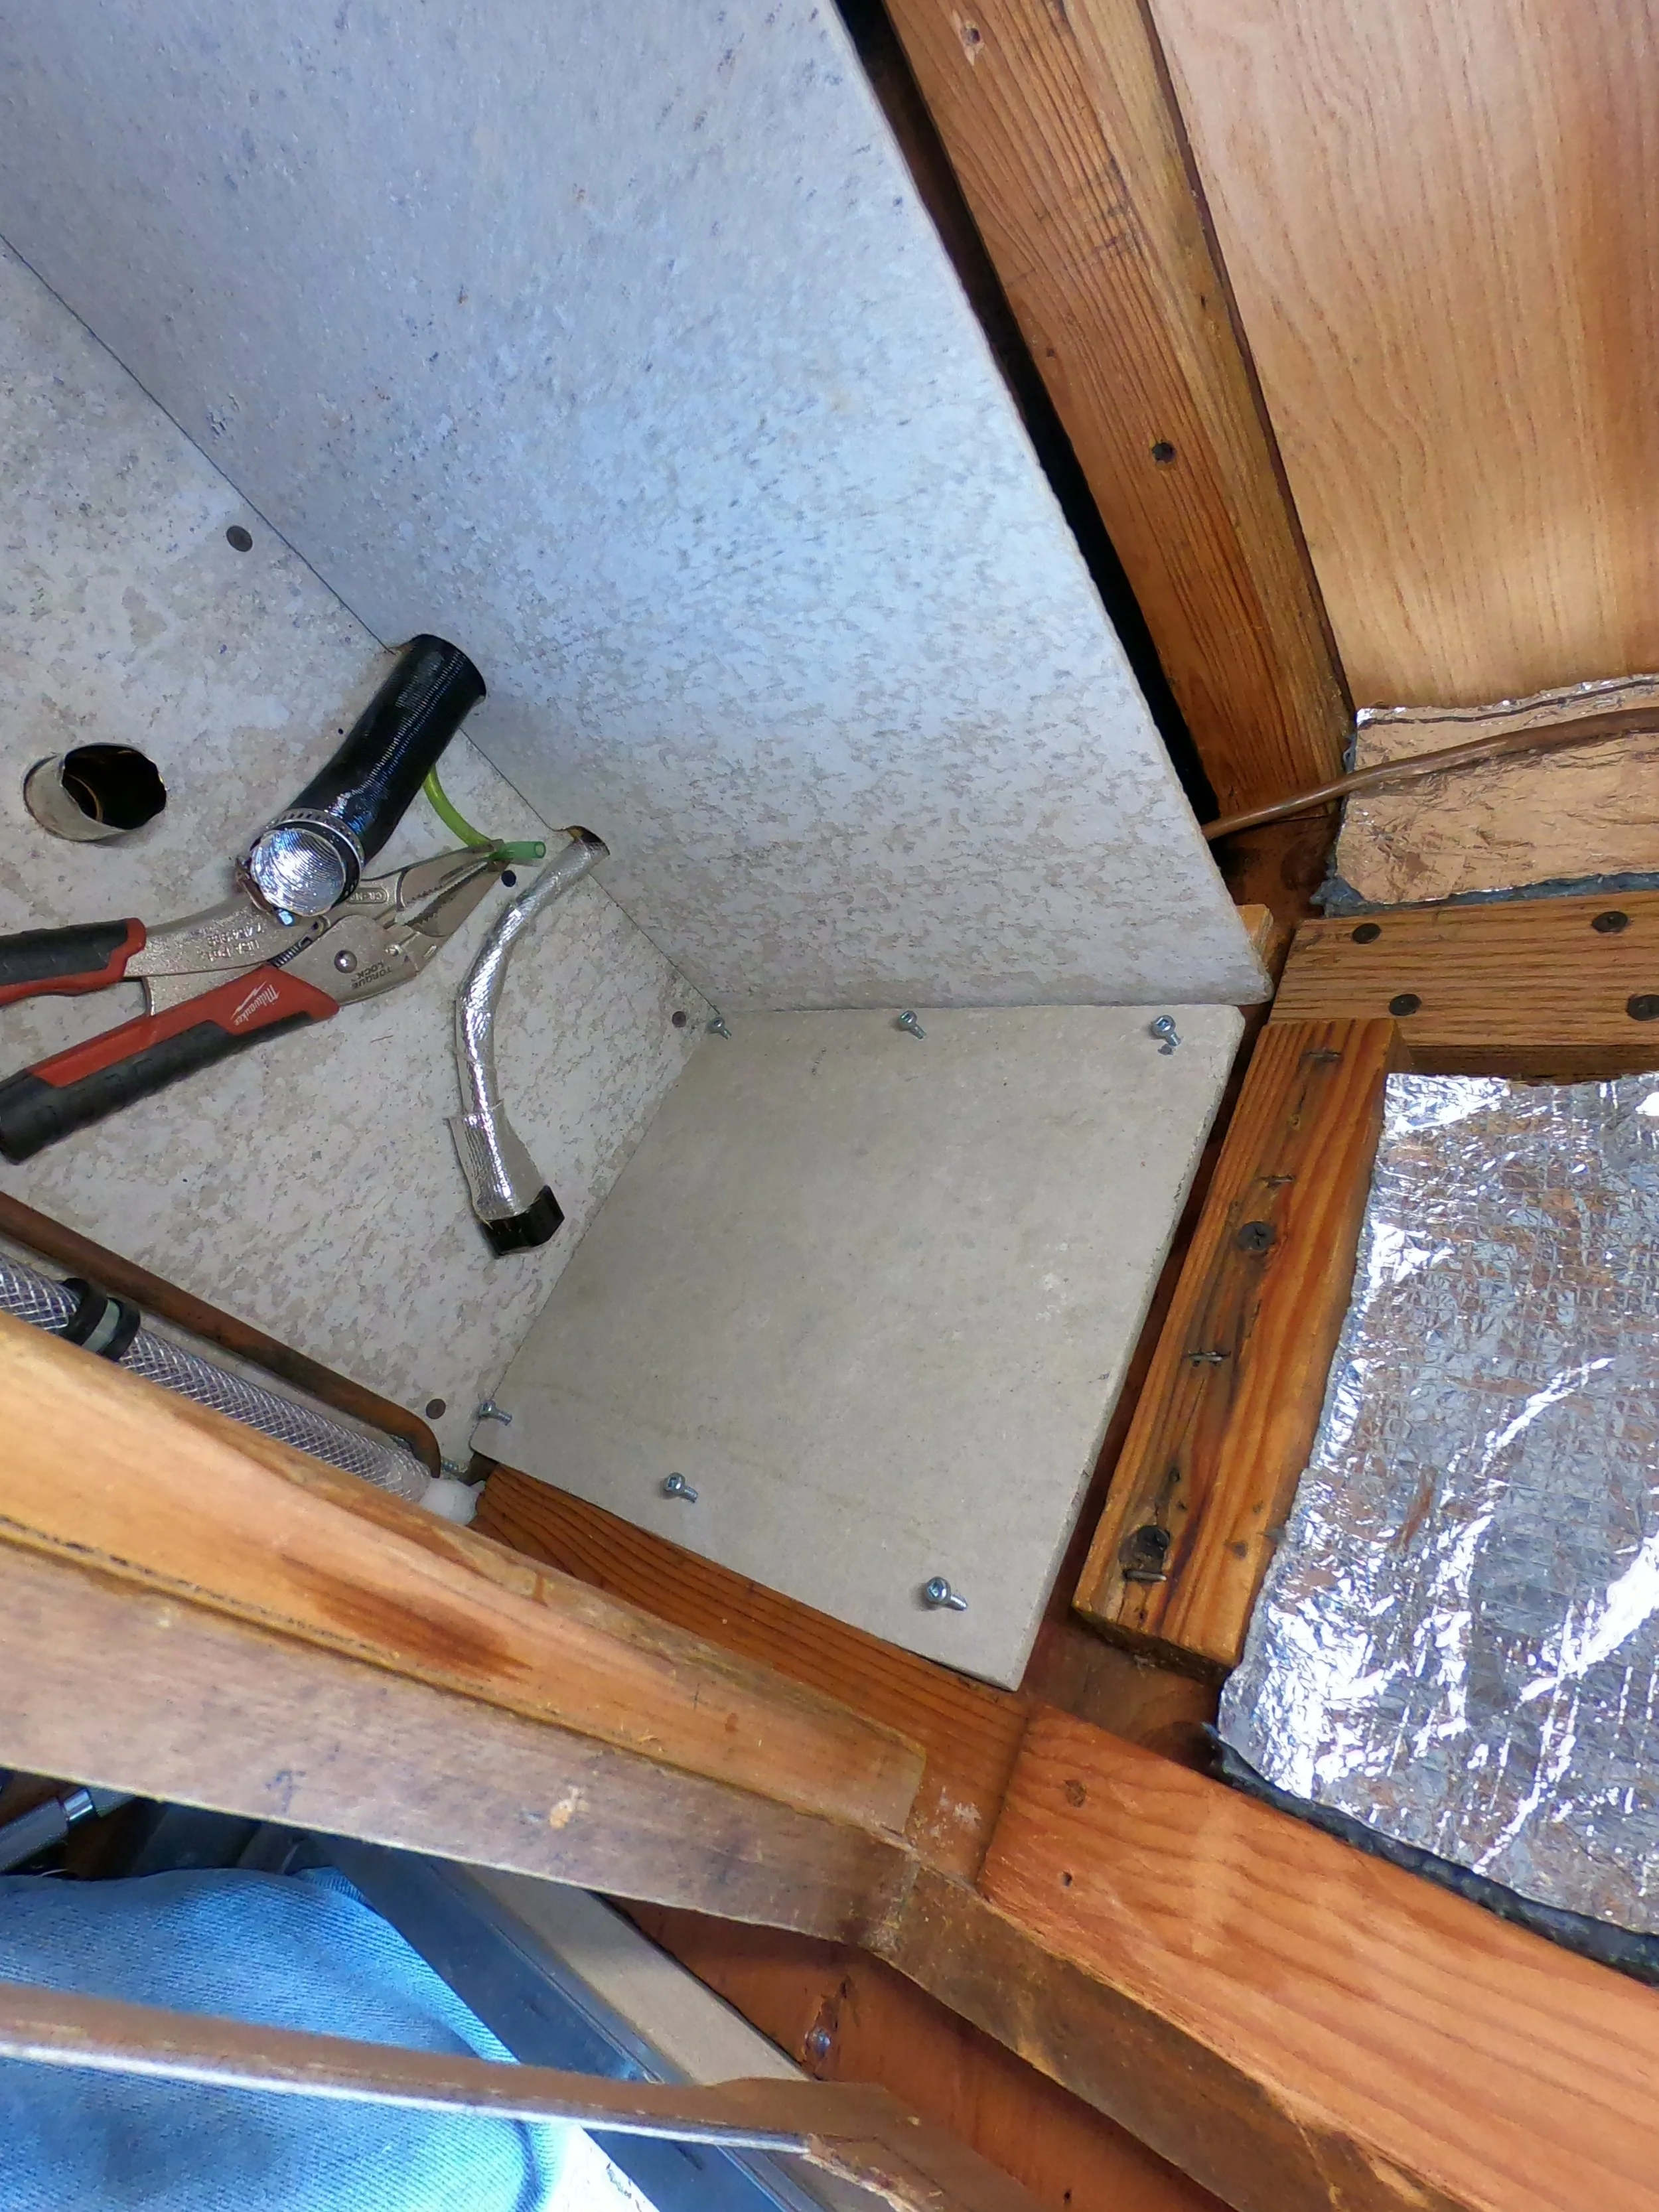
Layout of the Cement Backerboard assembly 02.
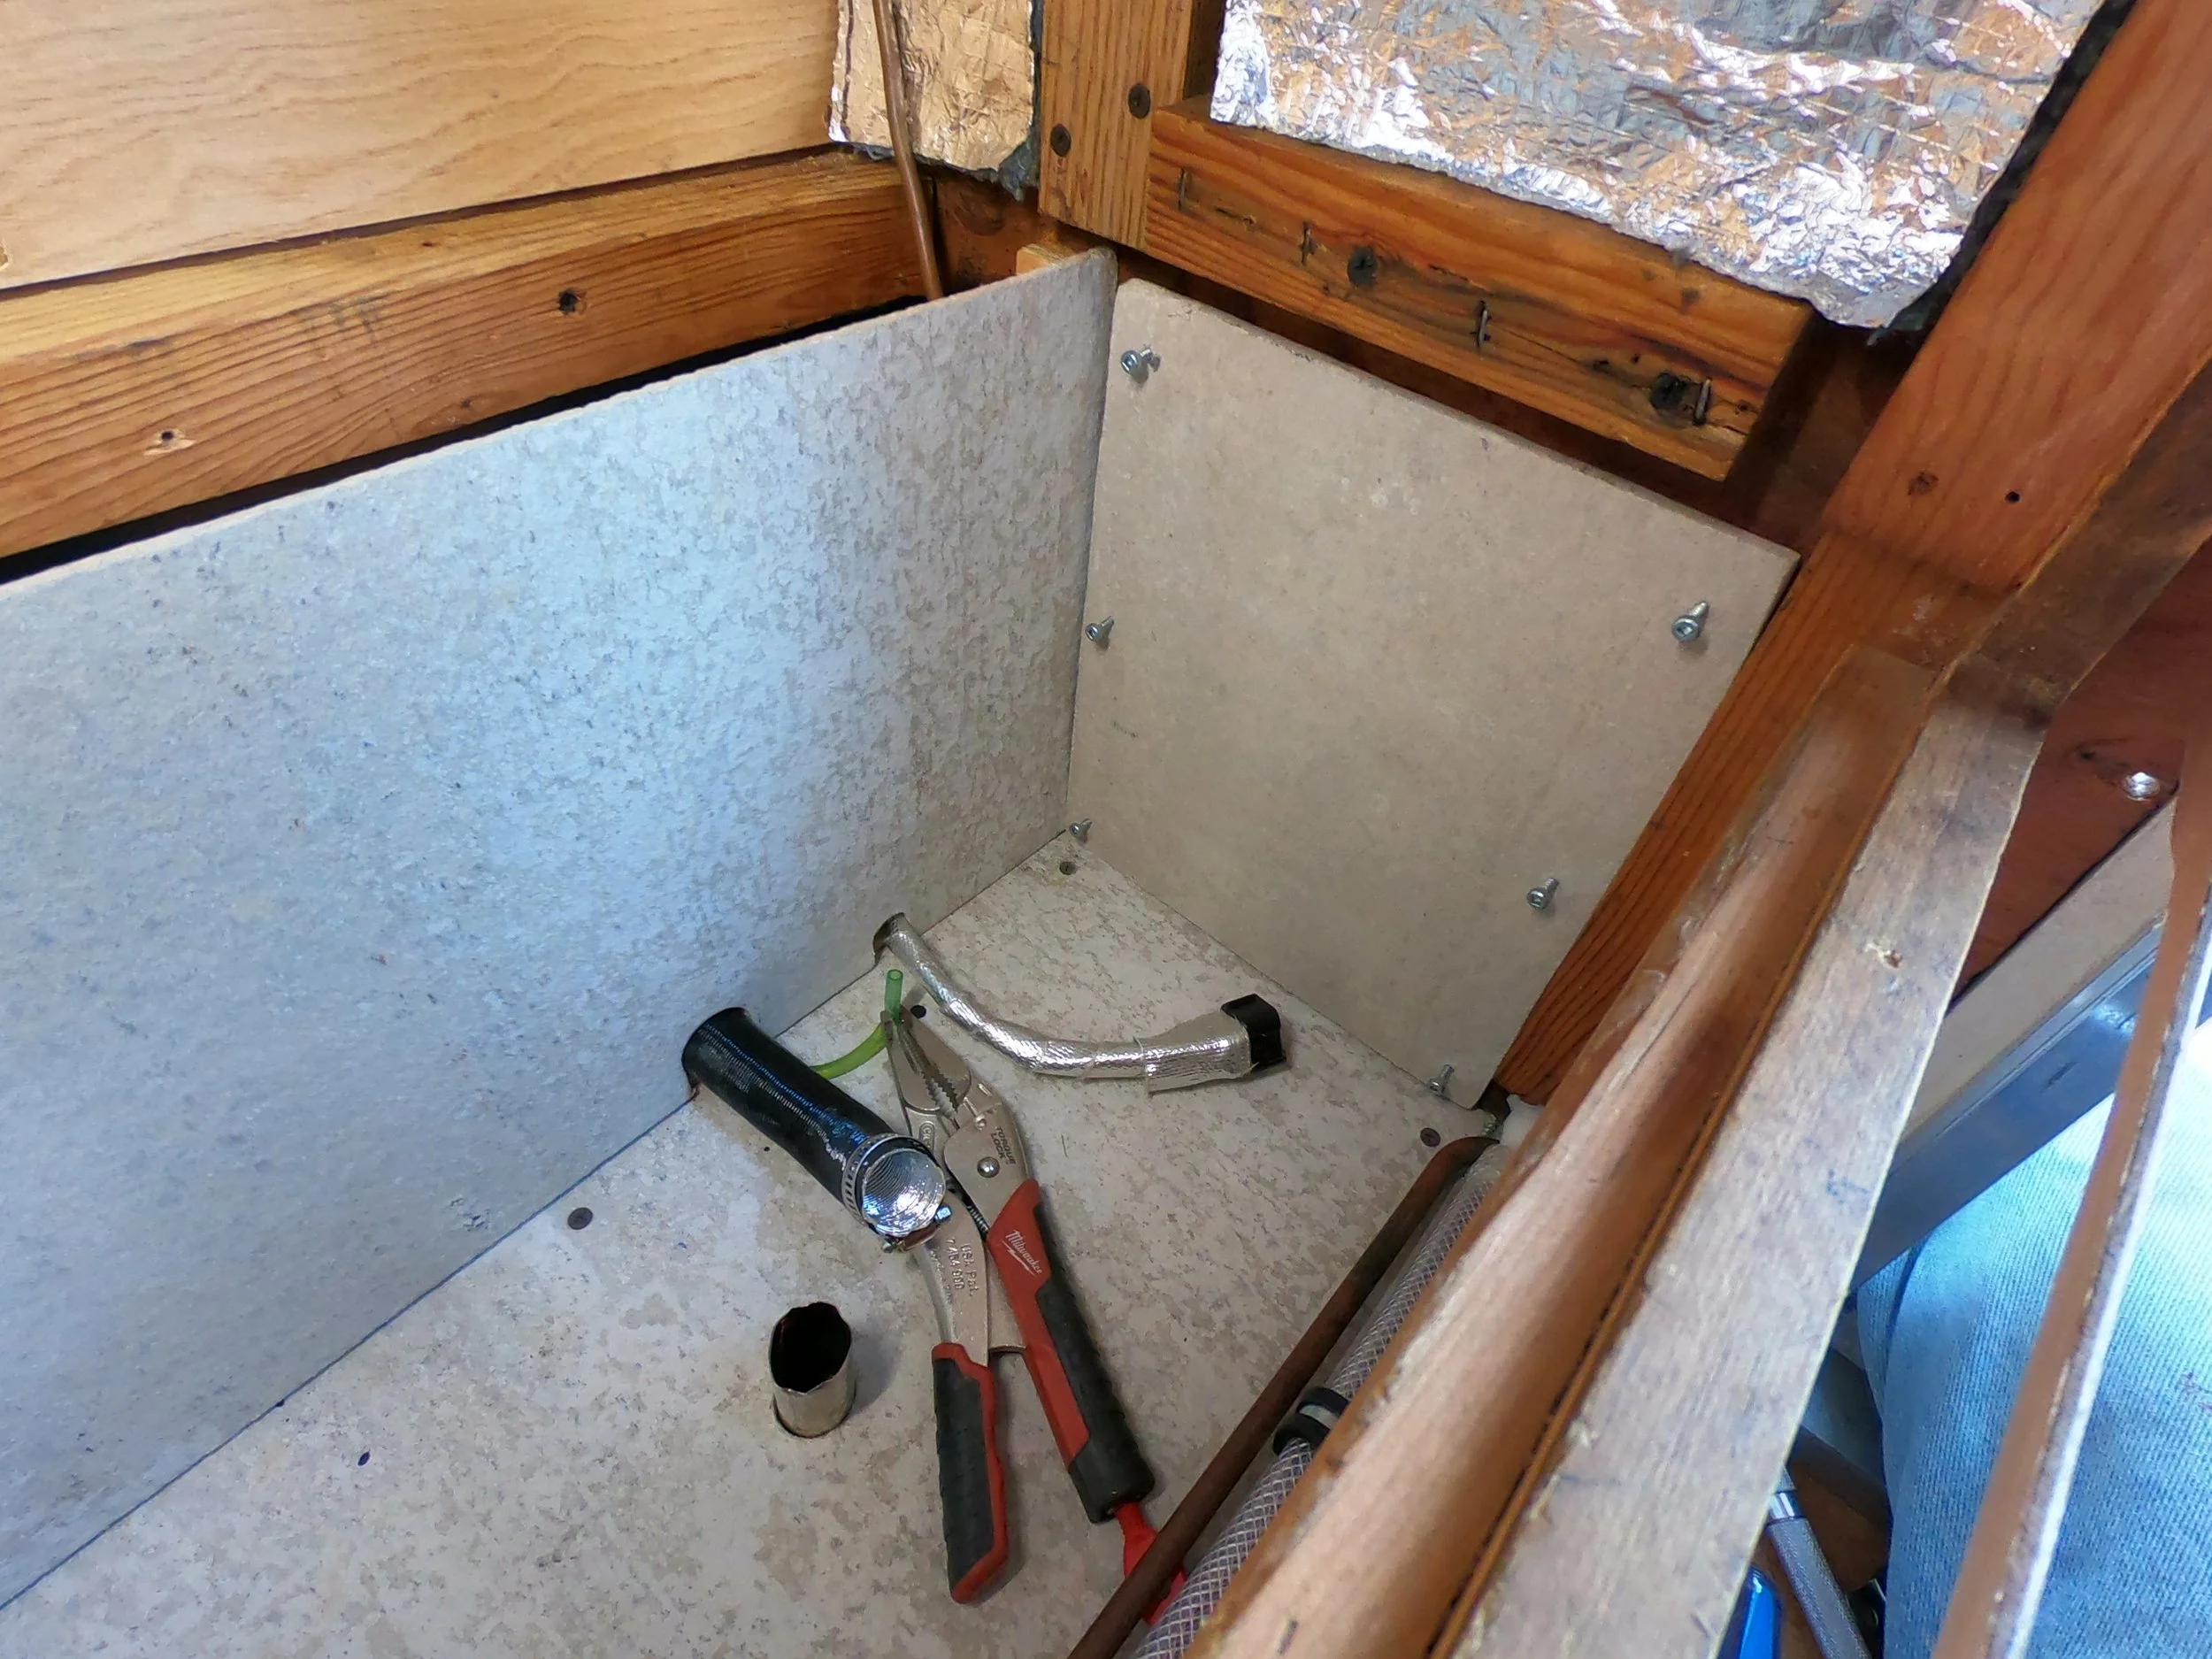
Layout of the Cement Backerboard assembly 03.
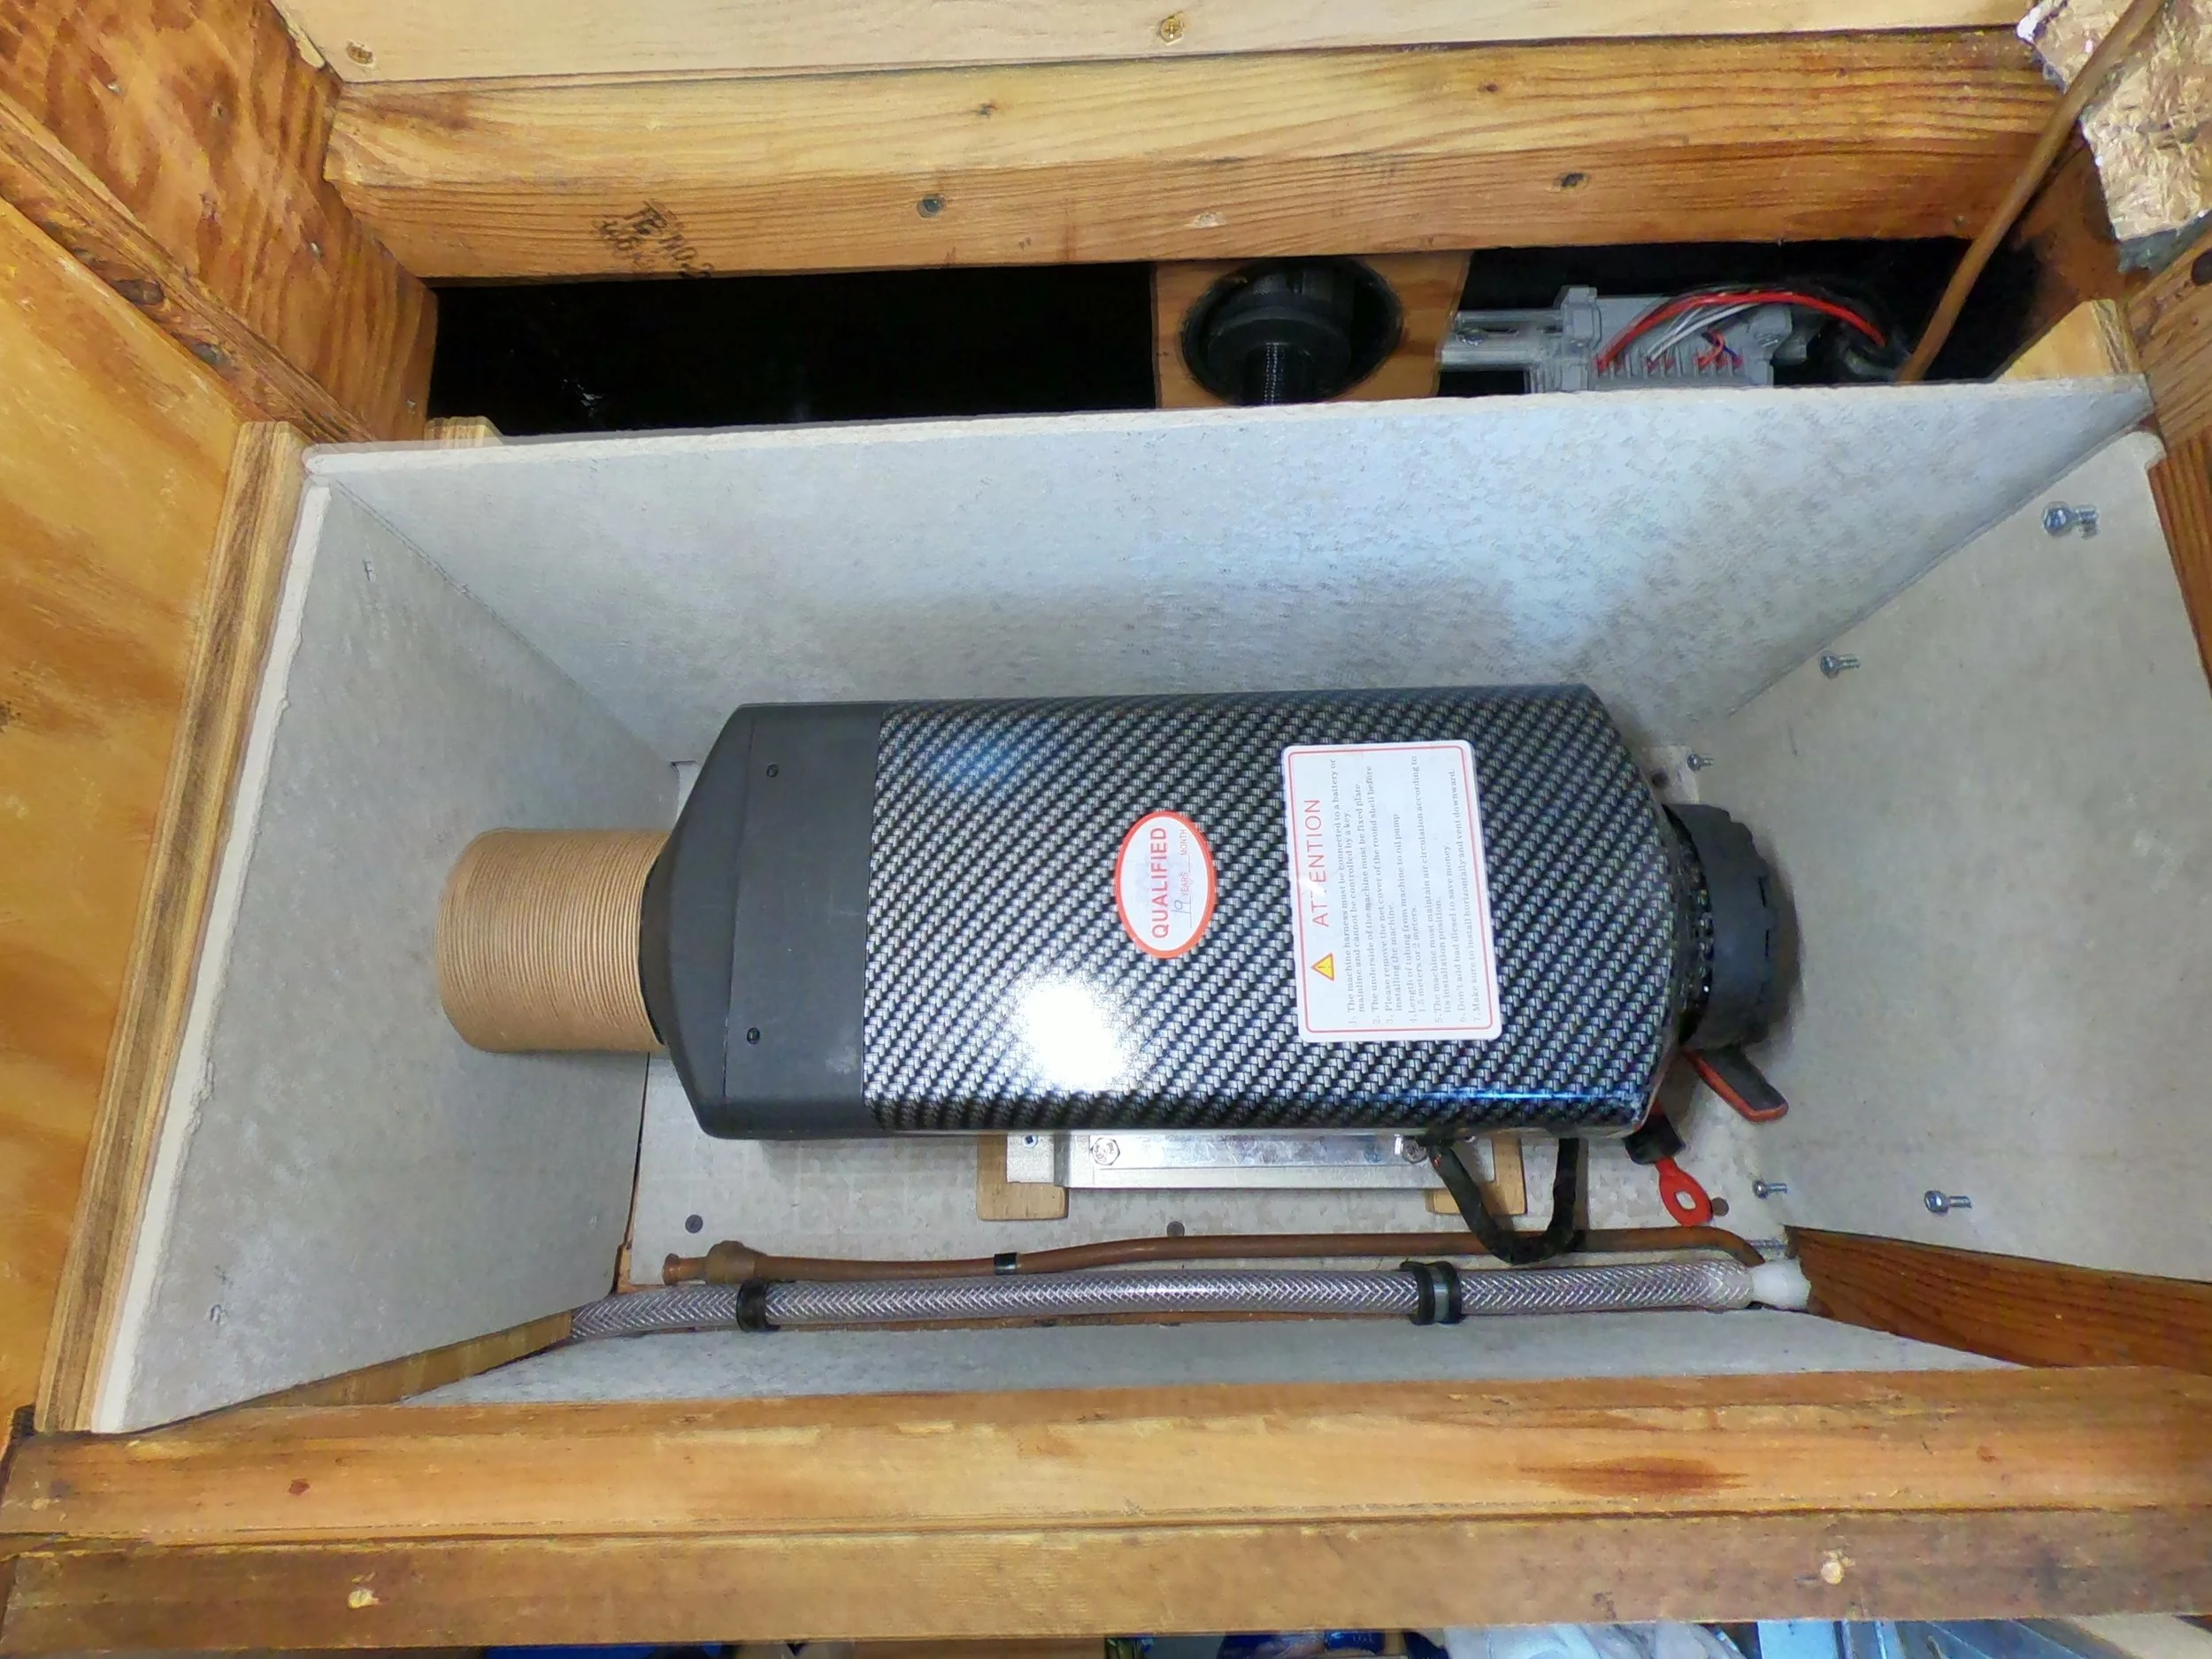
Diesel heater installed in commode area and boxed in with concrete board 01.
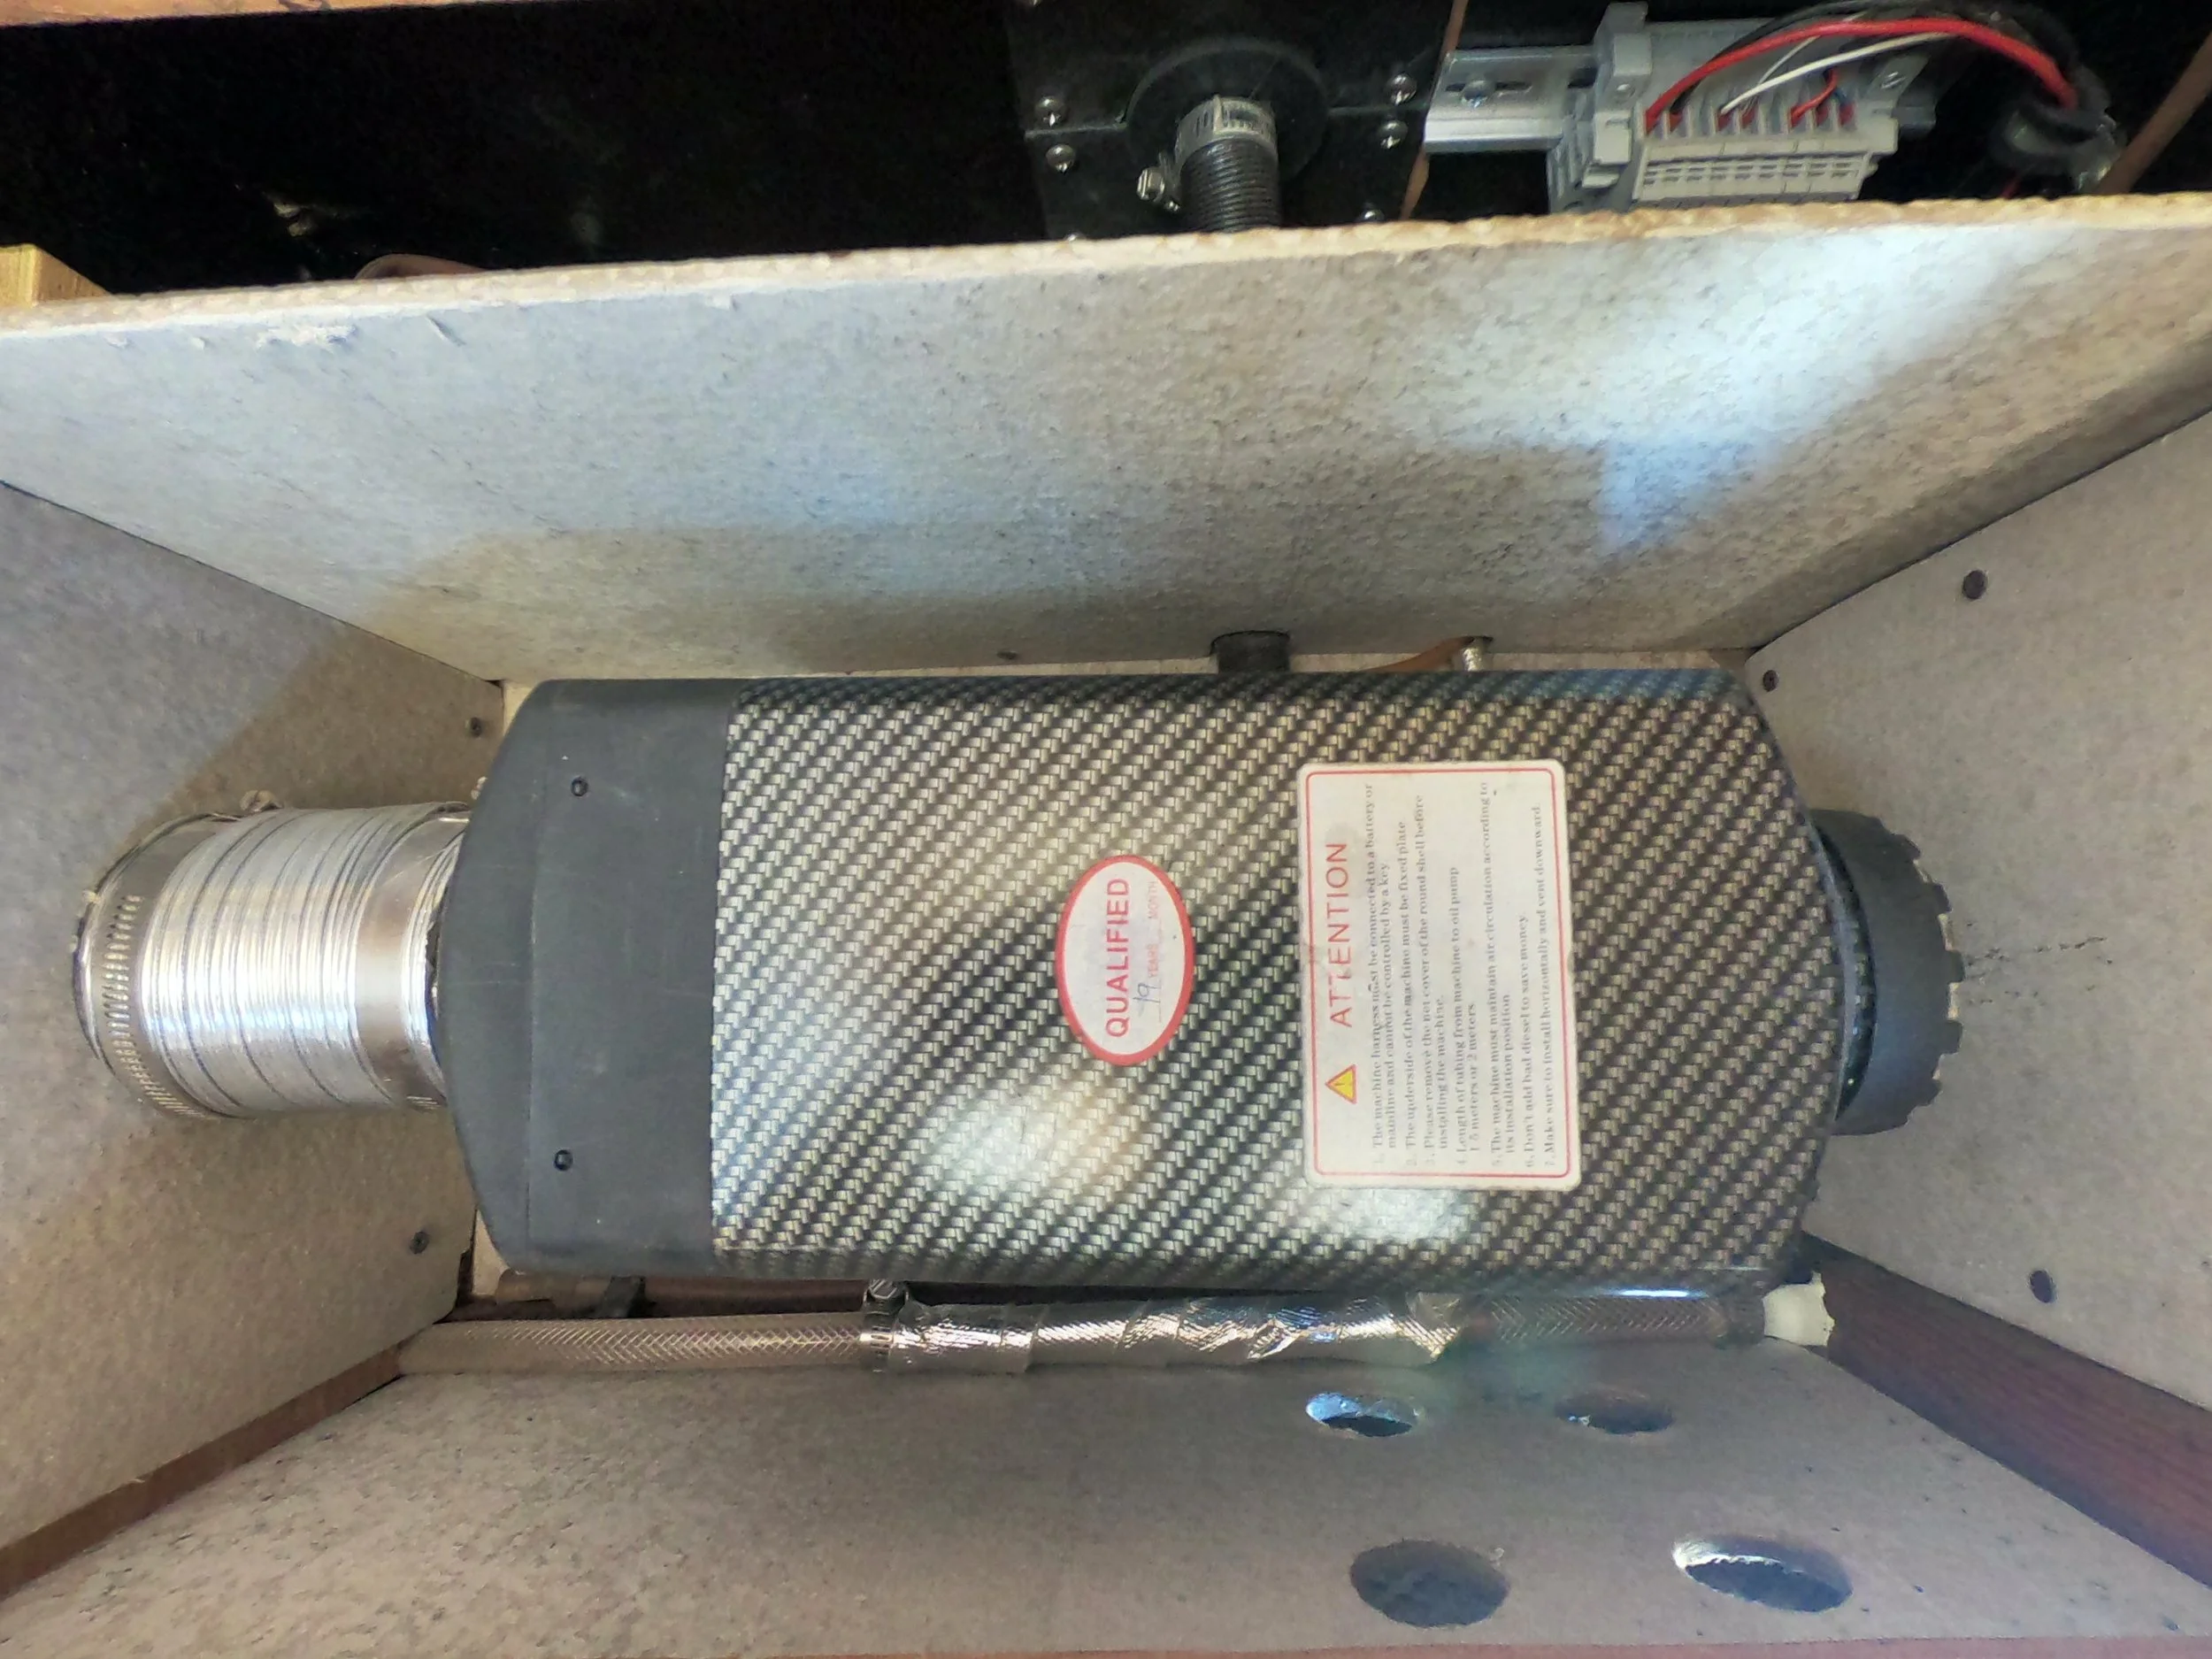
Diesel heater installed (different angl) in commode area and boxed in with concrete board 02.
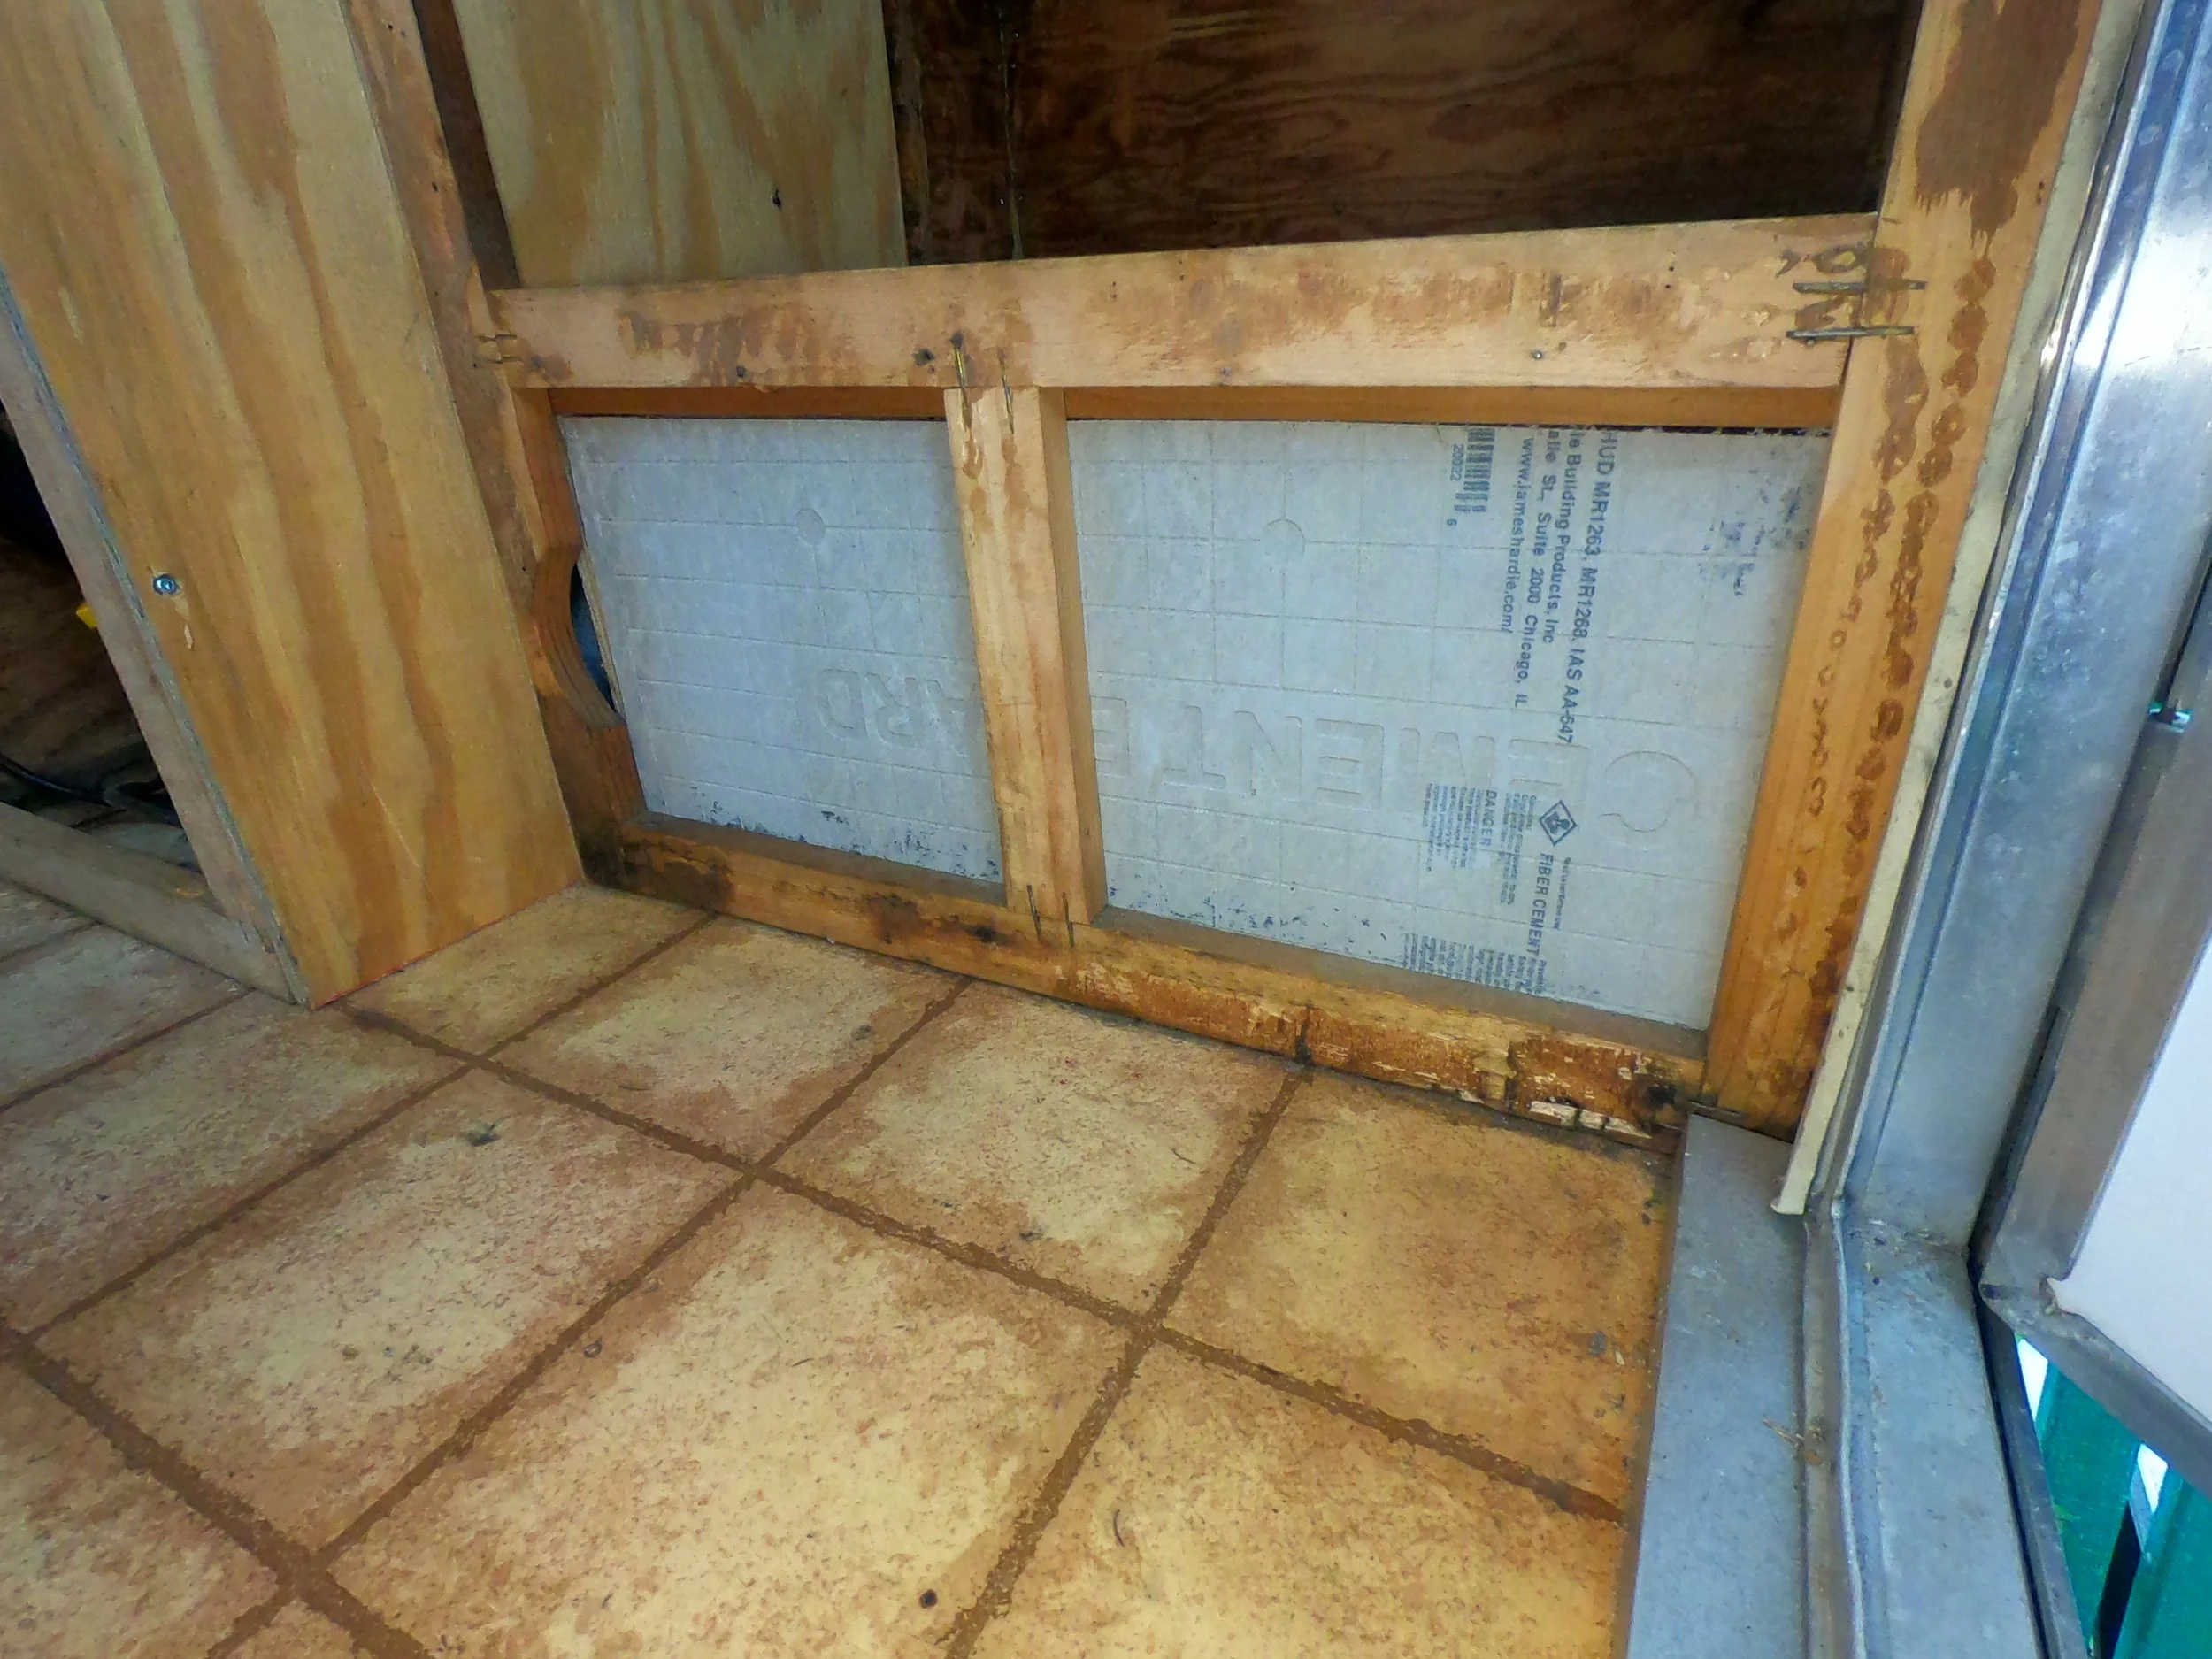
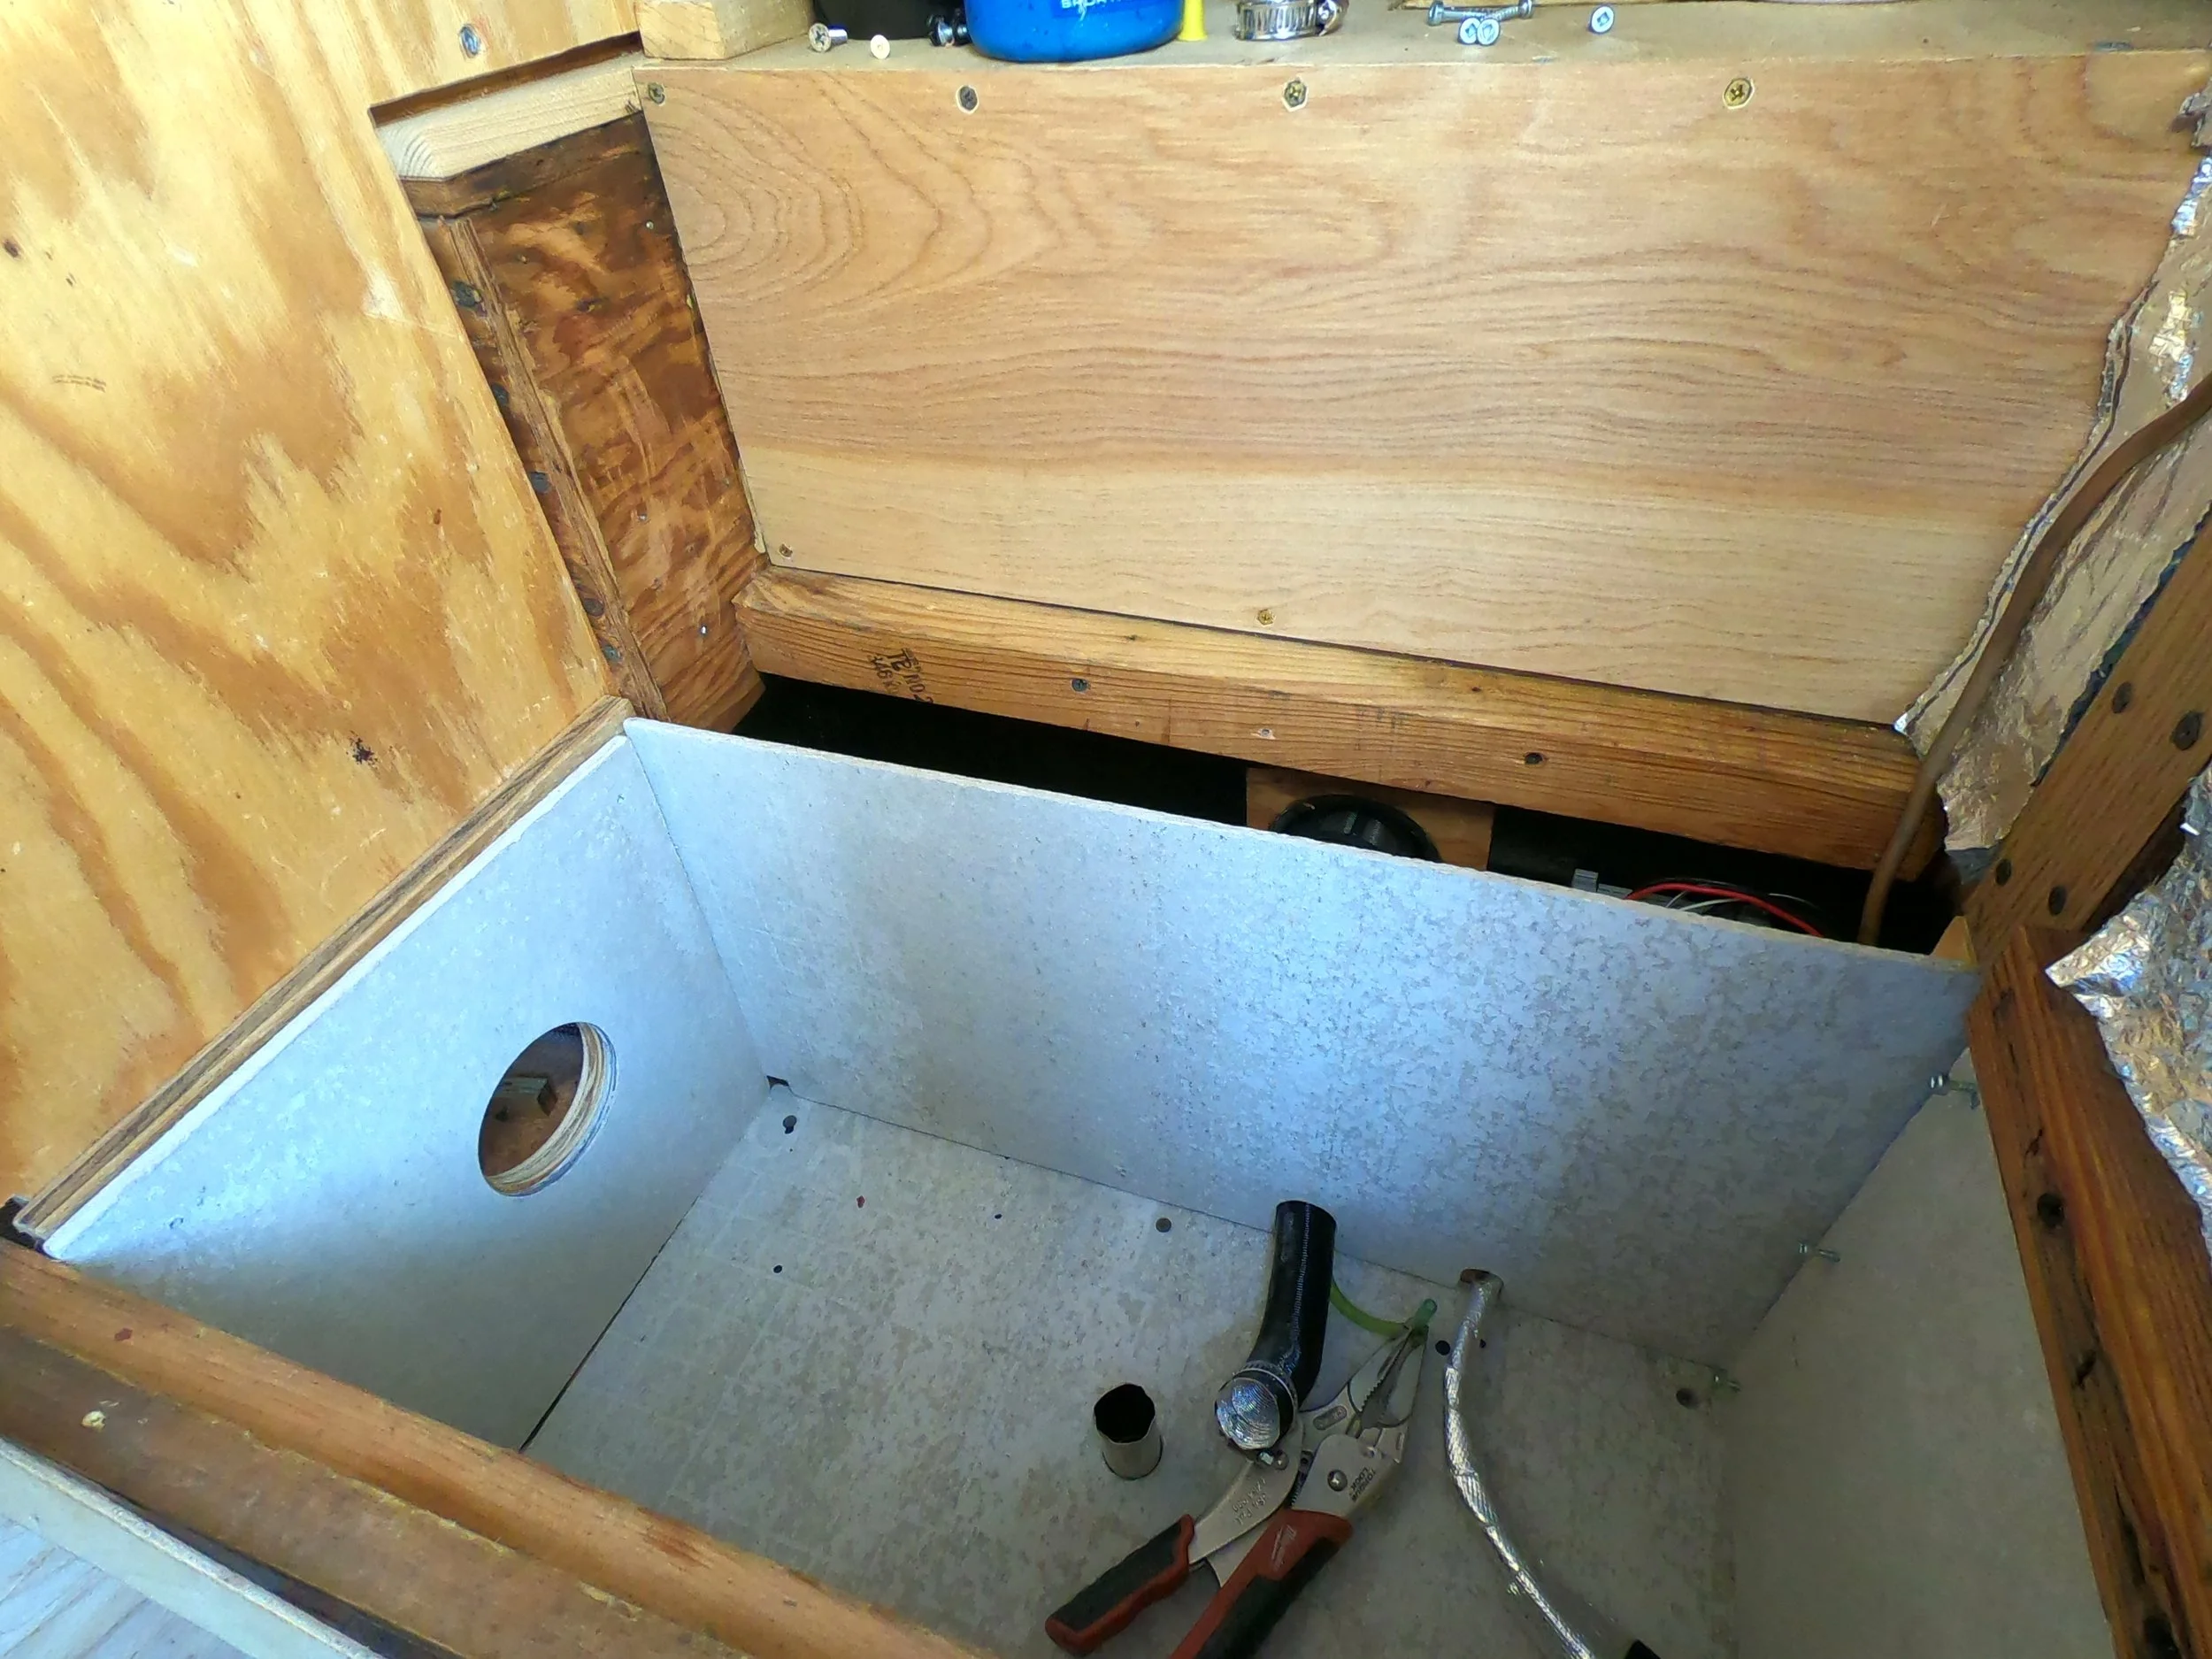
The area below the Commode - I encased the space with a Cement Backerboard to fireproof the space a bit before installing the diesel heater.
3D printed a clamshell for the Webasto air filter I ordered. 2 pieces 5 screws each to hold filter. This vents directly outside into the F350 bed area.
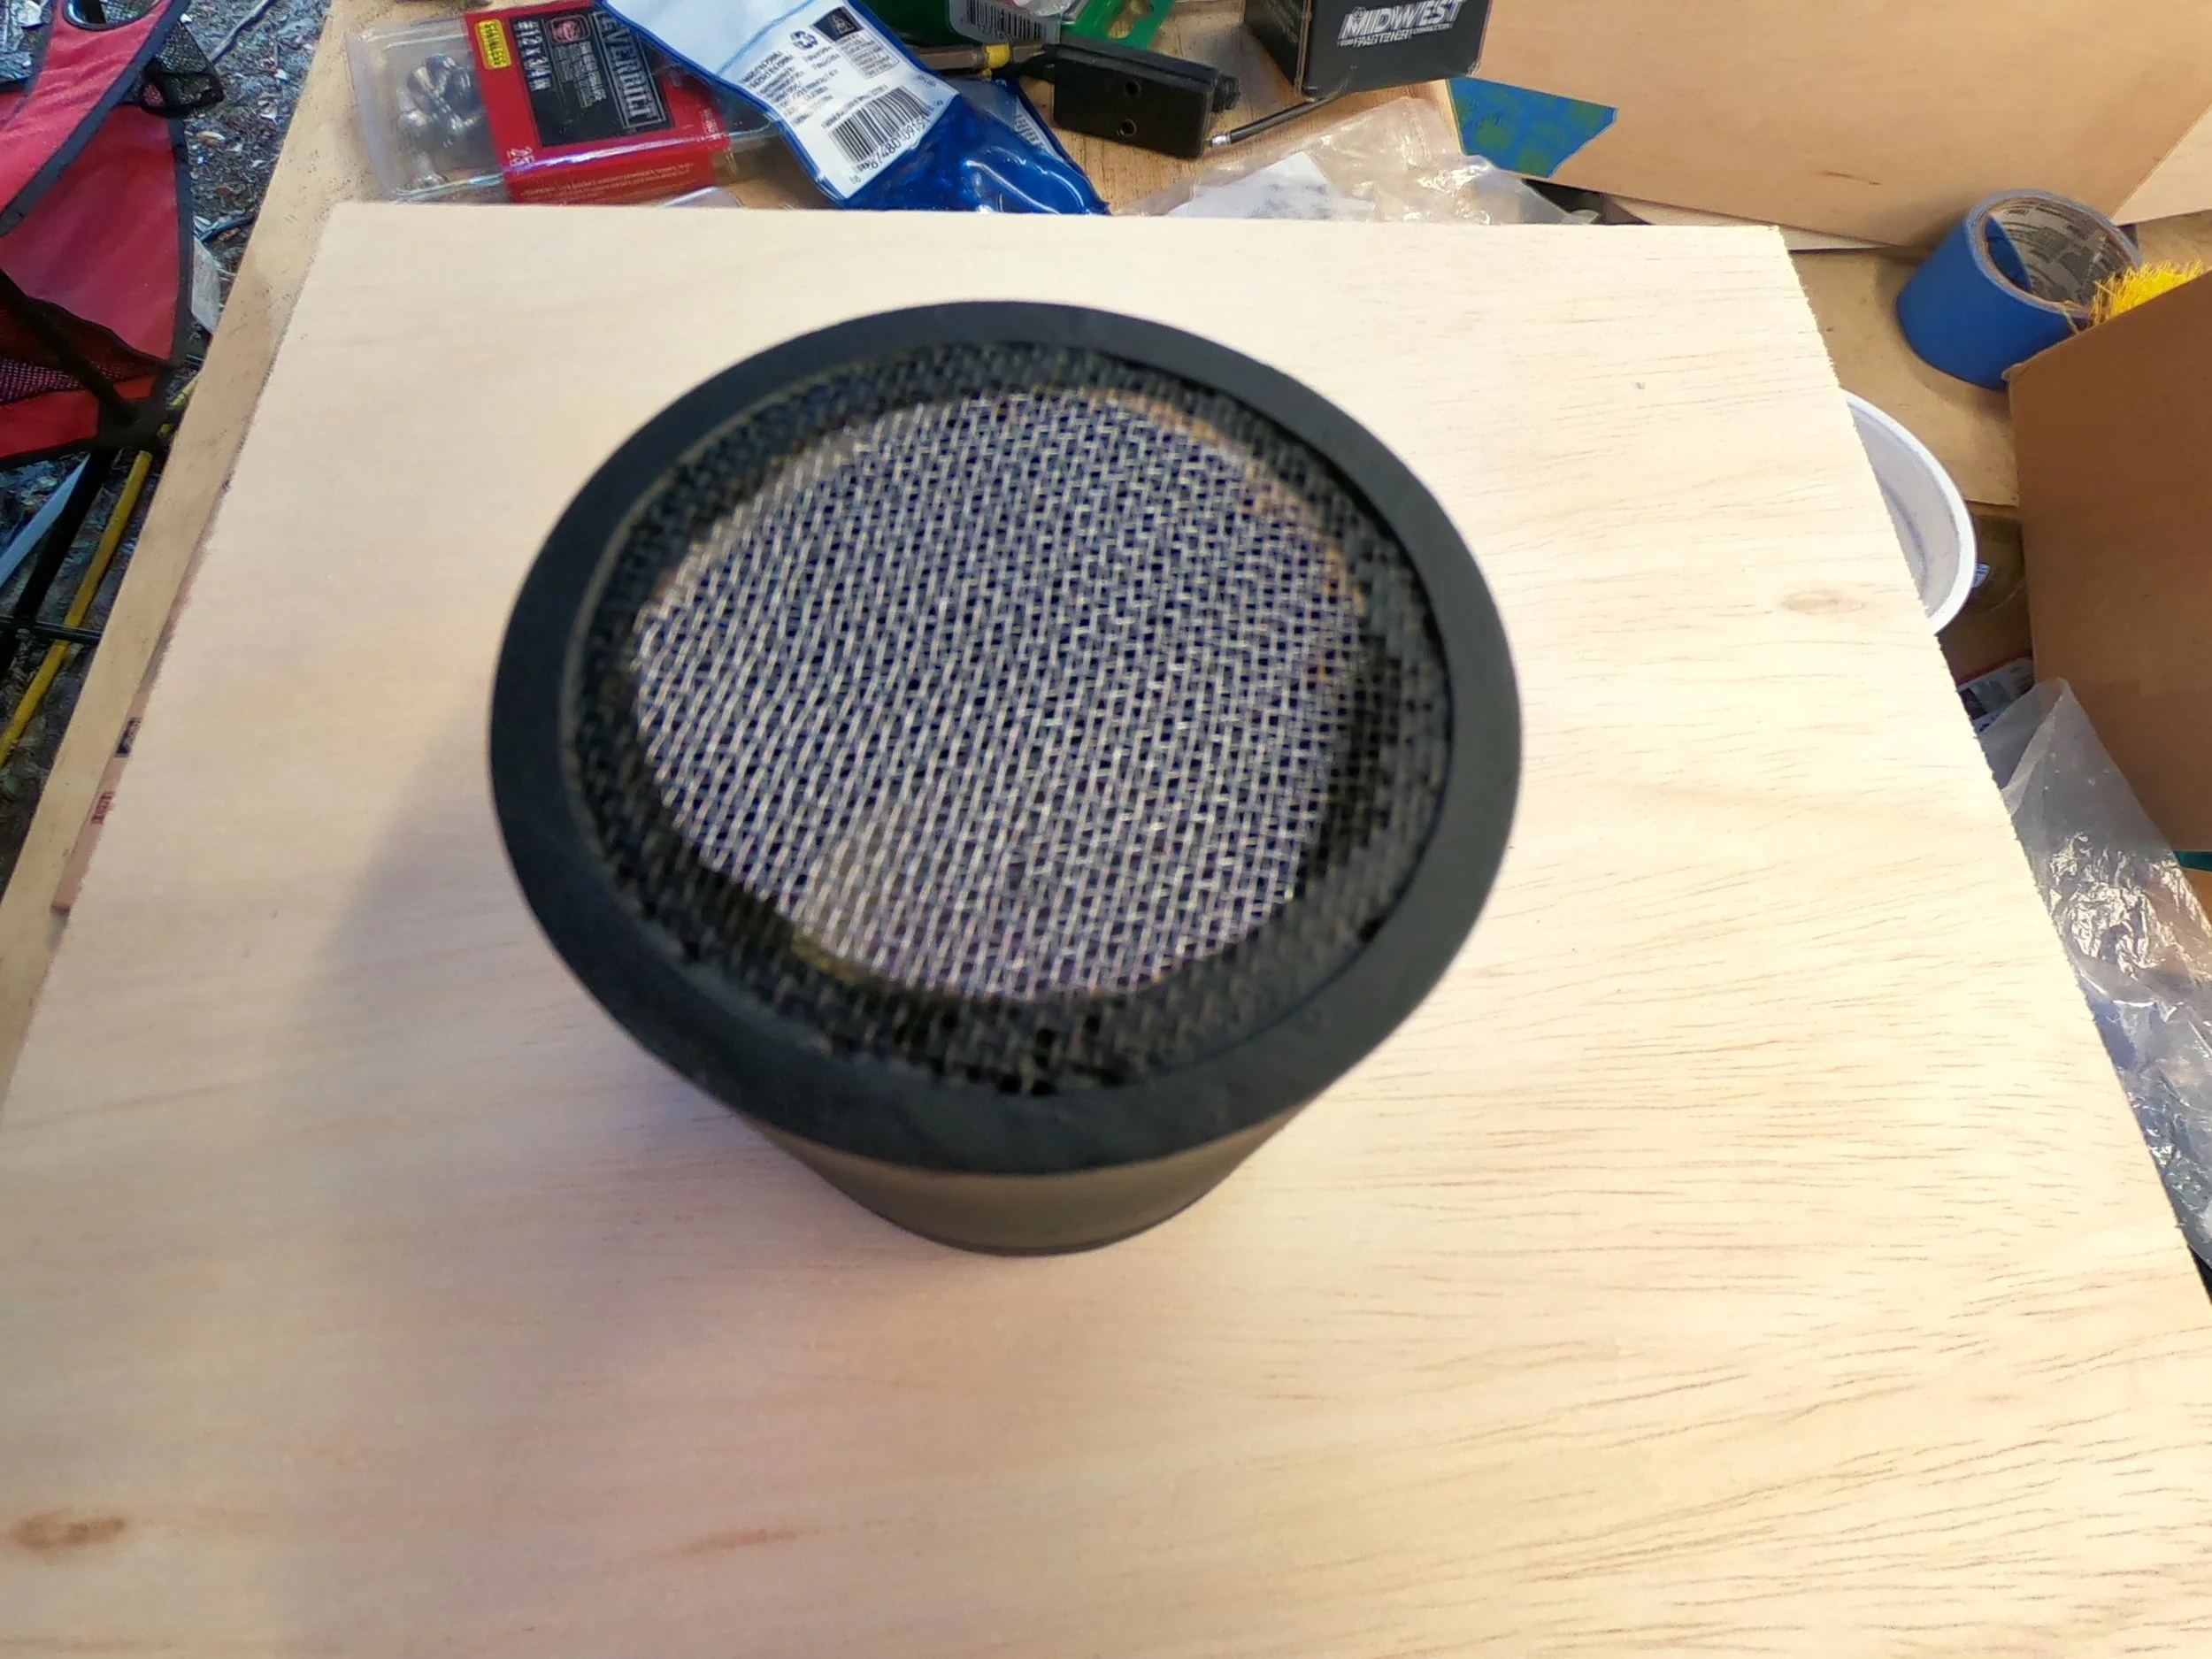
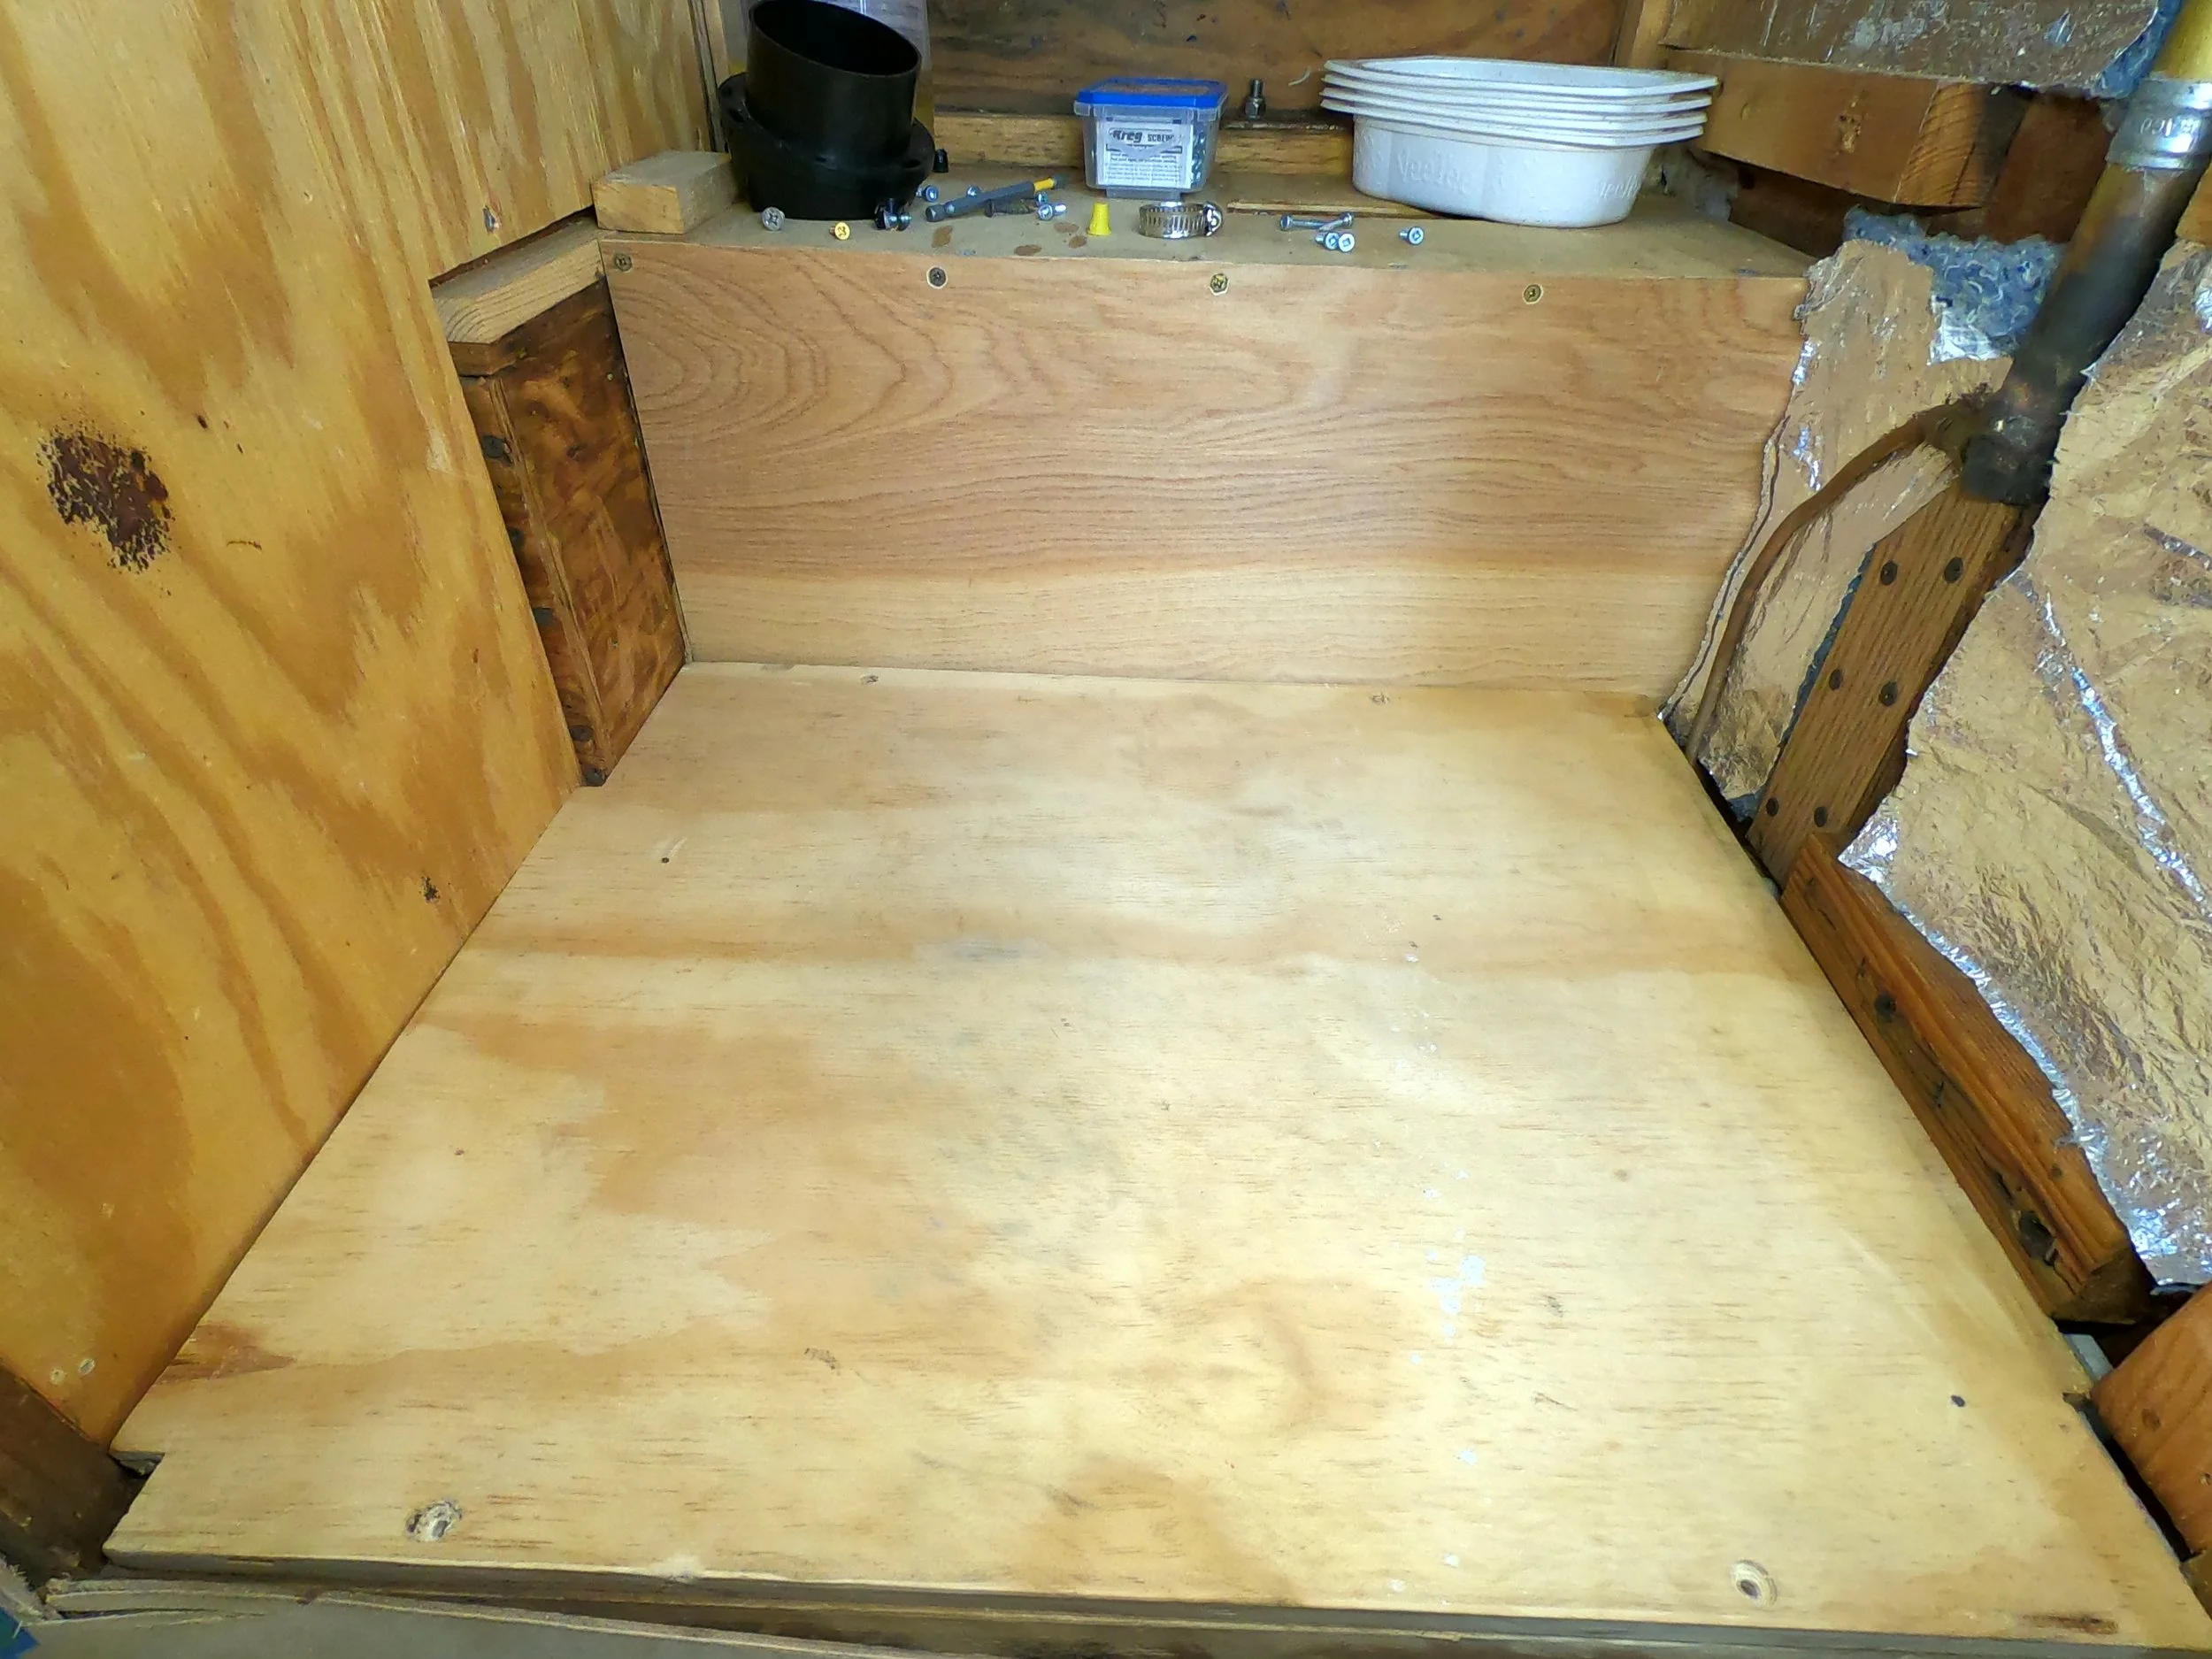
Air Filter housing 01. I built from some 3" PVC, screen etc. and epoxied into the F350 bed area.
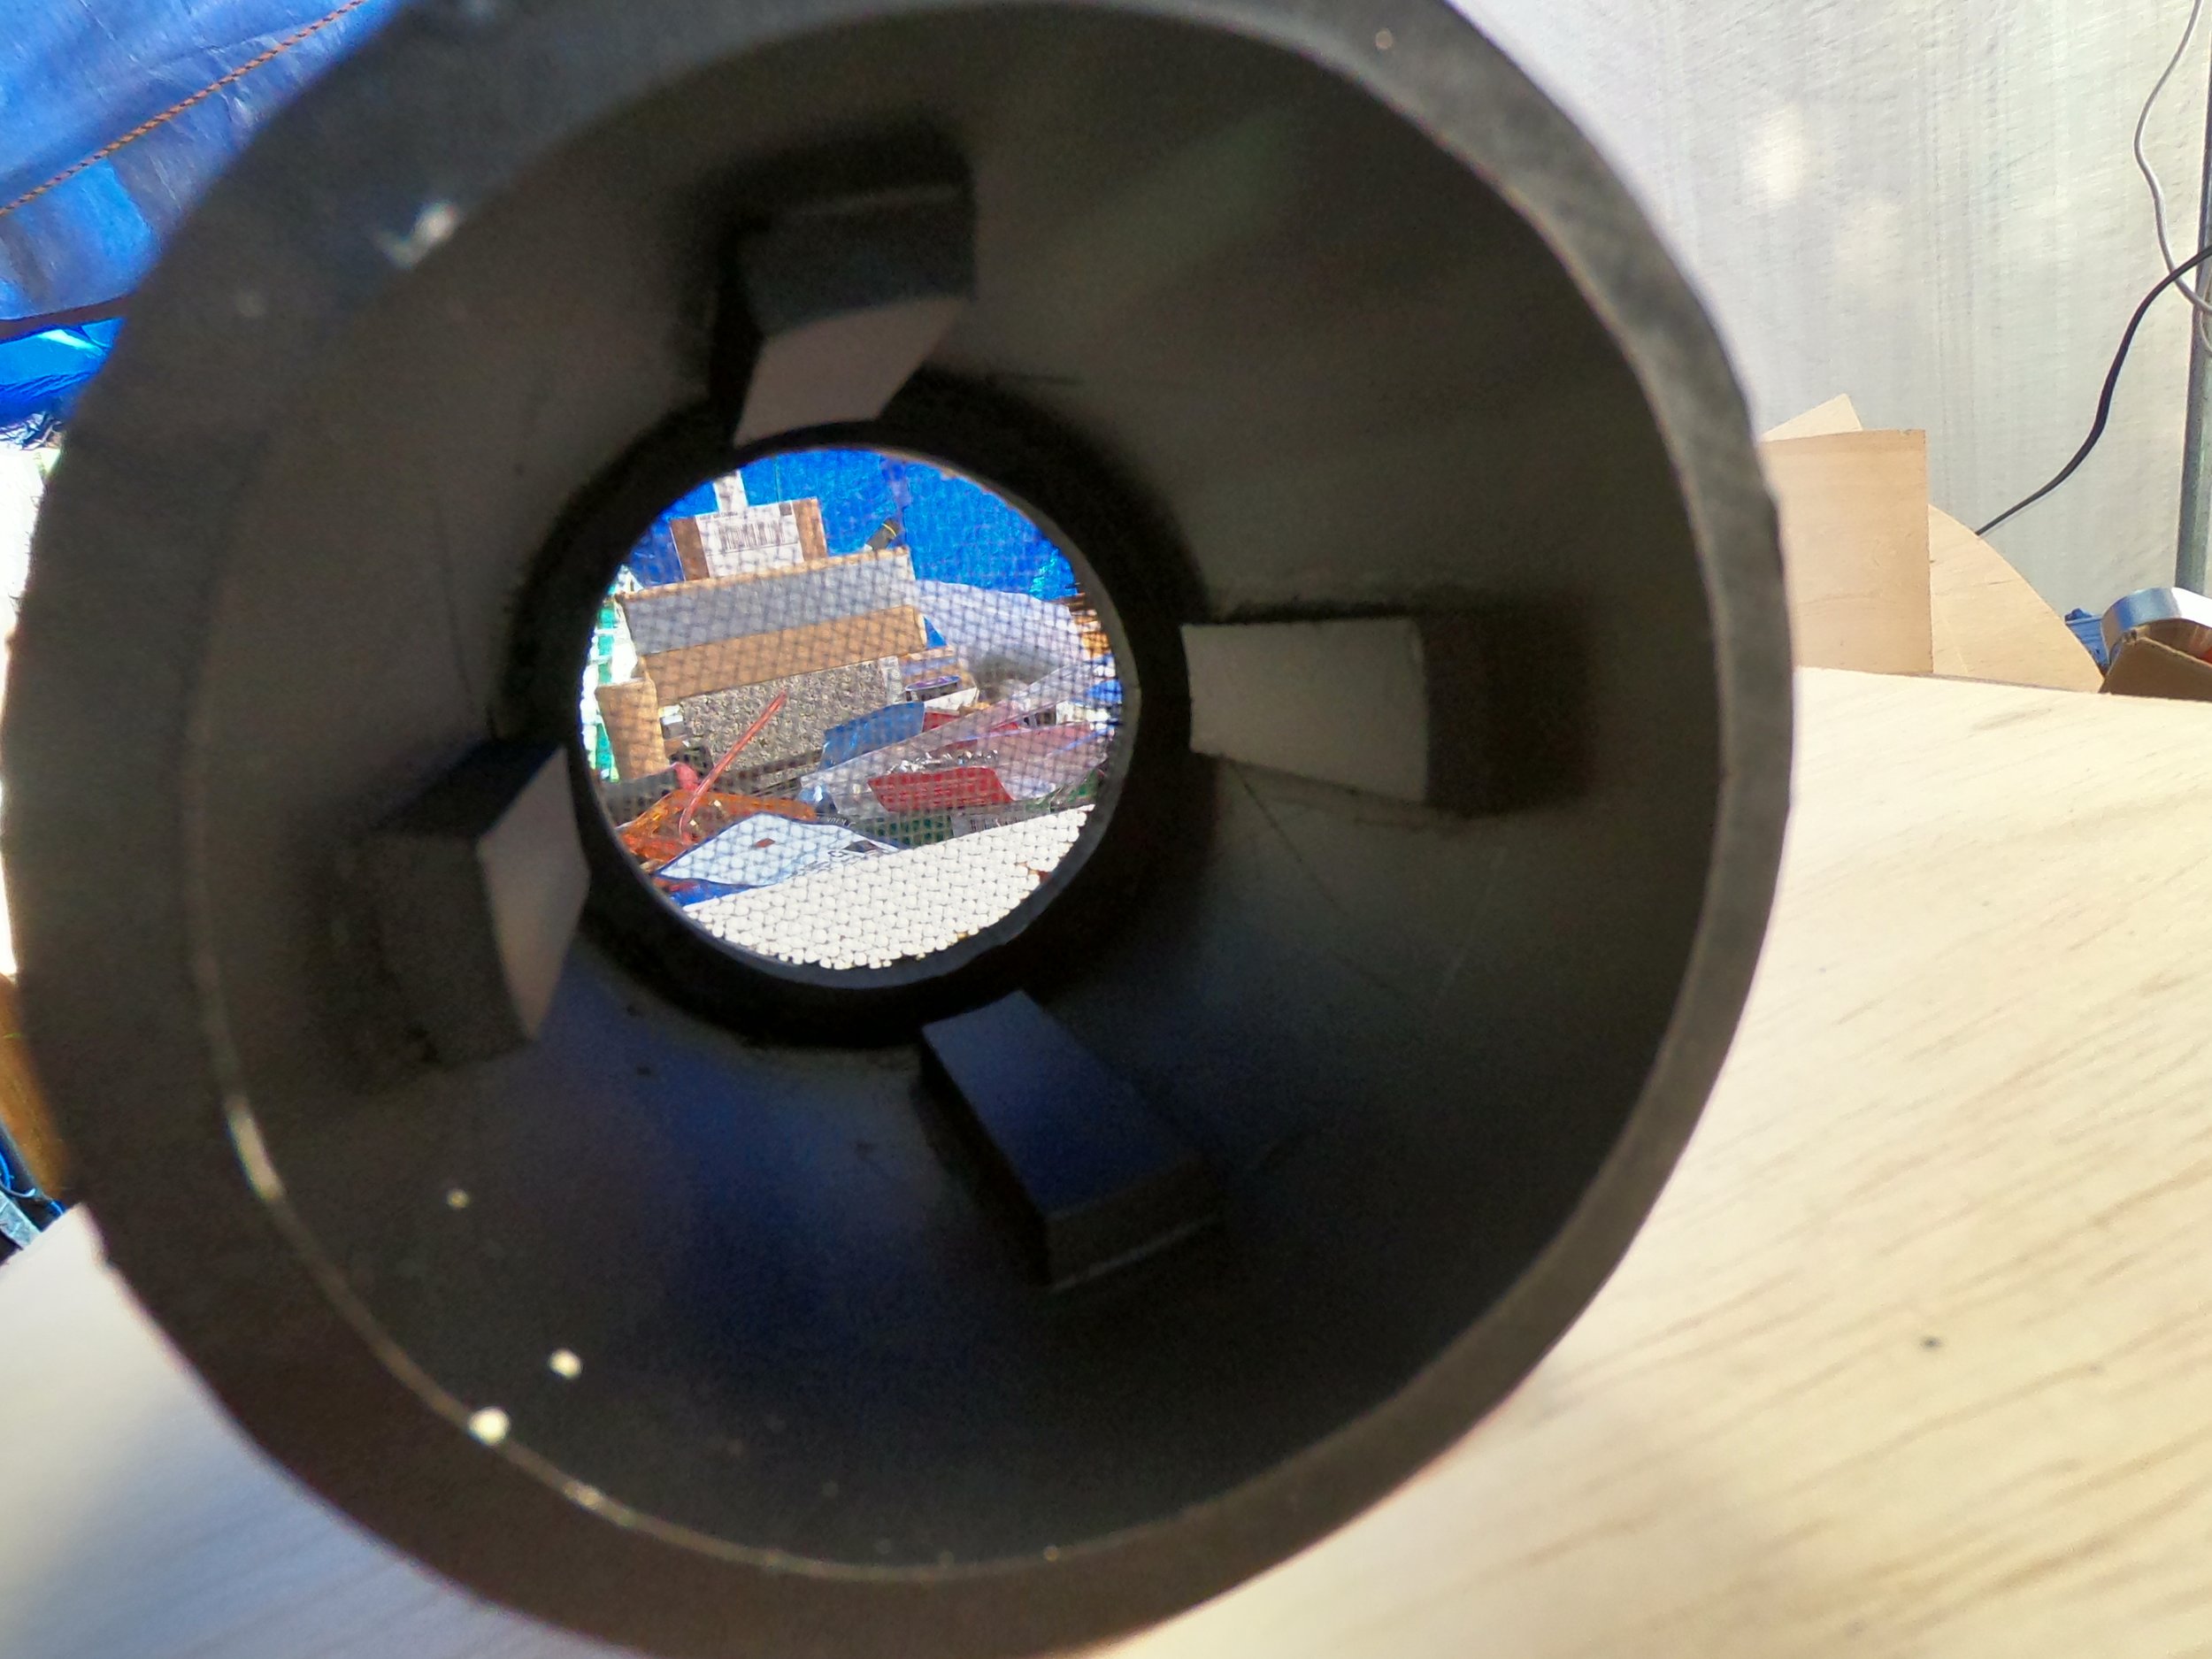
Air Filter housing 02. Because the Webasto Air Filter was a small diameter I added some strips of PVC to allow it some movement but pretty much stay in place.
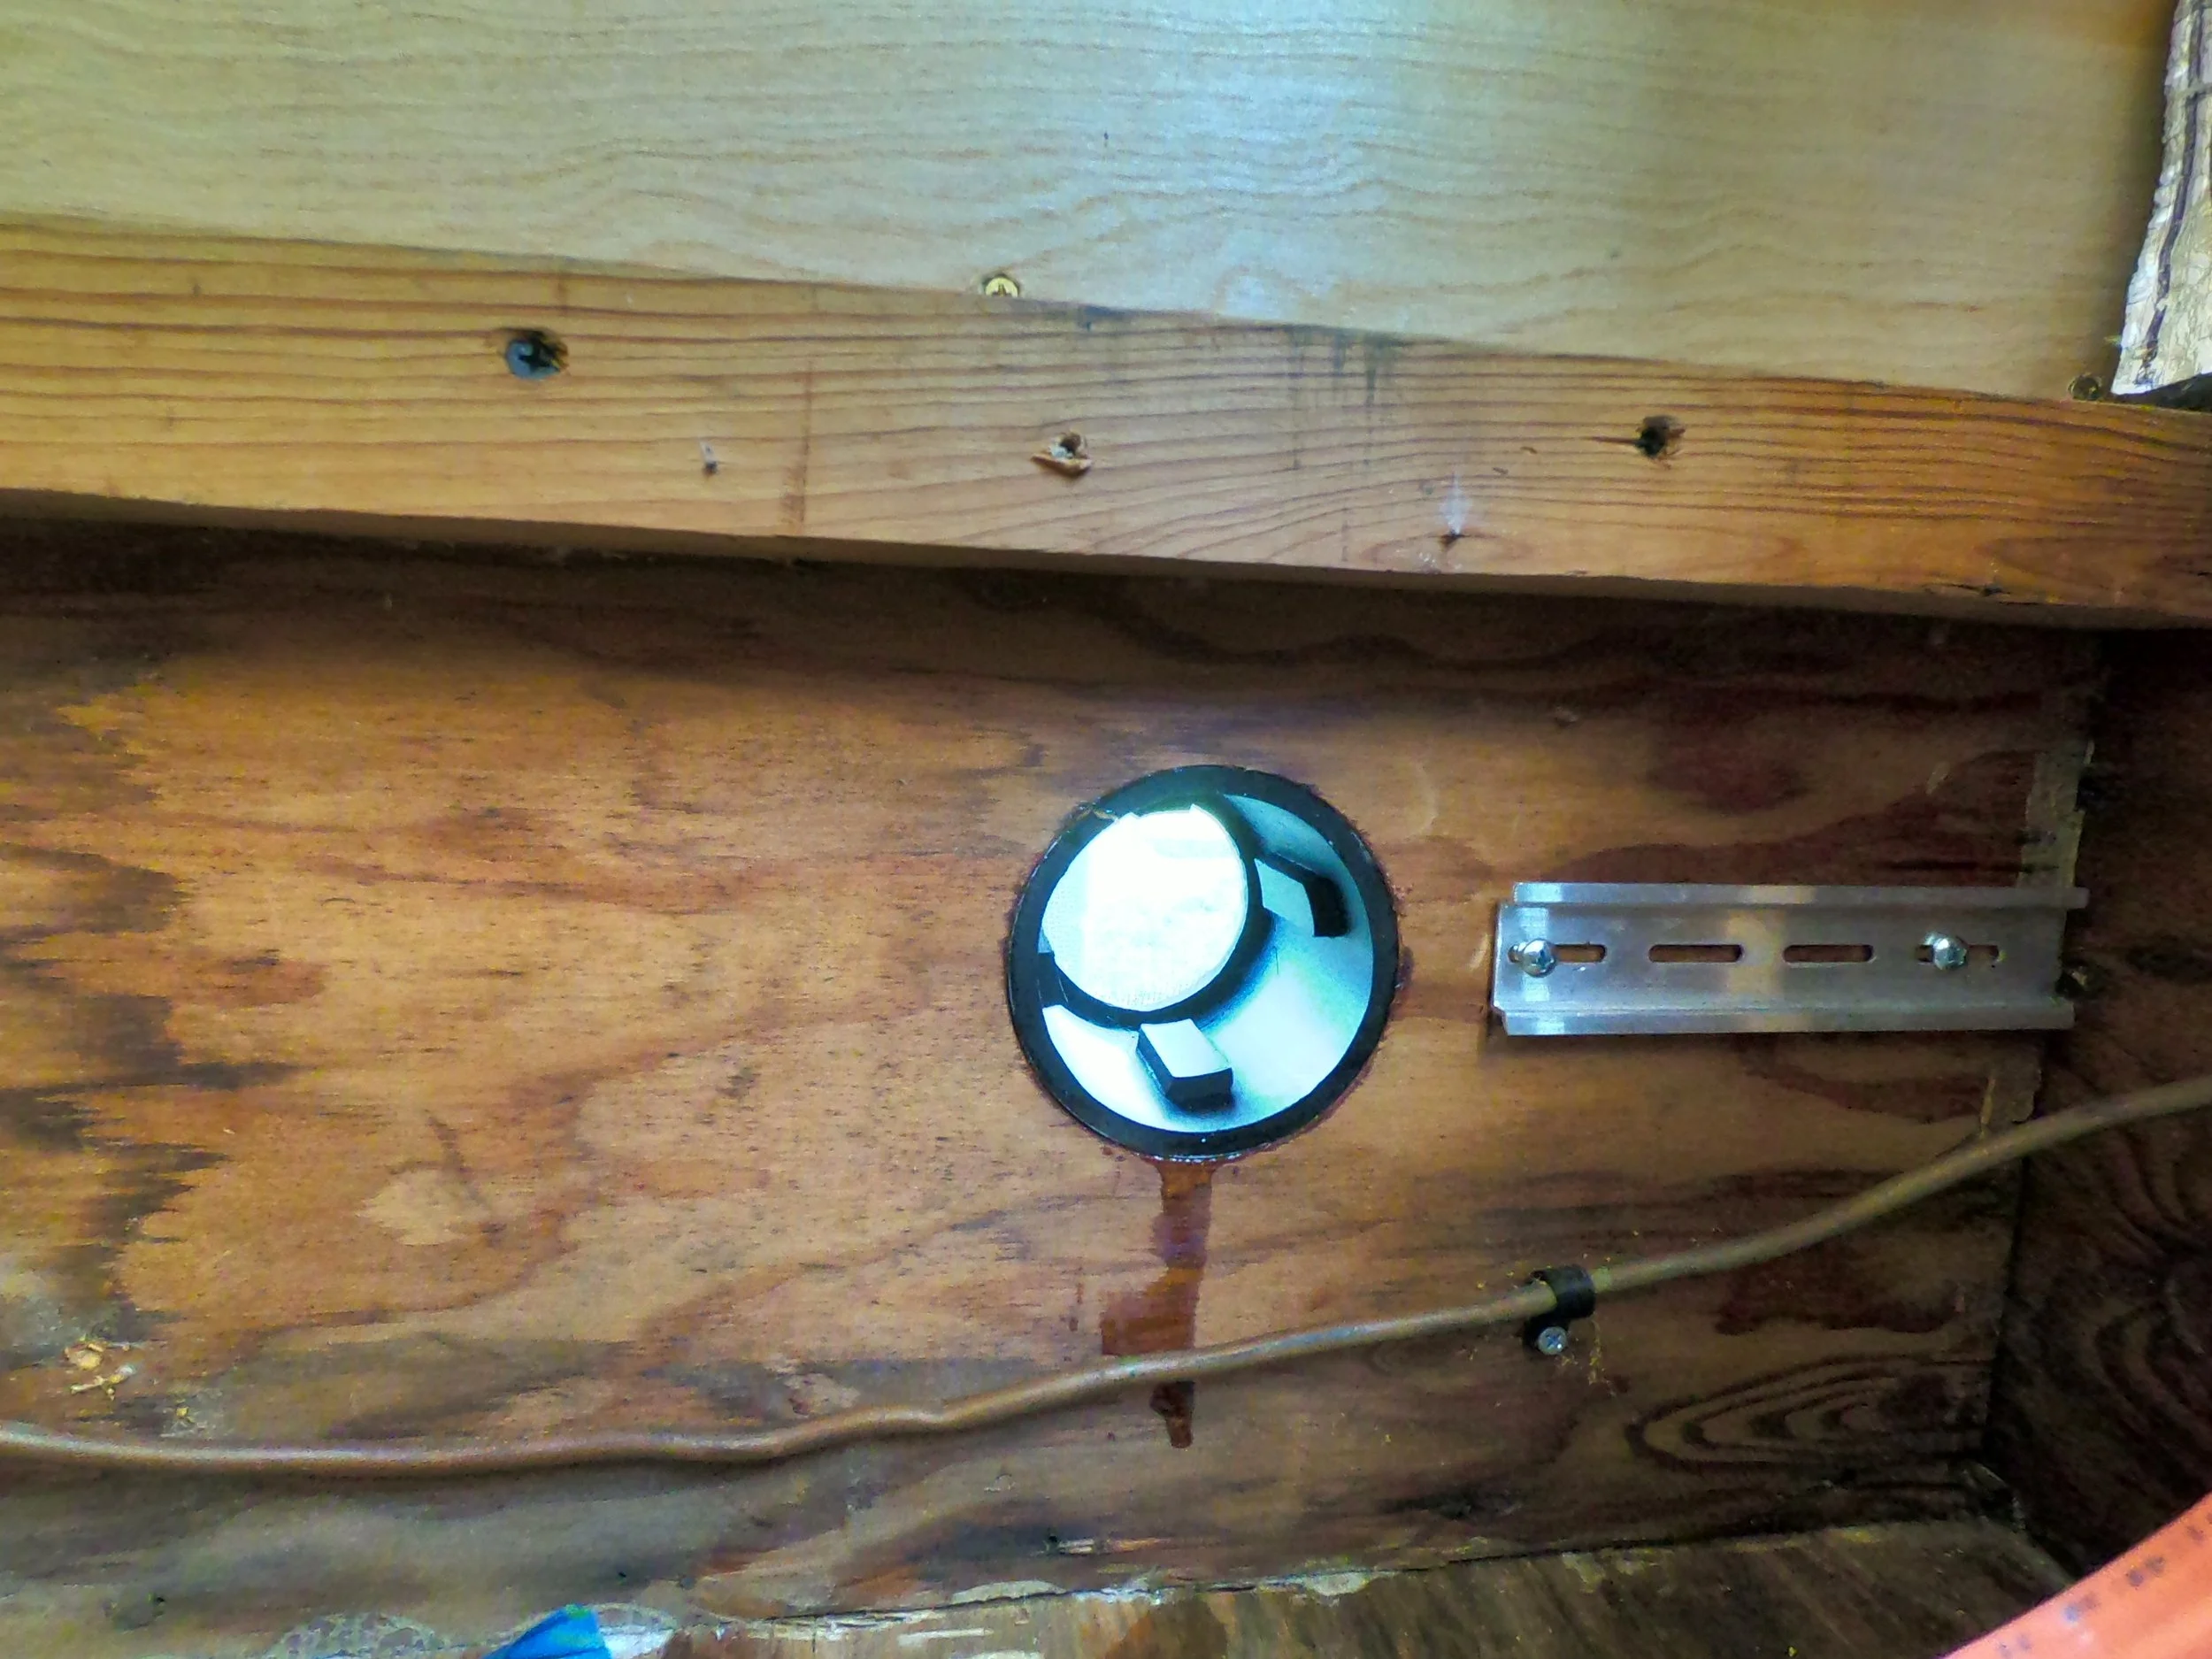
Air Filter housing 03. Epoxied into the wall of the Lower Cab viewed from the inside.
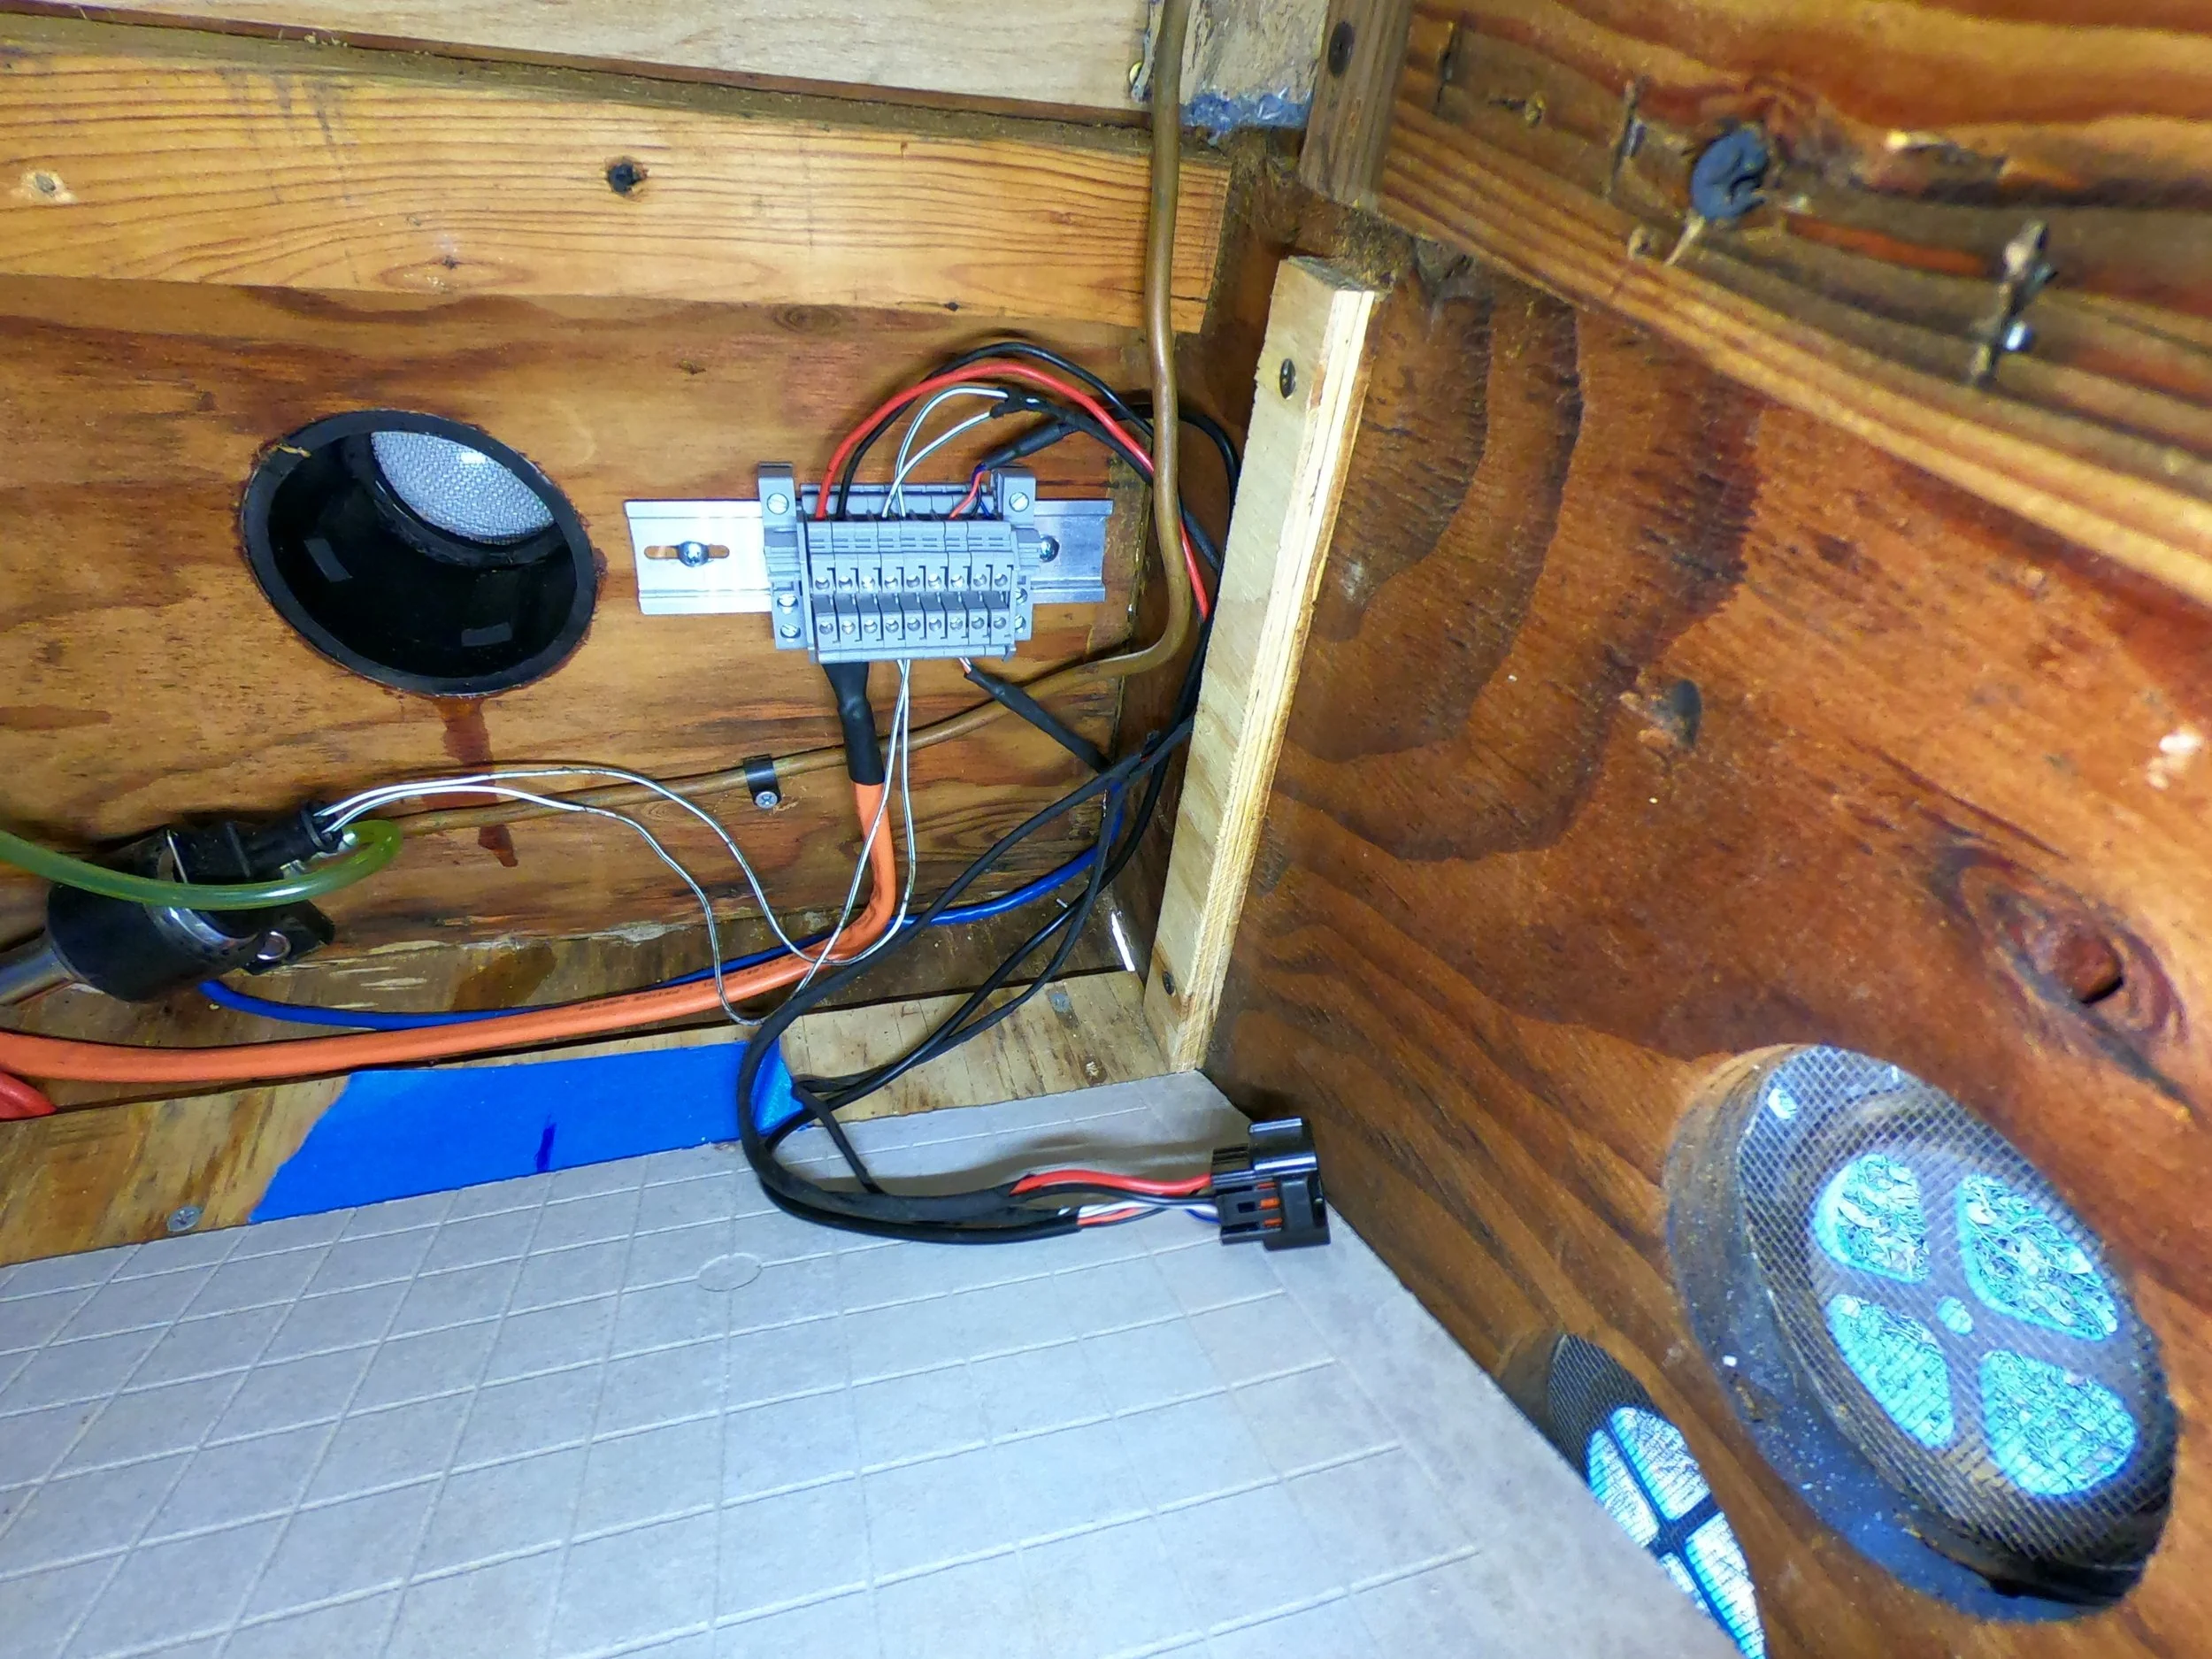
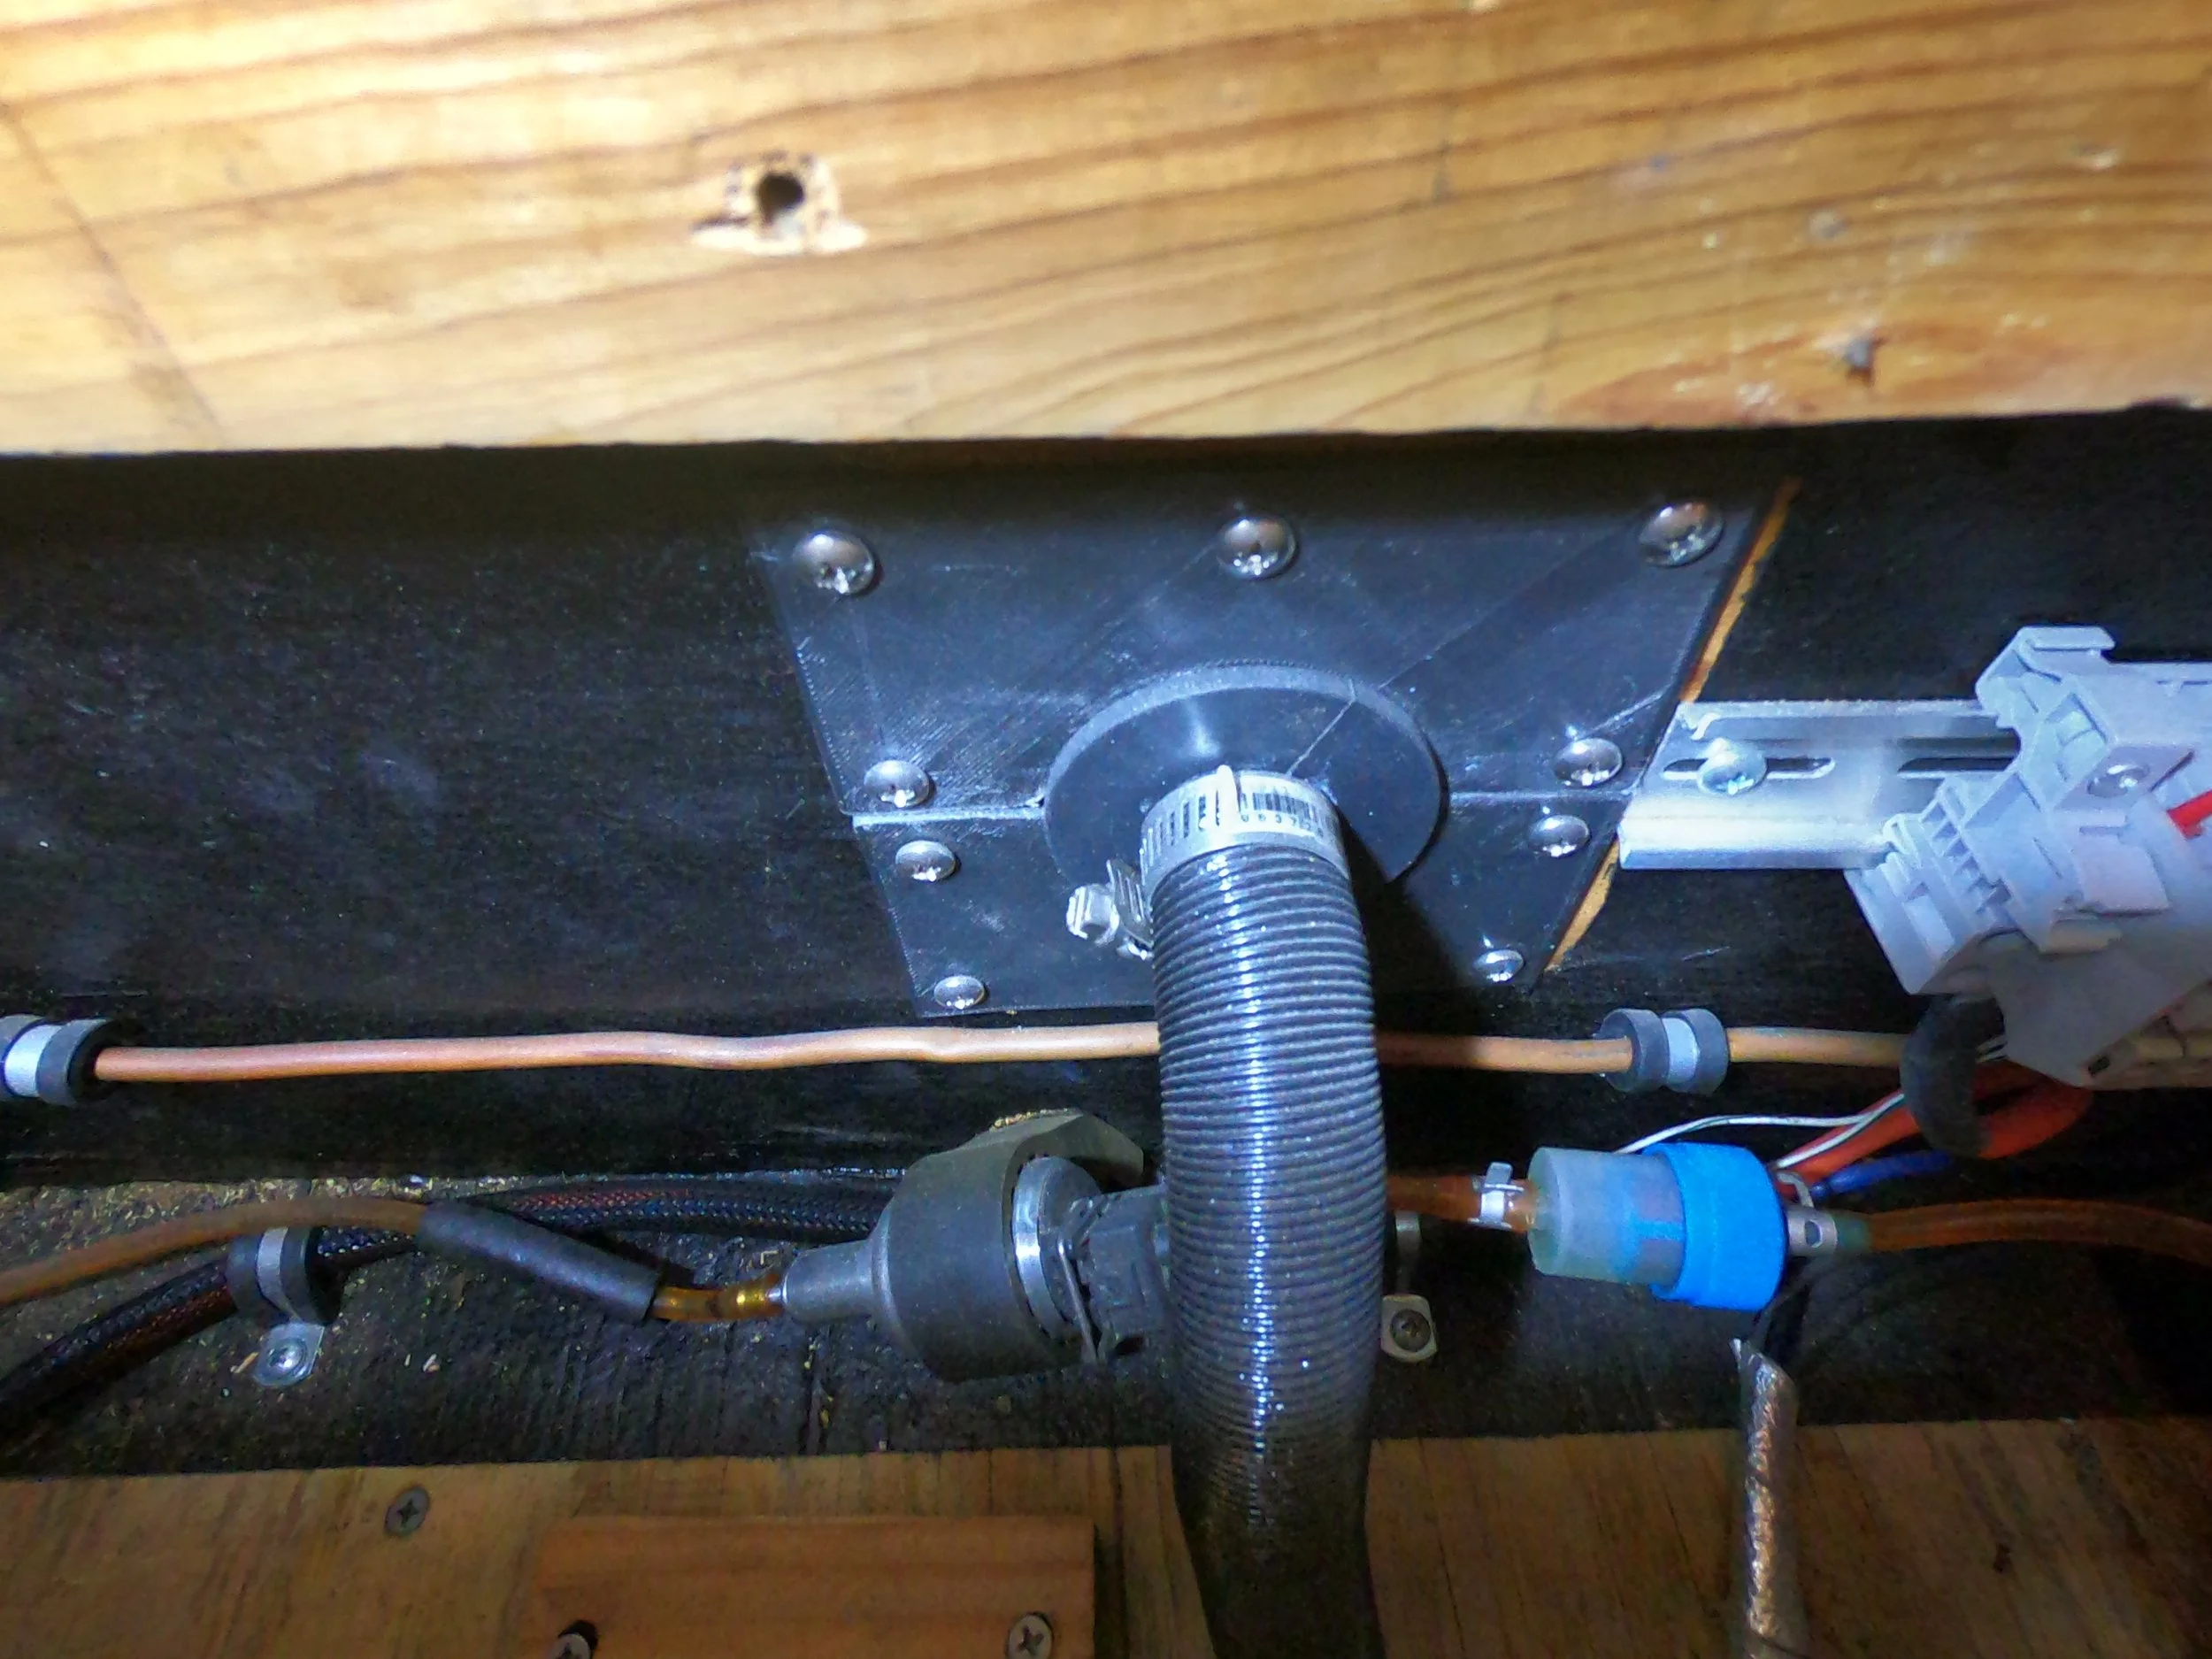
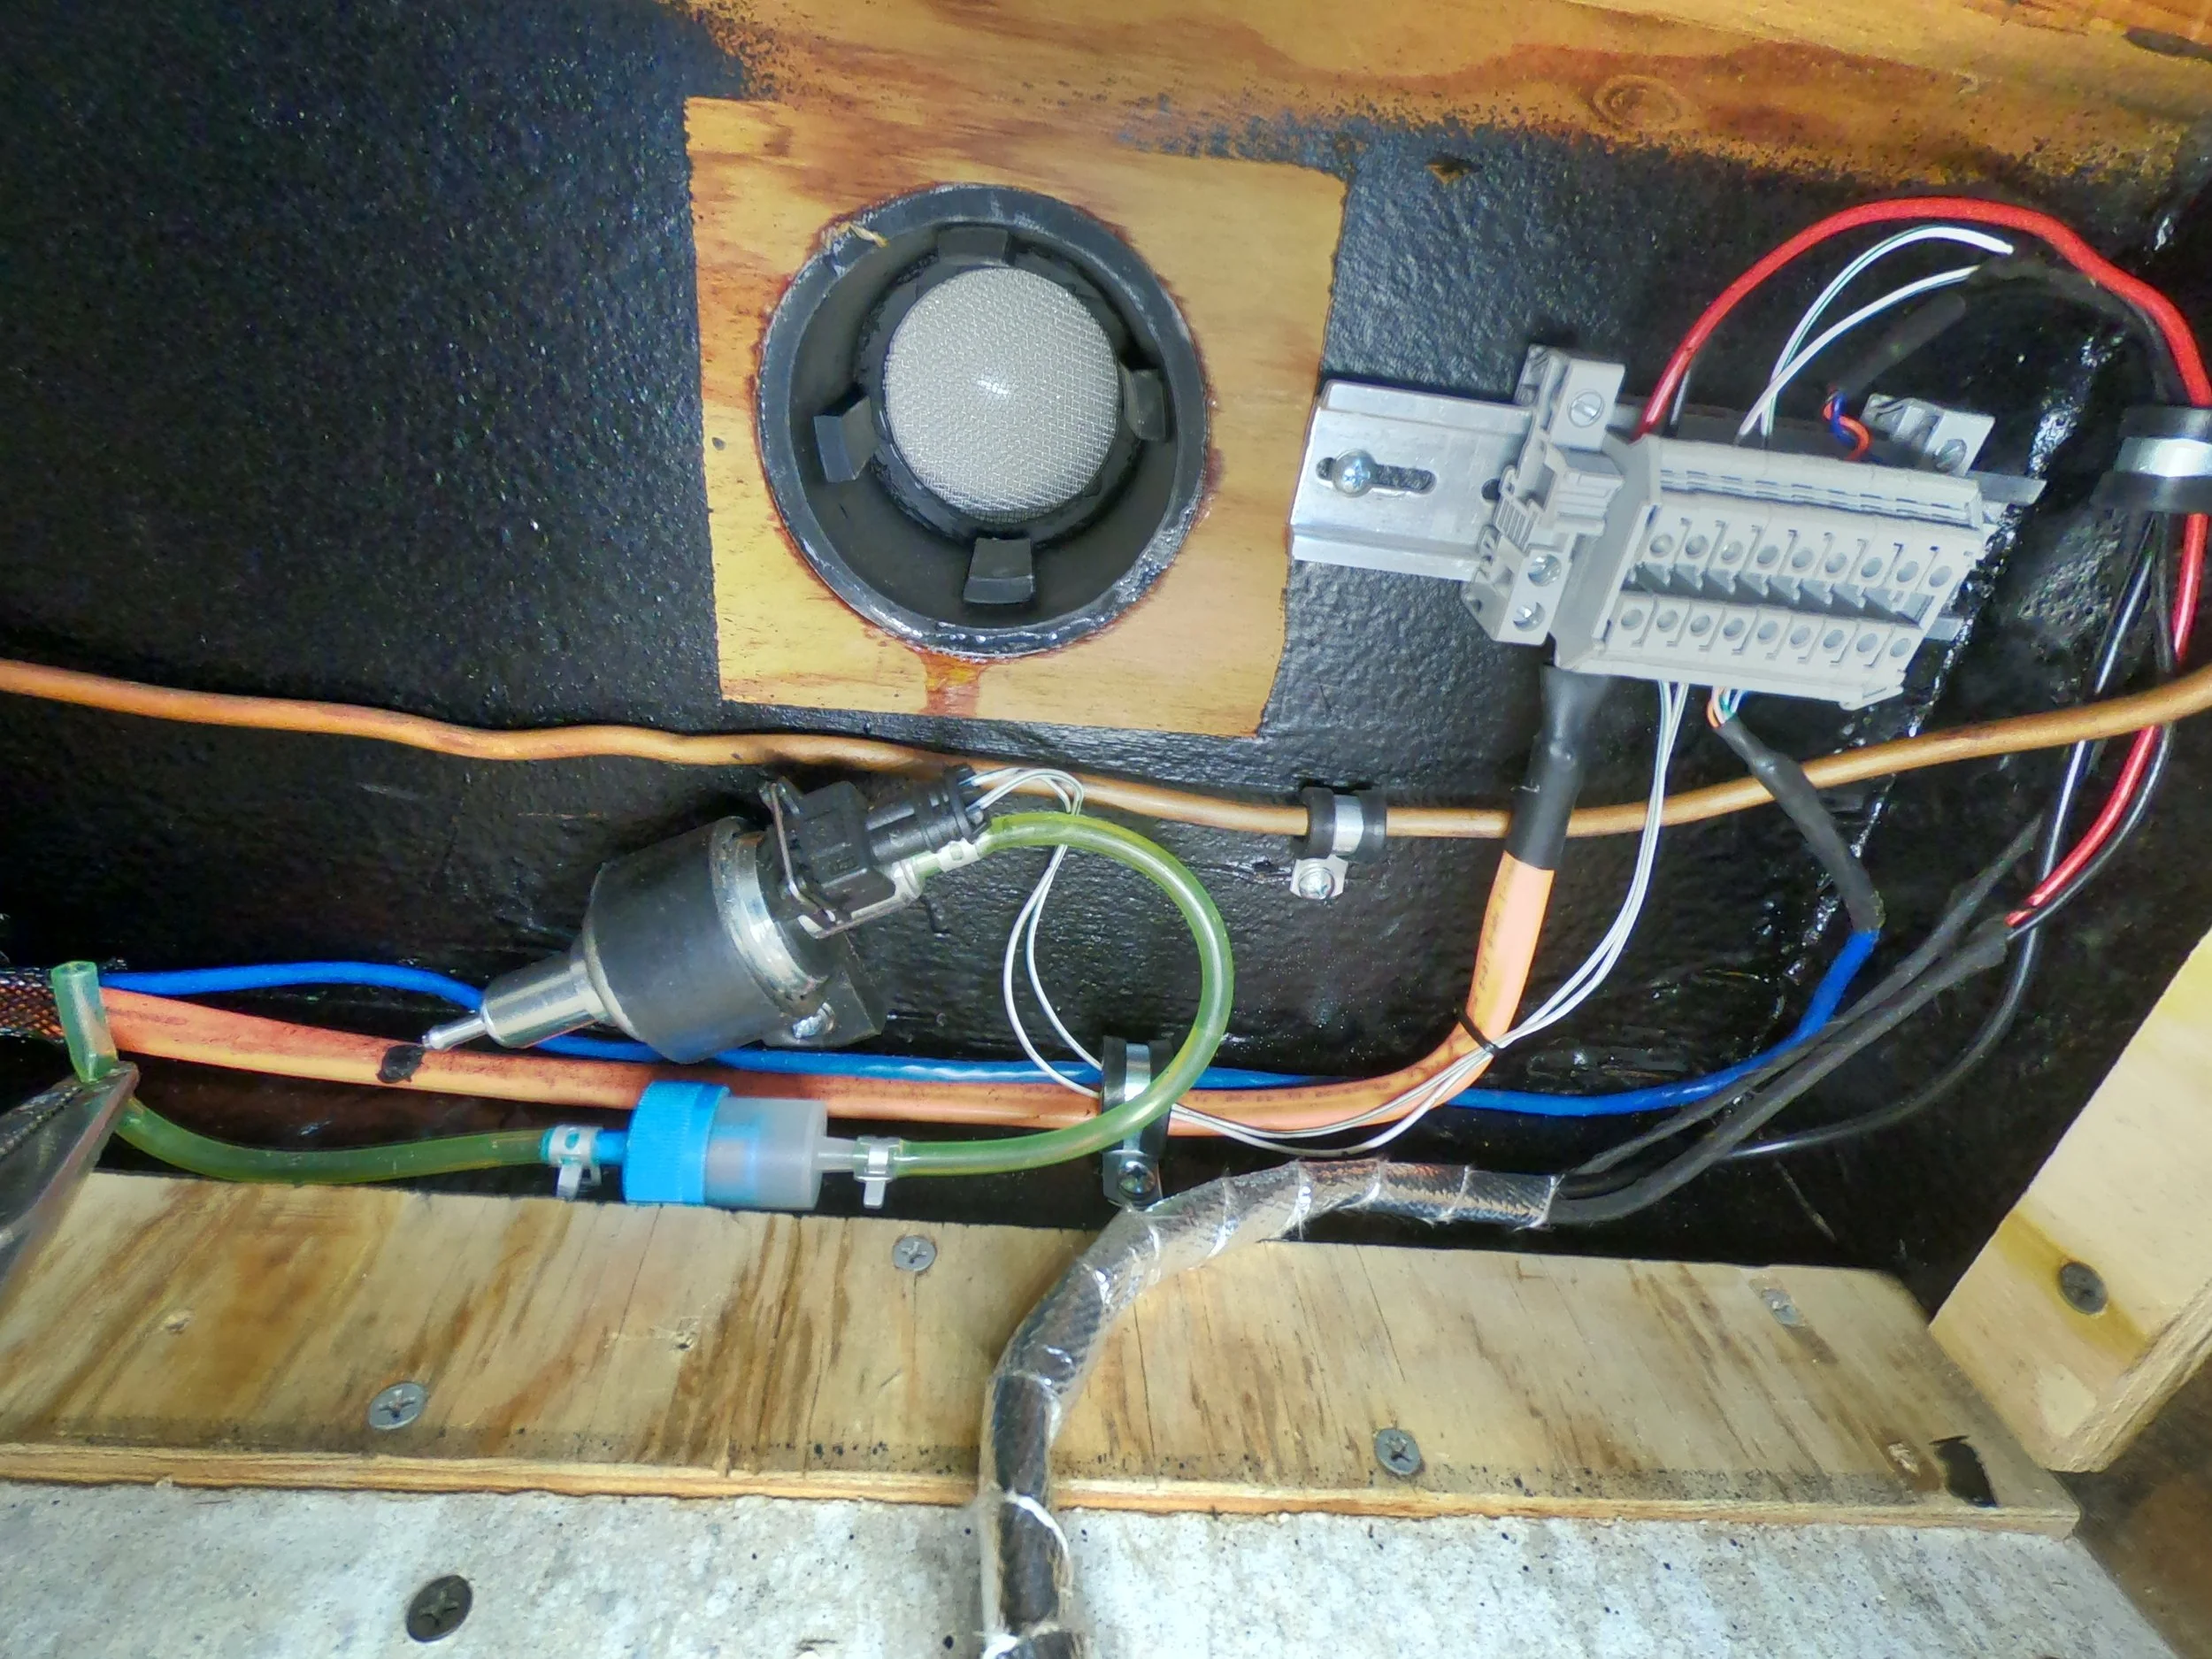
Din rail installed for wiring to Afterburner 01.
Pump installed and wiring in place.
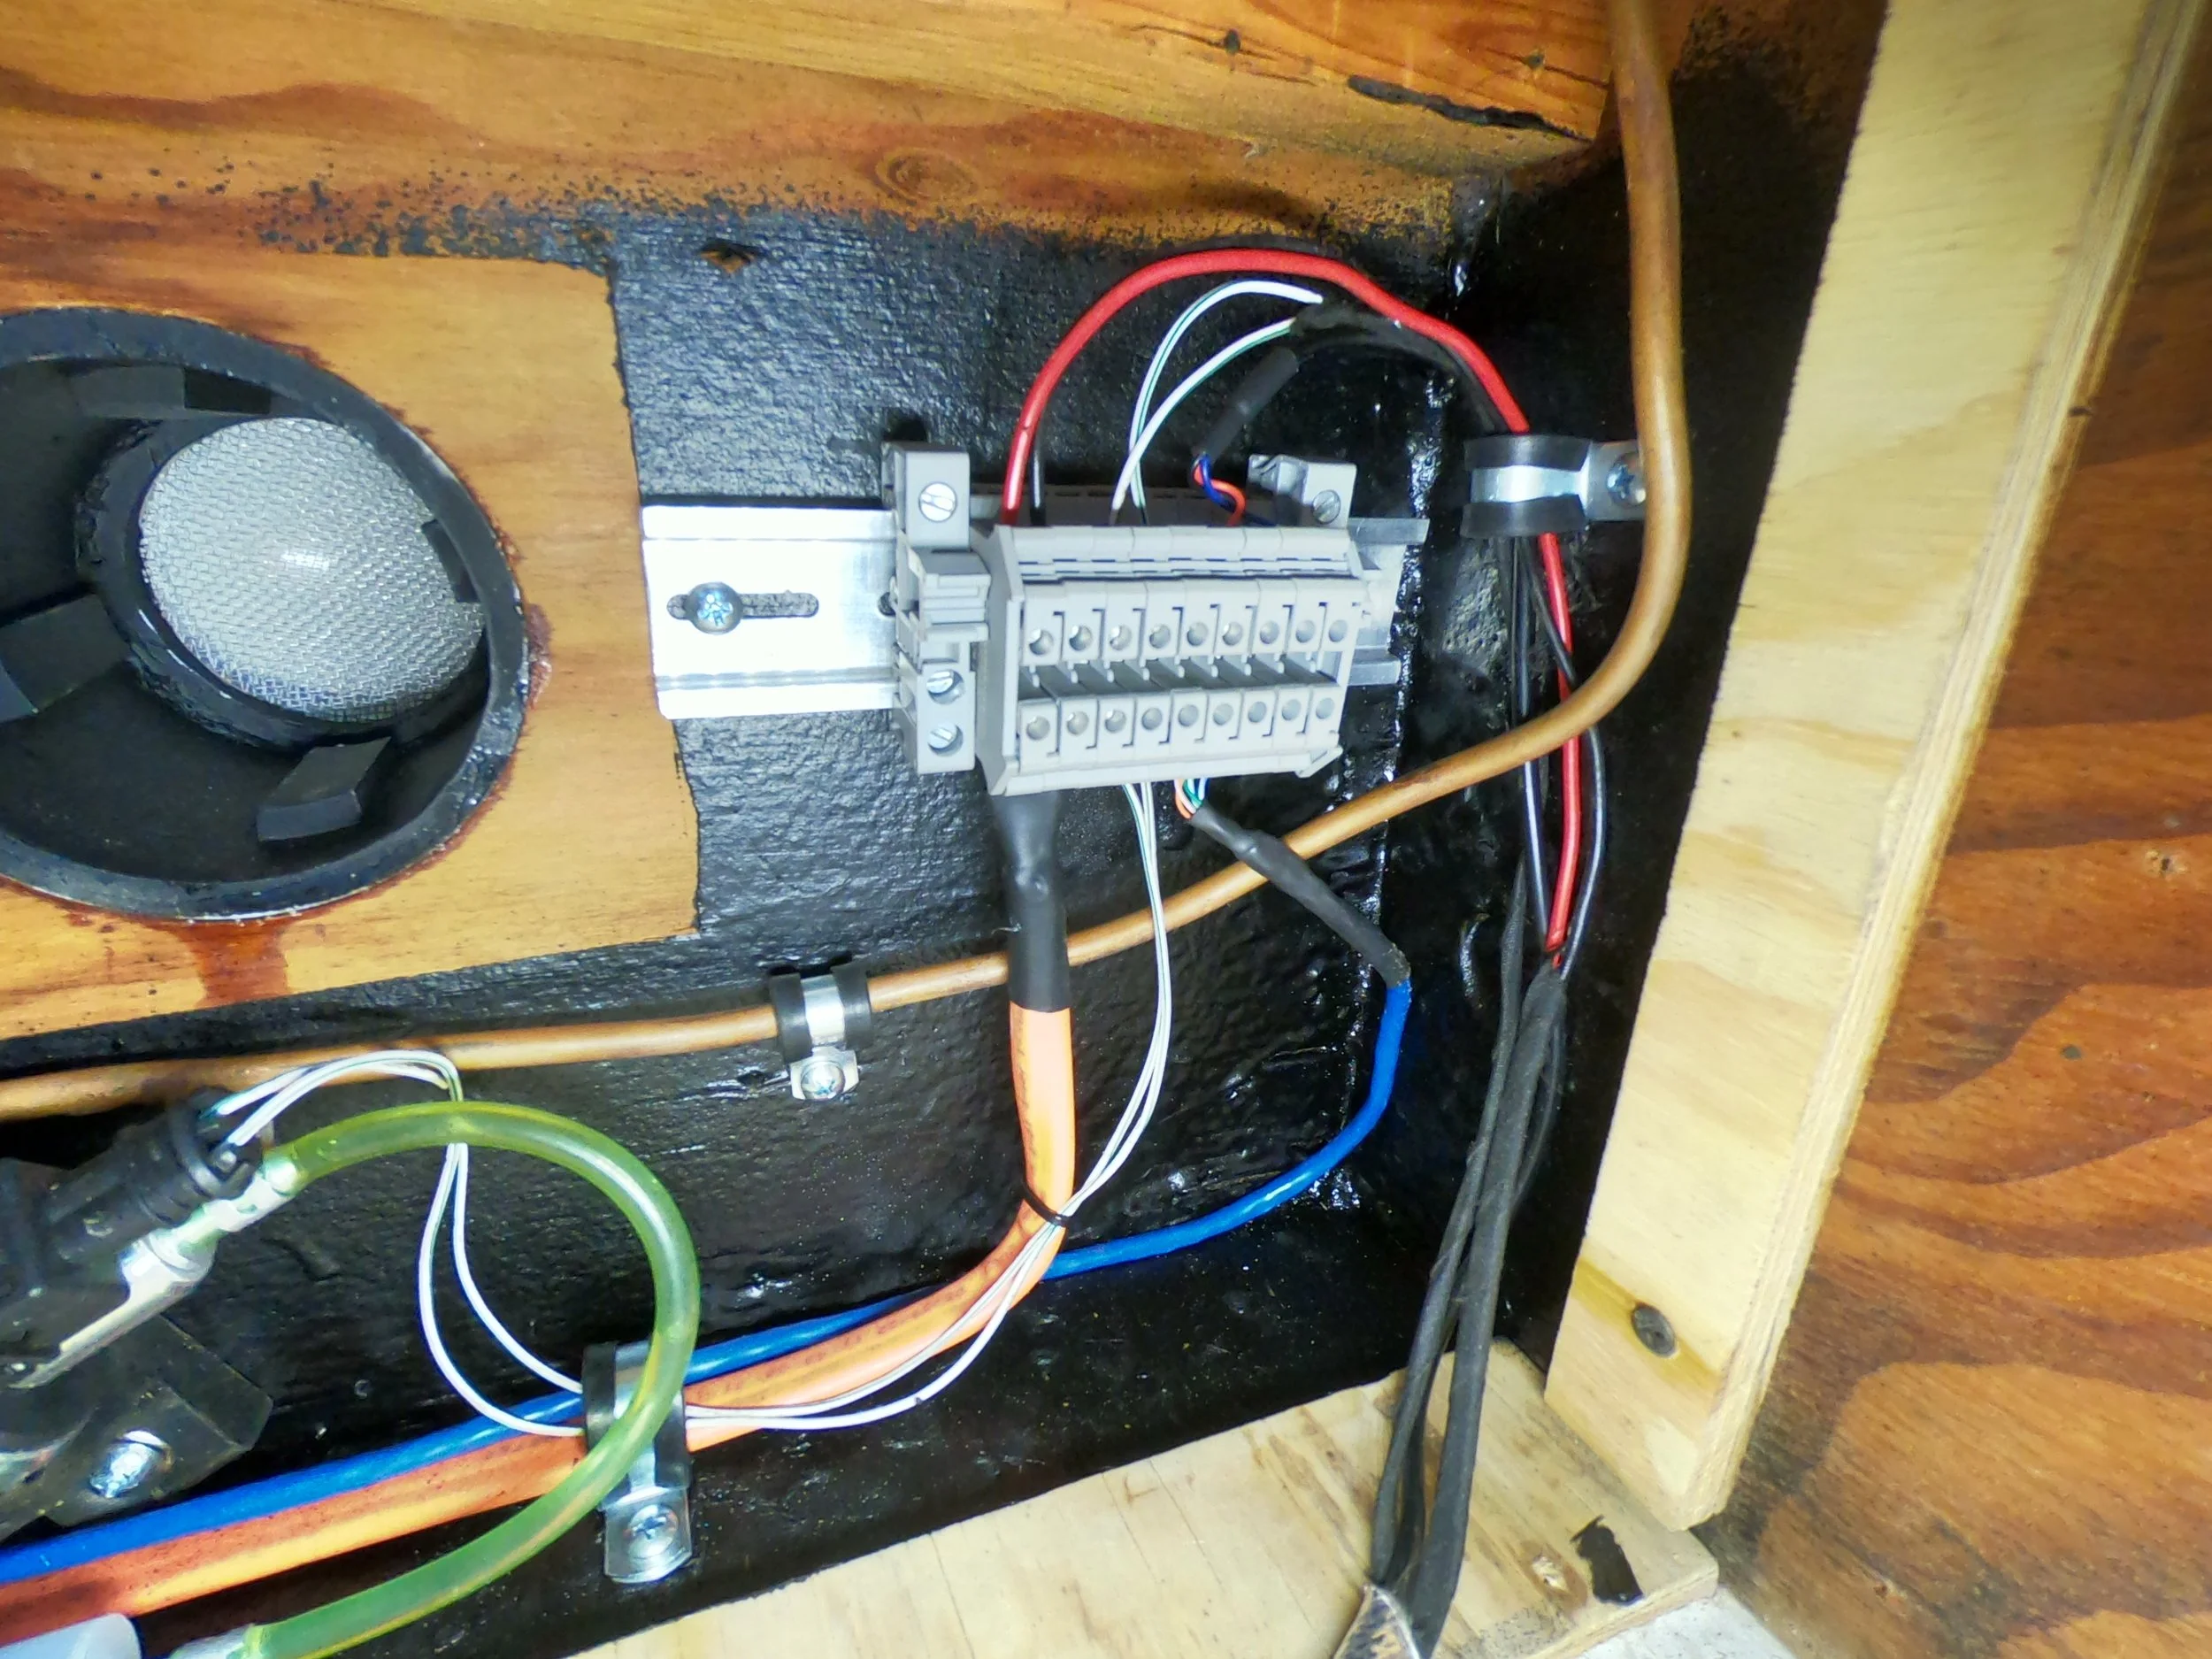
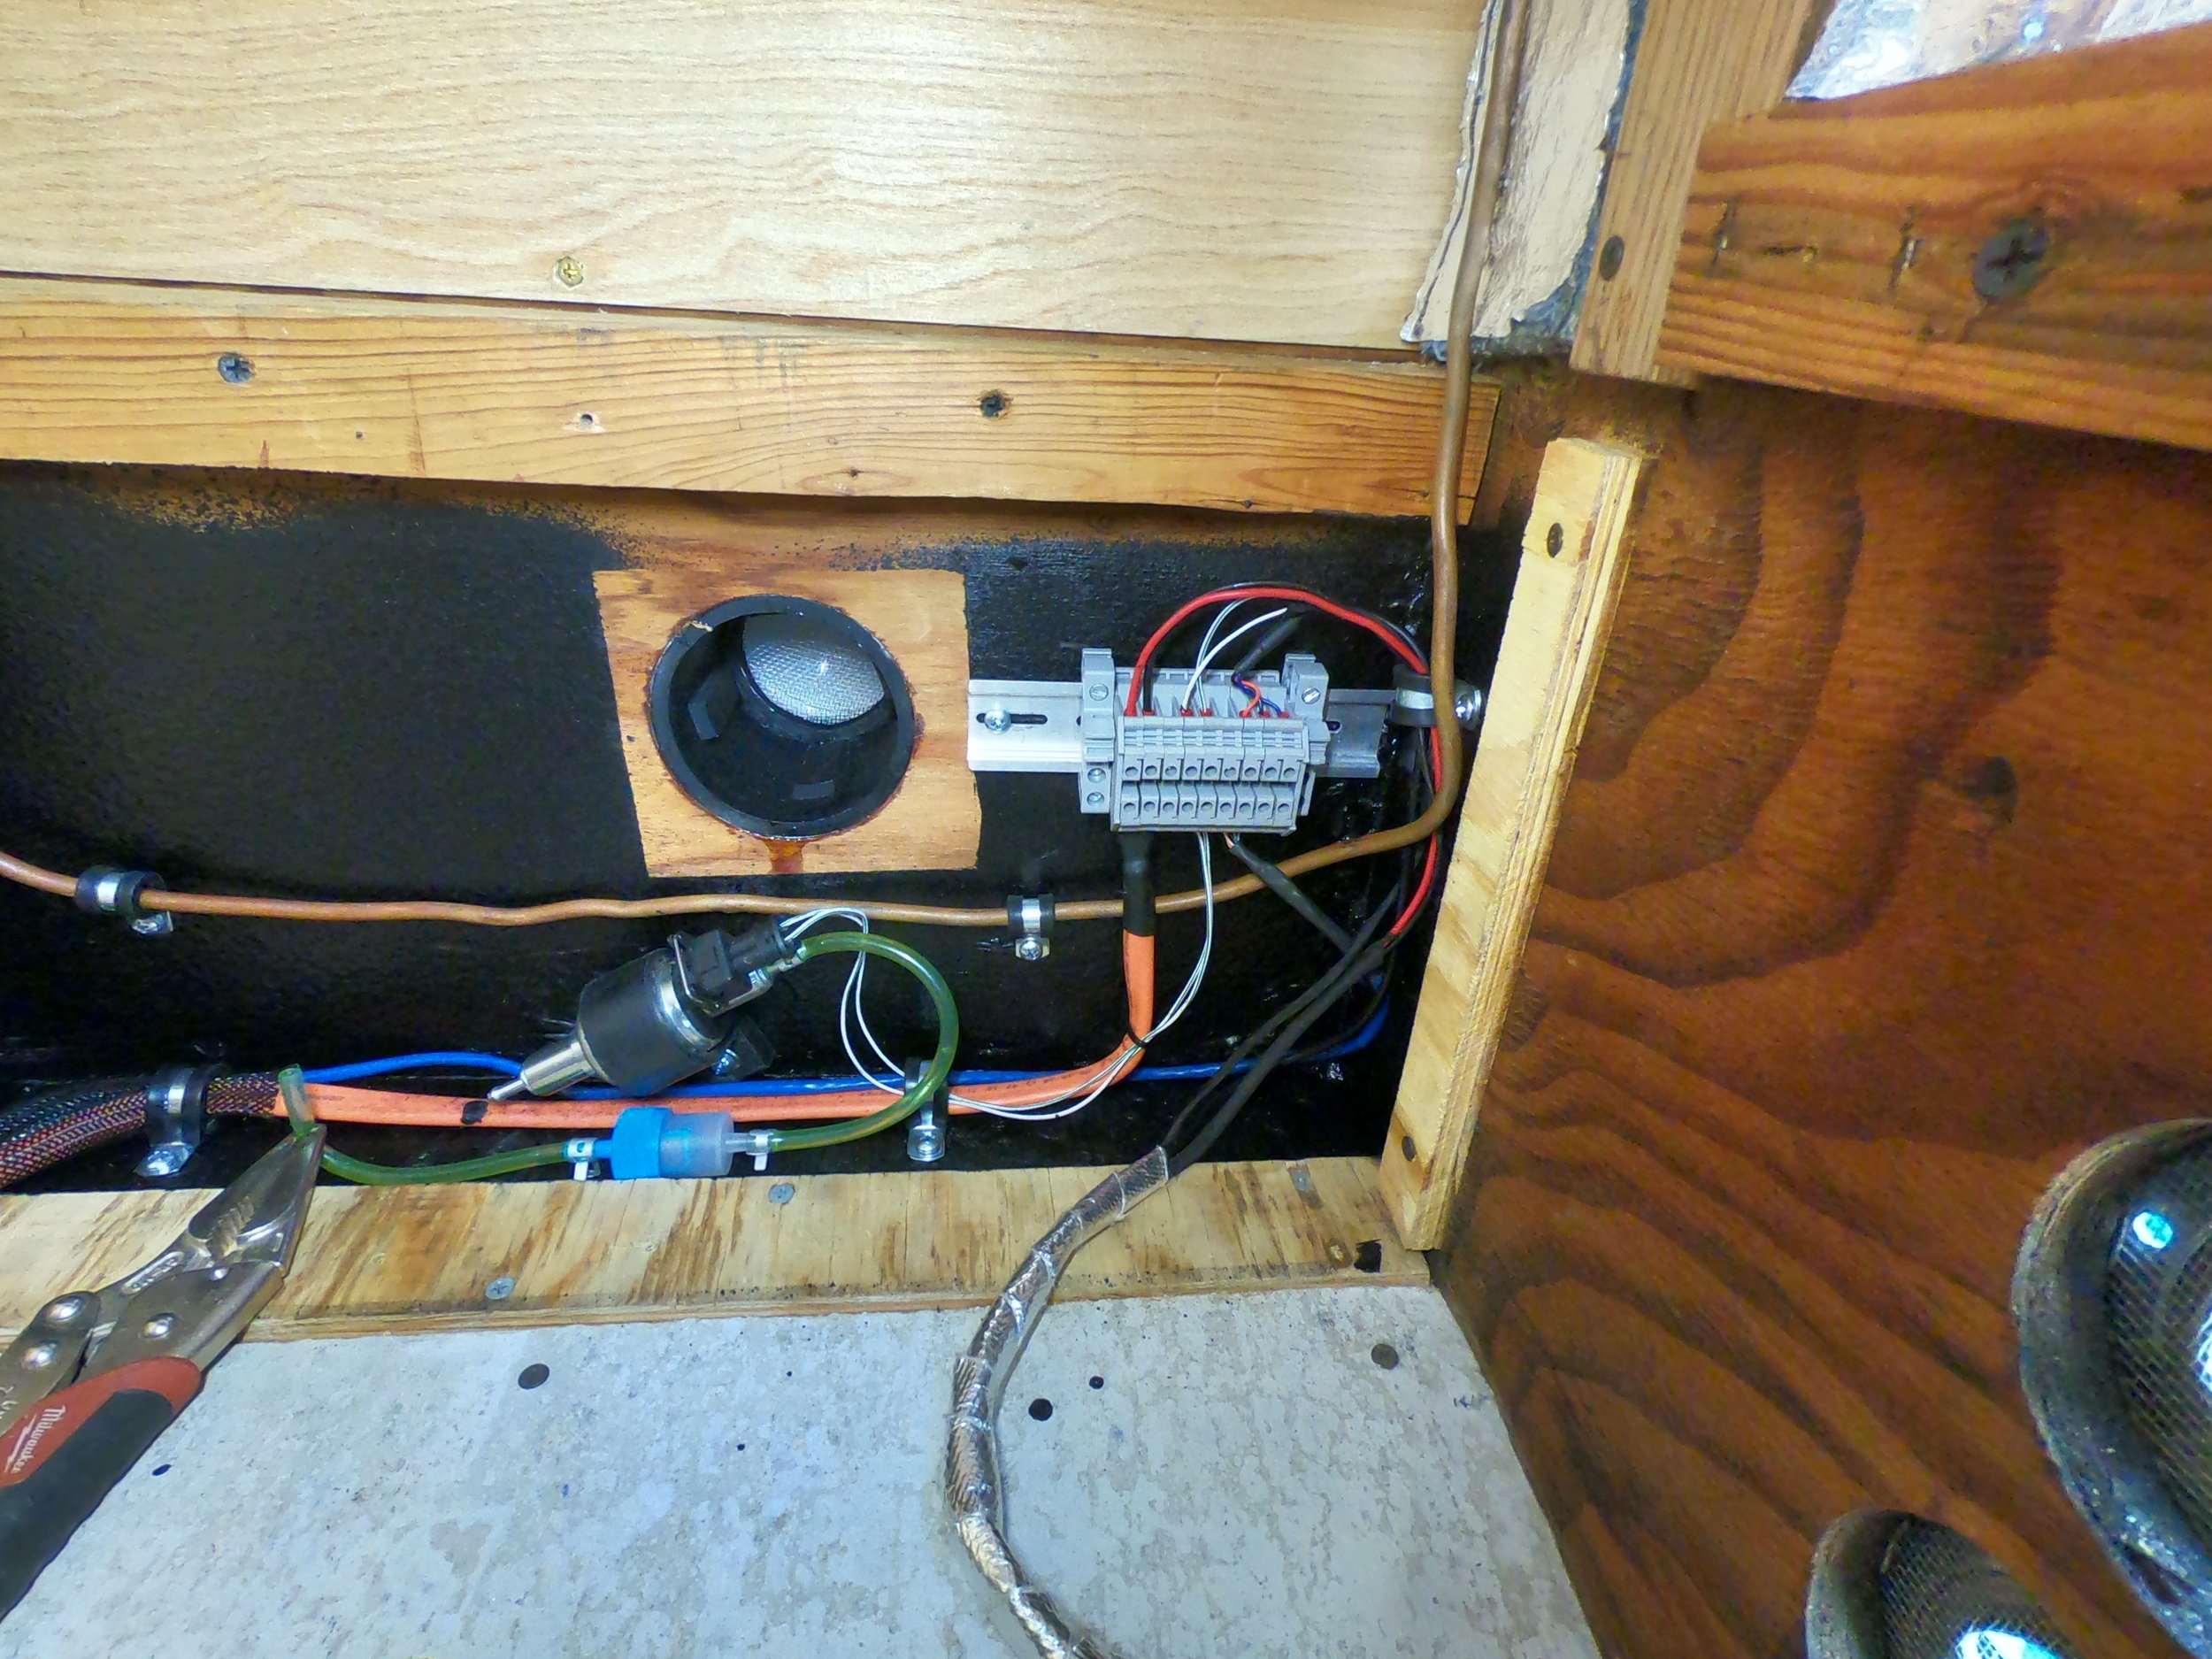
Different angle of wiring in place 01.
Different angle of wiring in place 02.

Different angle of wiring in place 03.
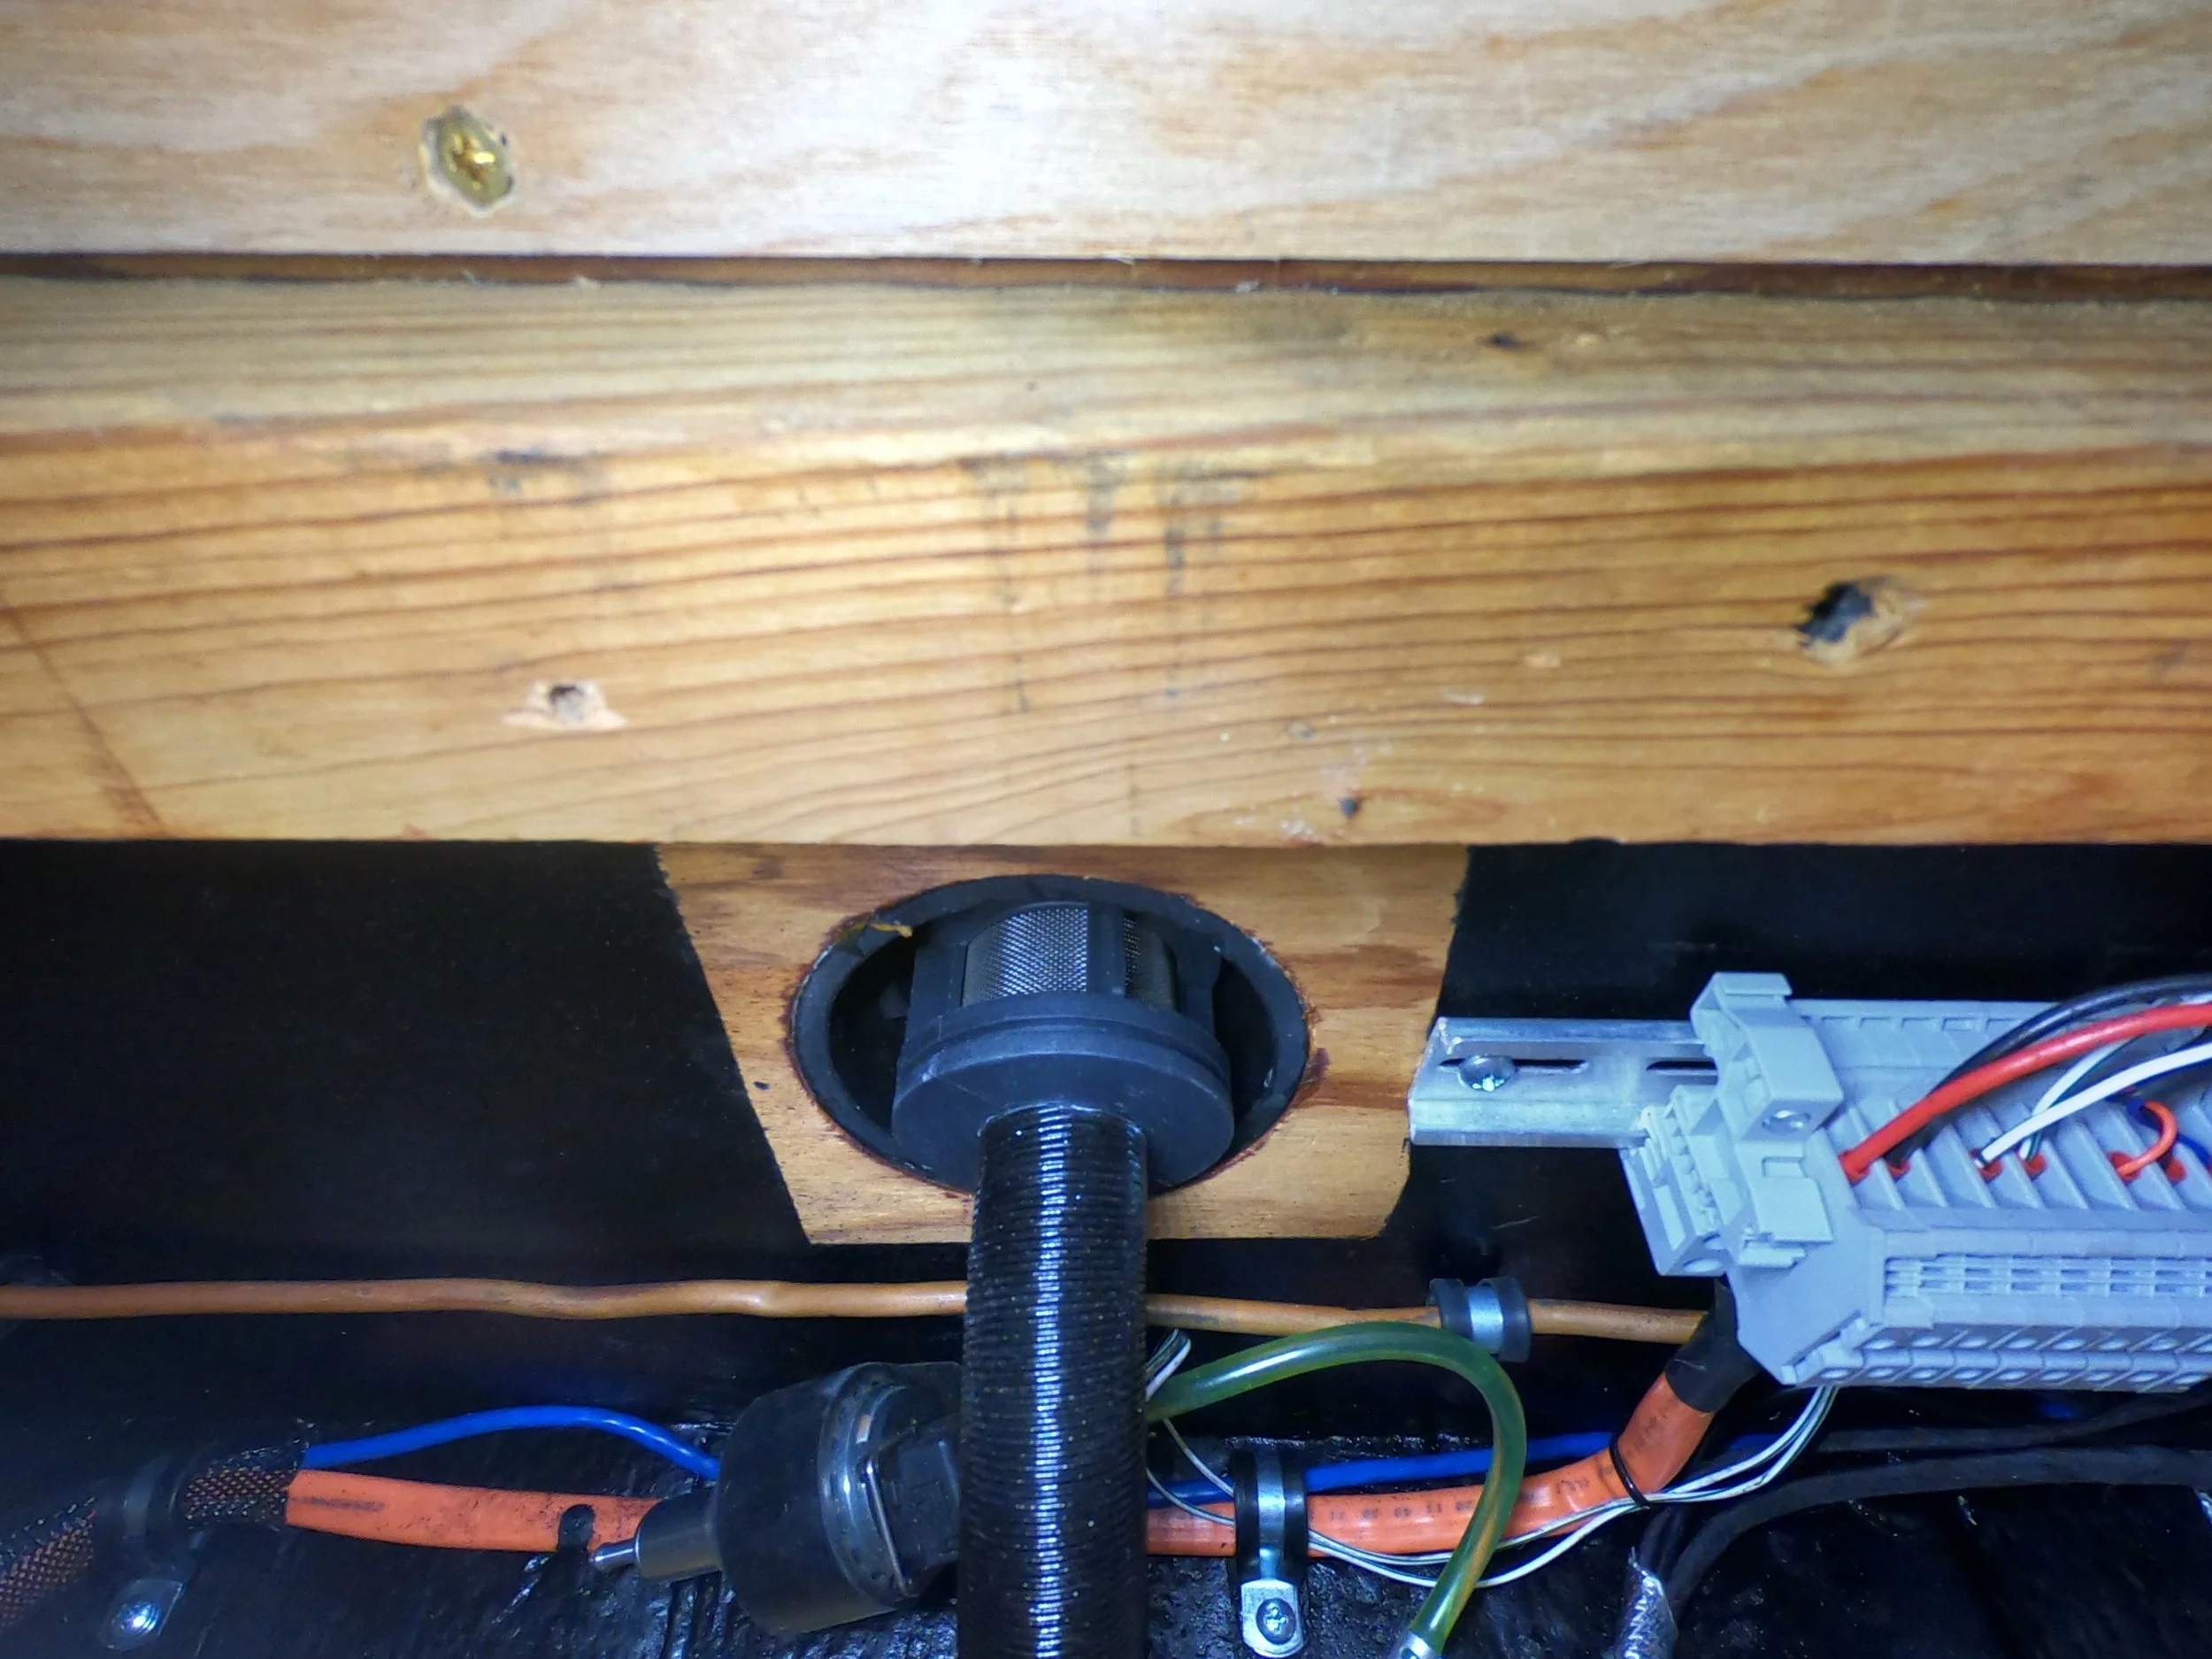
Air Filter now hooked up to the intake of the Diesel Heater.
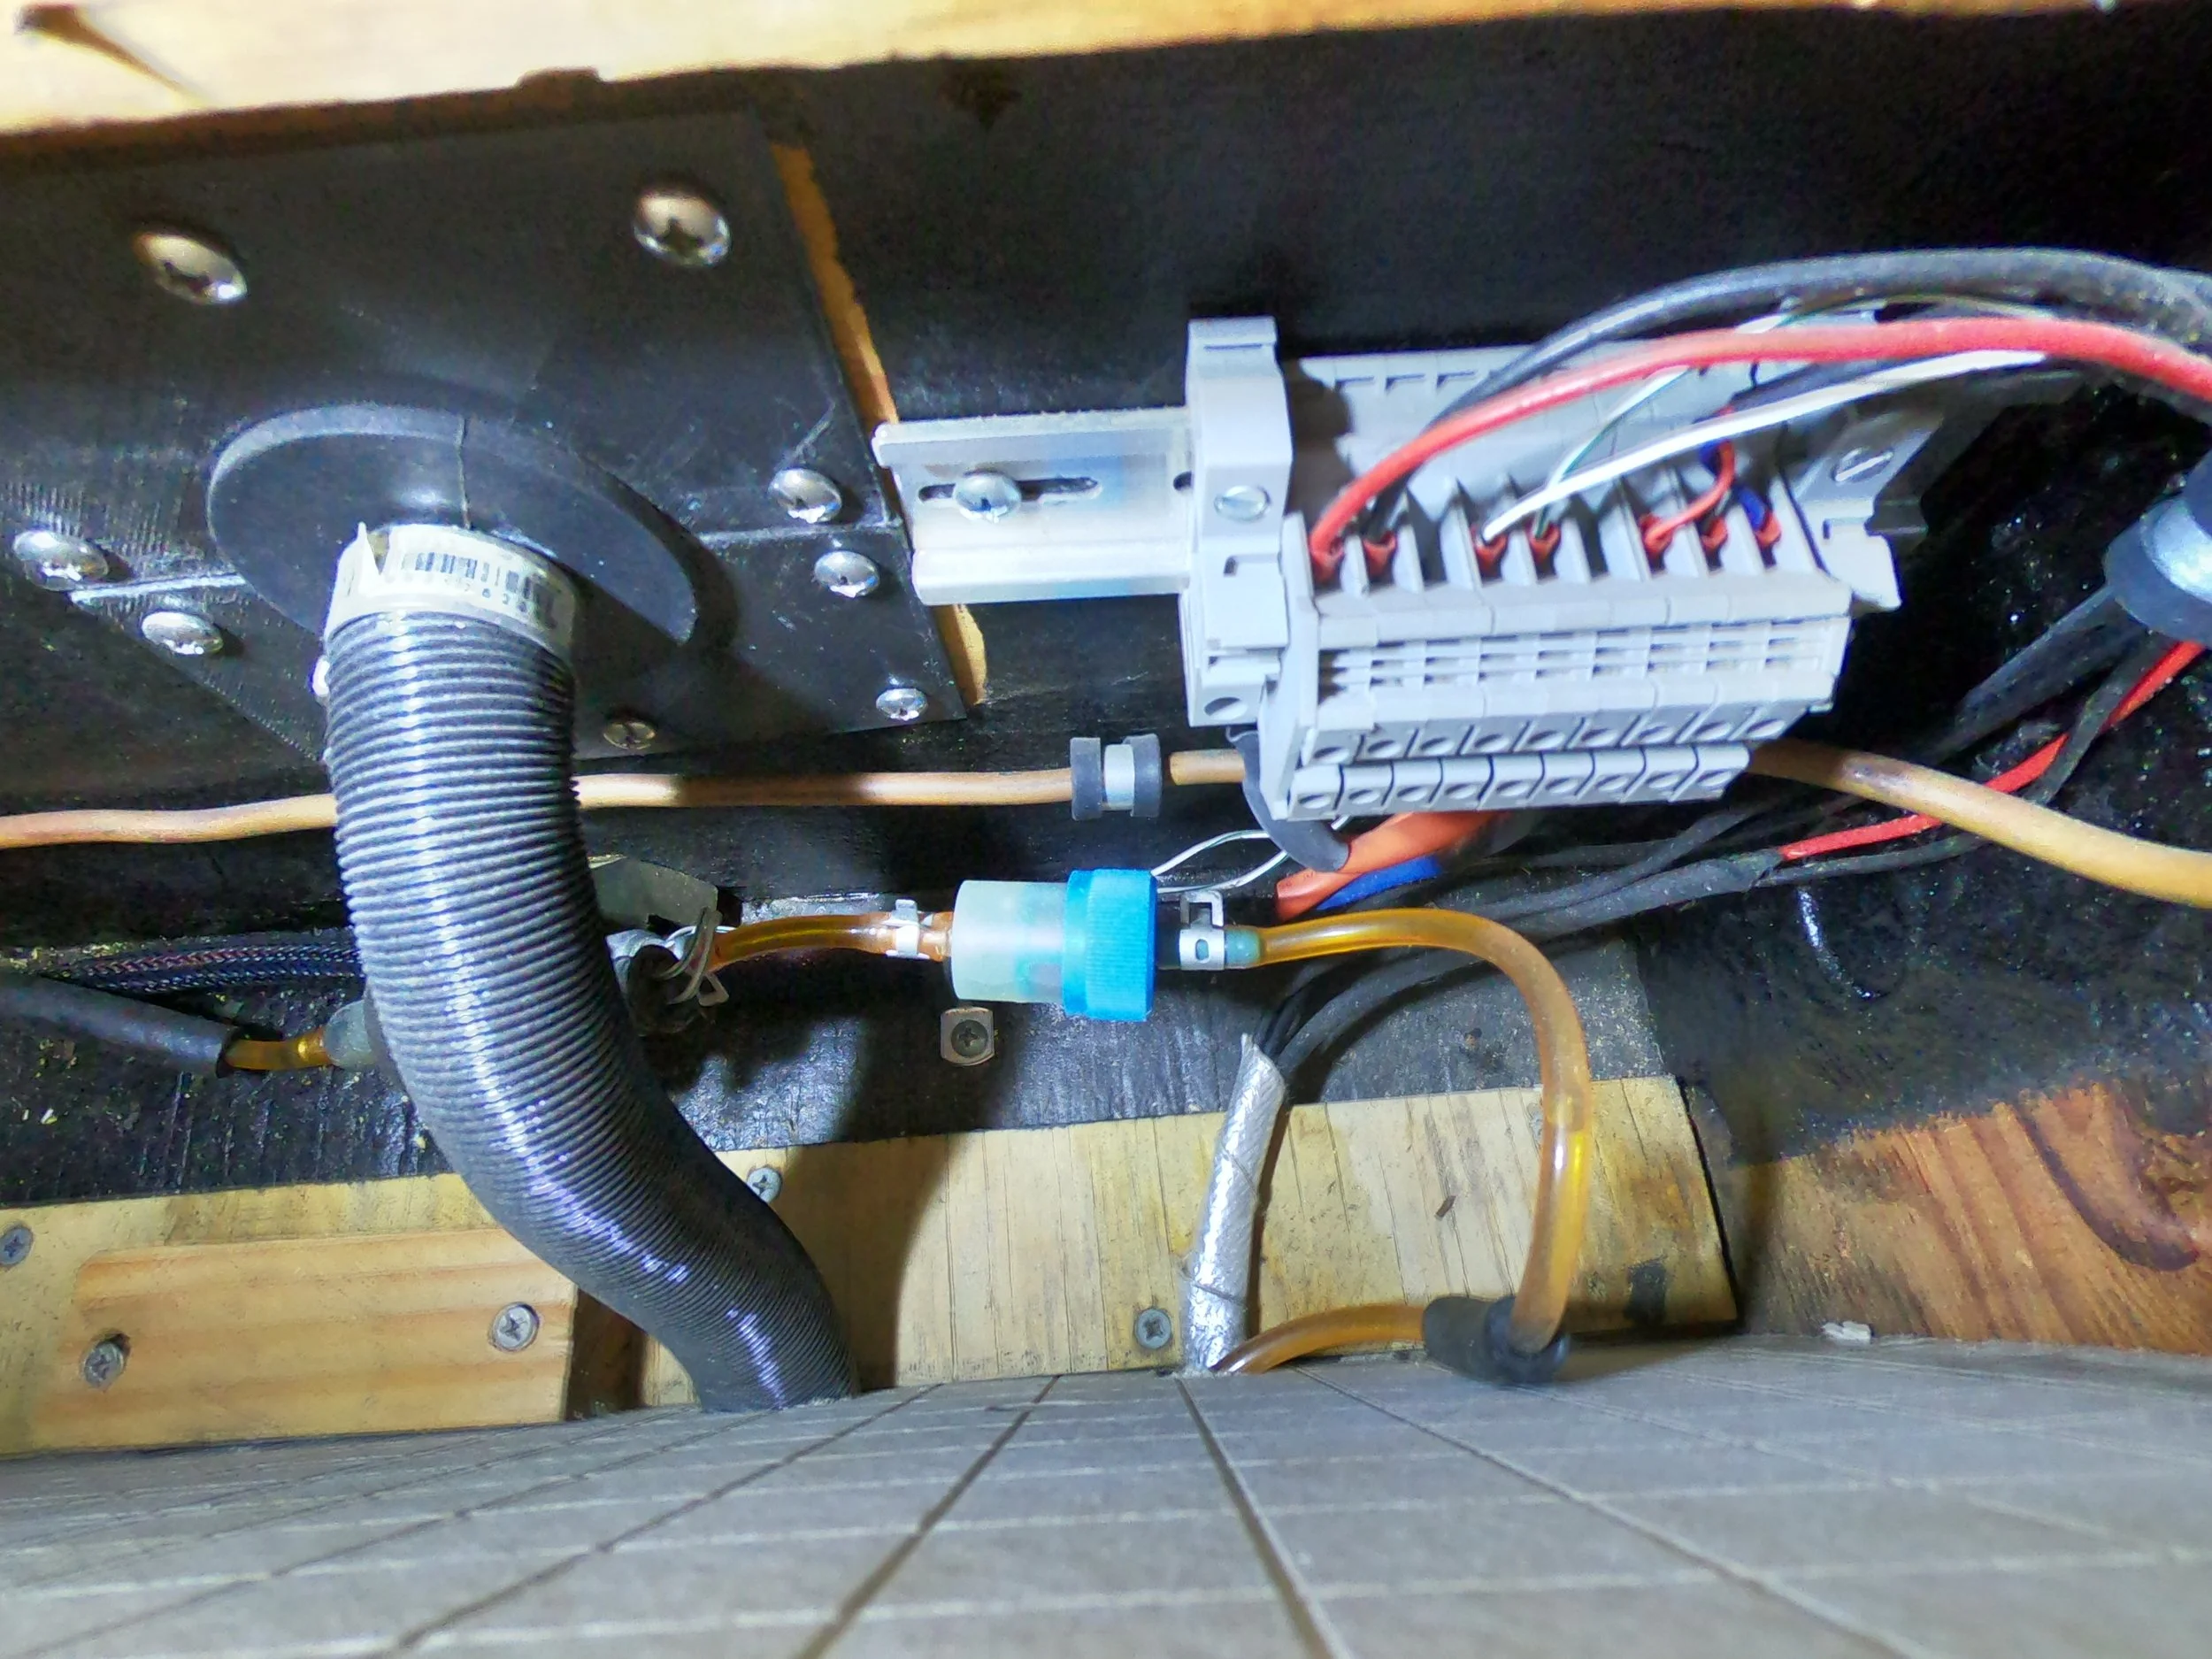
Final configuration for din rail, power and pump circuits on the outside of the diesel heater space.
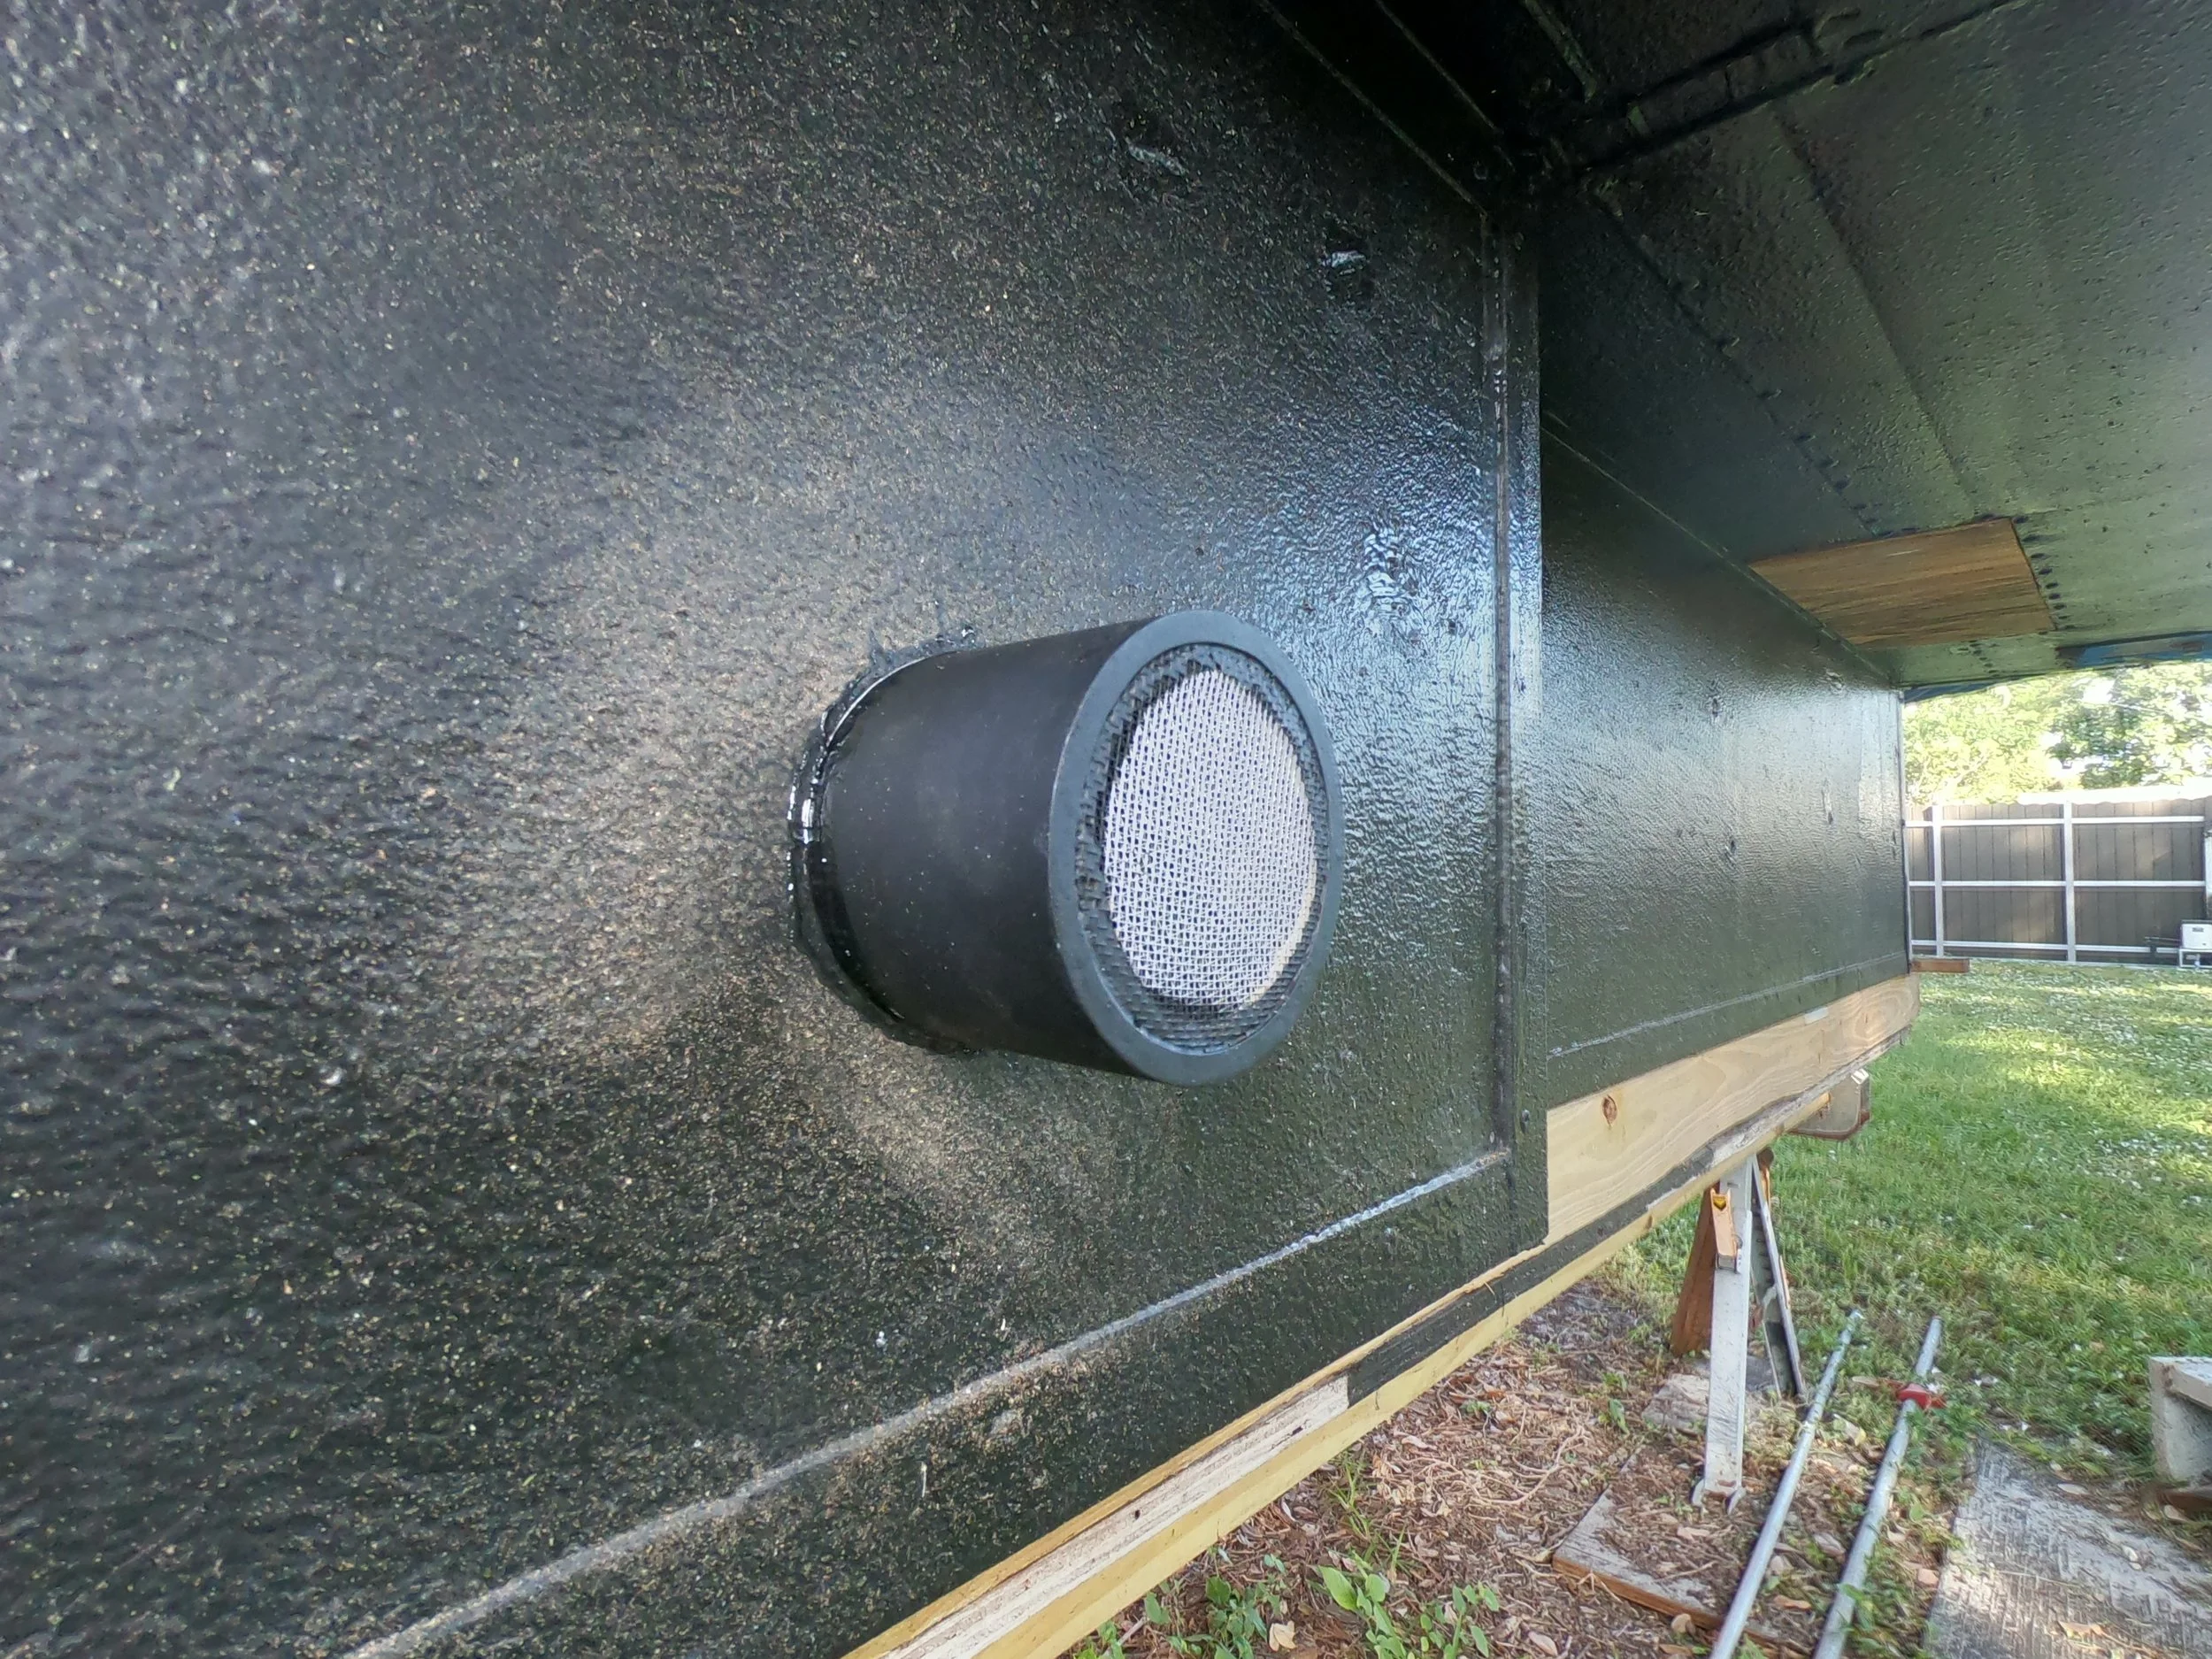
Air Filter housing epoxied into the wall of the Lower Cab.
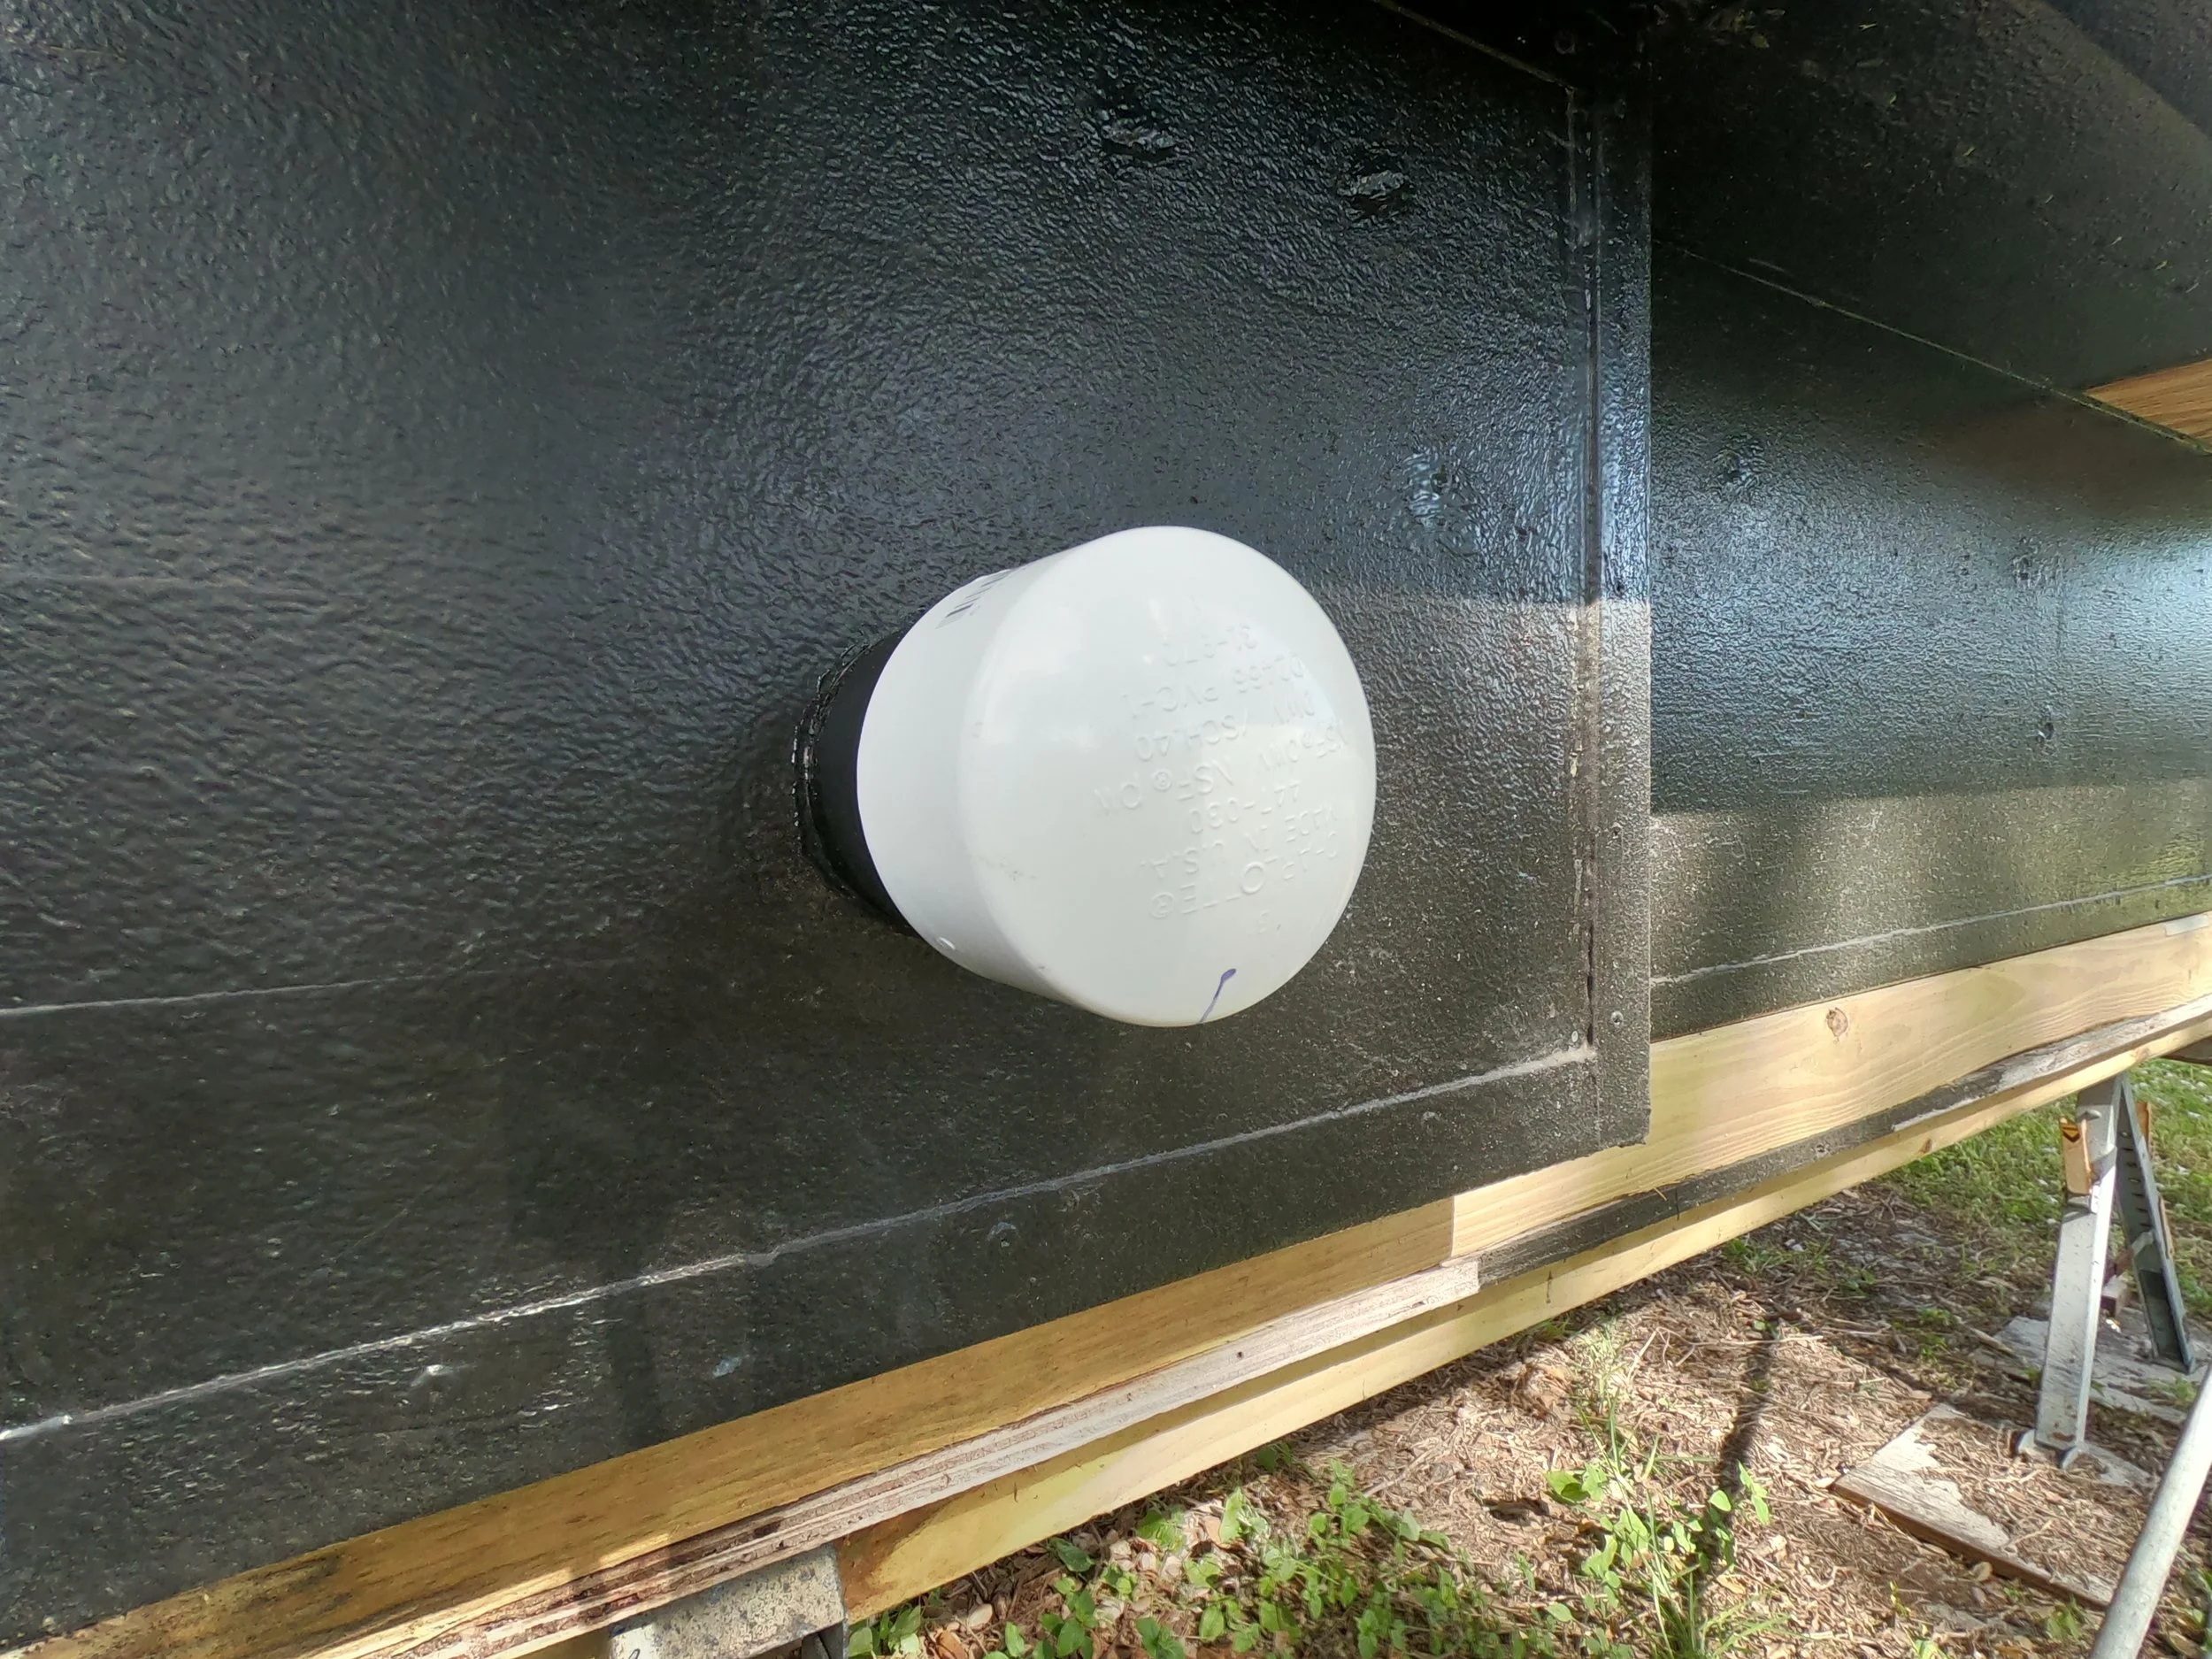
Added a PVC cap to the filter housing when the heater is not intended to be used.

Heater output - into the cab forward of the commode and under the dining table. Routed second pipe toward the Drivers side lower compartments where the batteries are. I use this space to store pots and pans not impacted by heat. I have already upgraded the pipe to a flexible metal pipe just in case.
Commode floor/heater space ceiling for easy access to heater.

Upgraded to an Afterburner Controller and mounted it in the Cab Over area - Click on image for the manufacturers website.
At some point during my research for getting the existing Propane Heater up and running I read that Propane heating was a “wet” solution and that “diesel” was a dry solution. I purchased a $125 Walmart special Chinese diesel heater. The Afterburner cost me a bit more and came from Australia.