Overhead Cabinets and Ceiling and Roof

A/C wiring (blue) and 110v ceiling receptacle between A/C and rear of cab (yellow). Receptacle is for running a extension cable out the back for whatever.
Forming of upper cabinet concept 01.
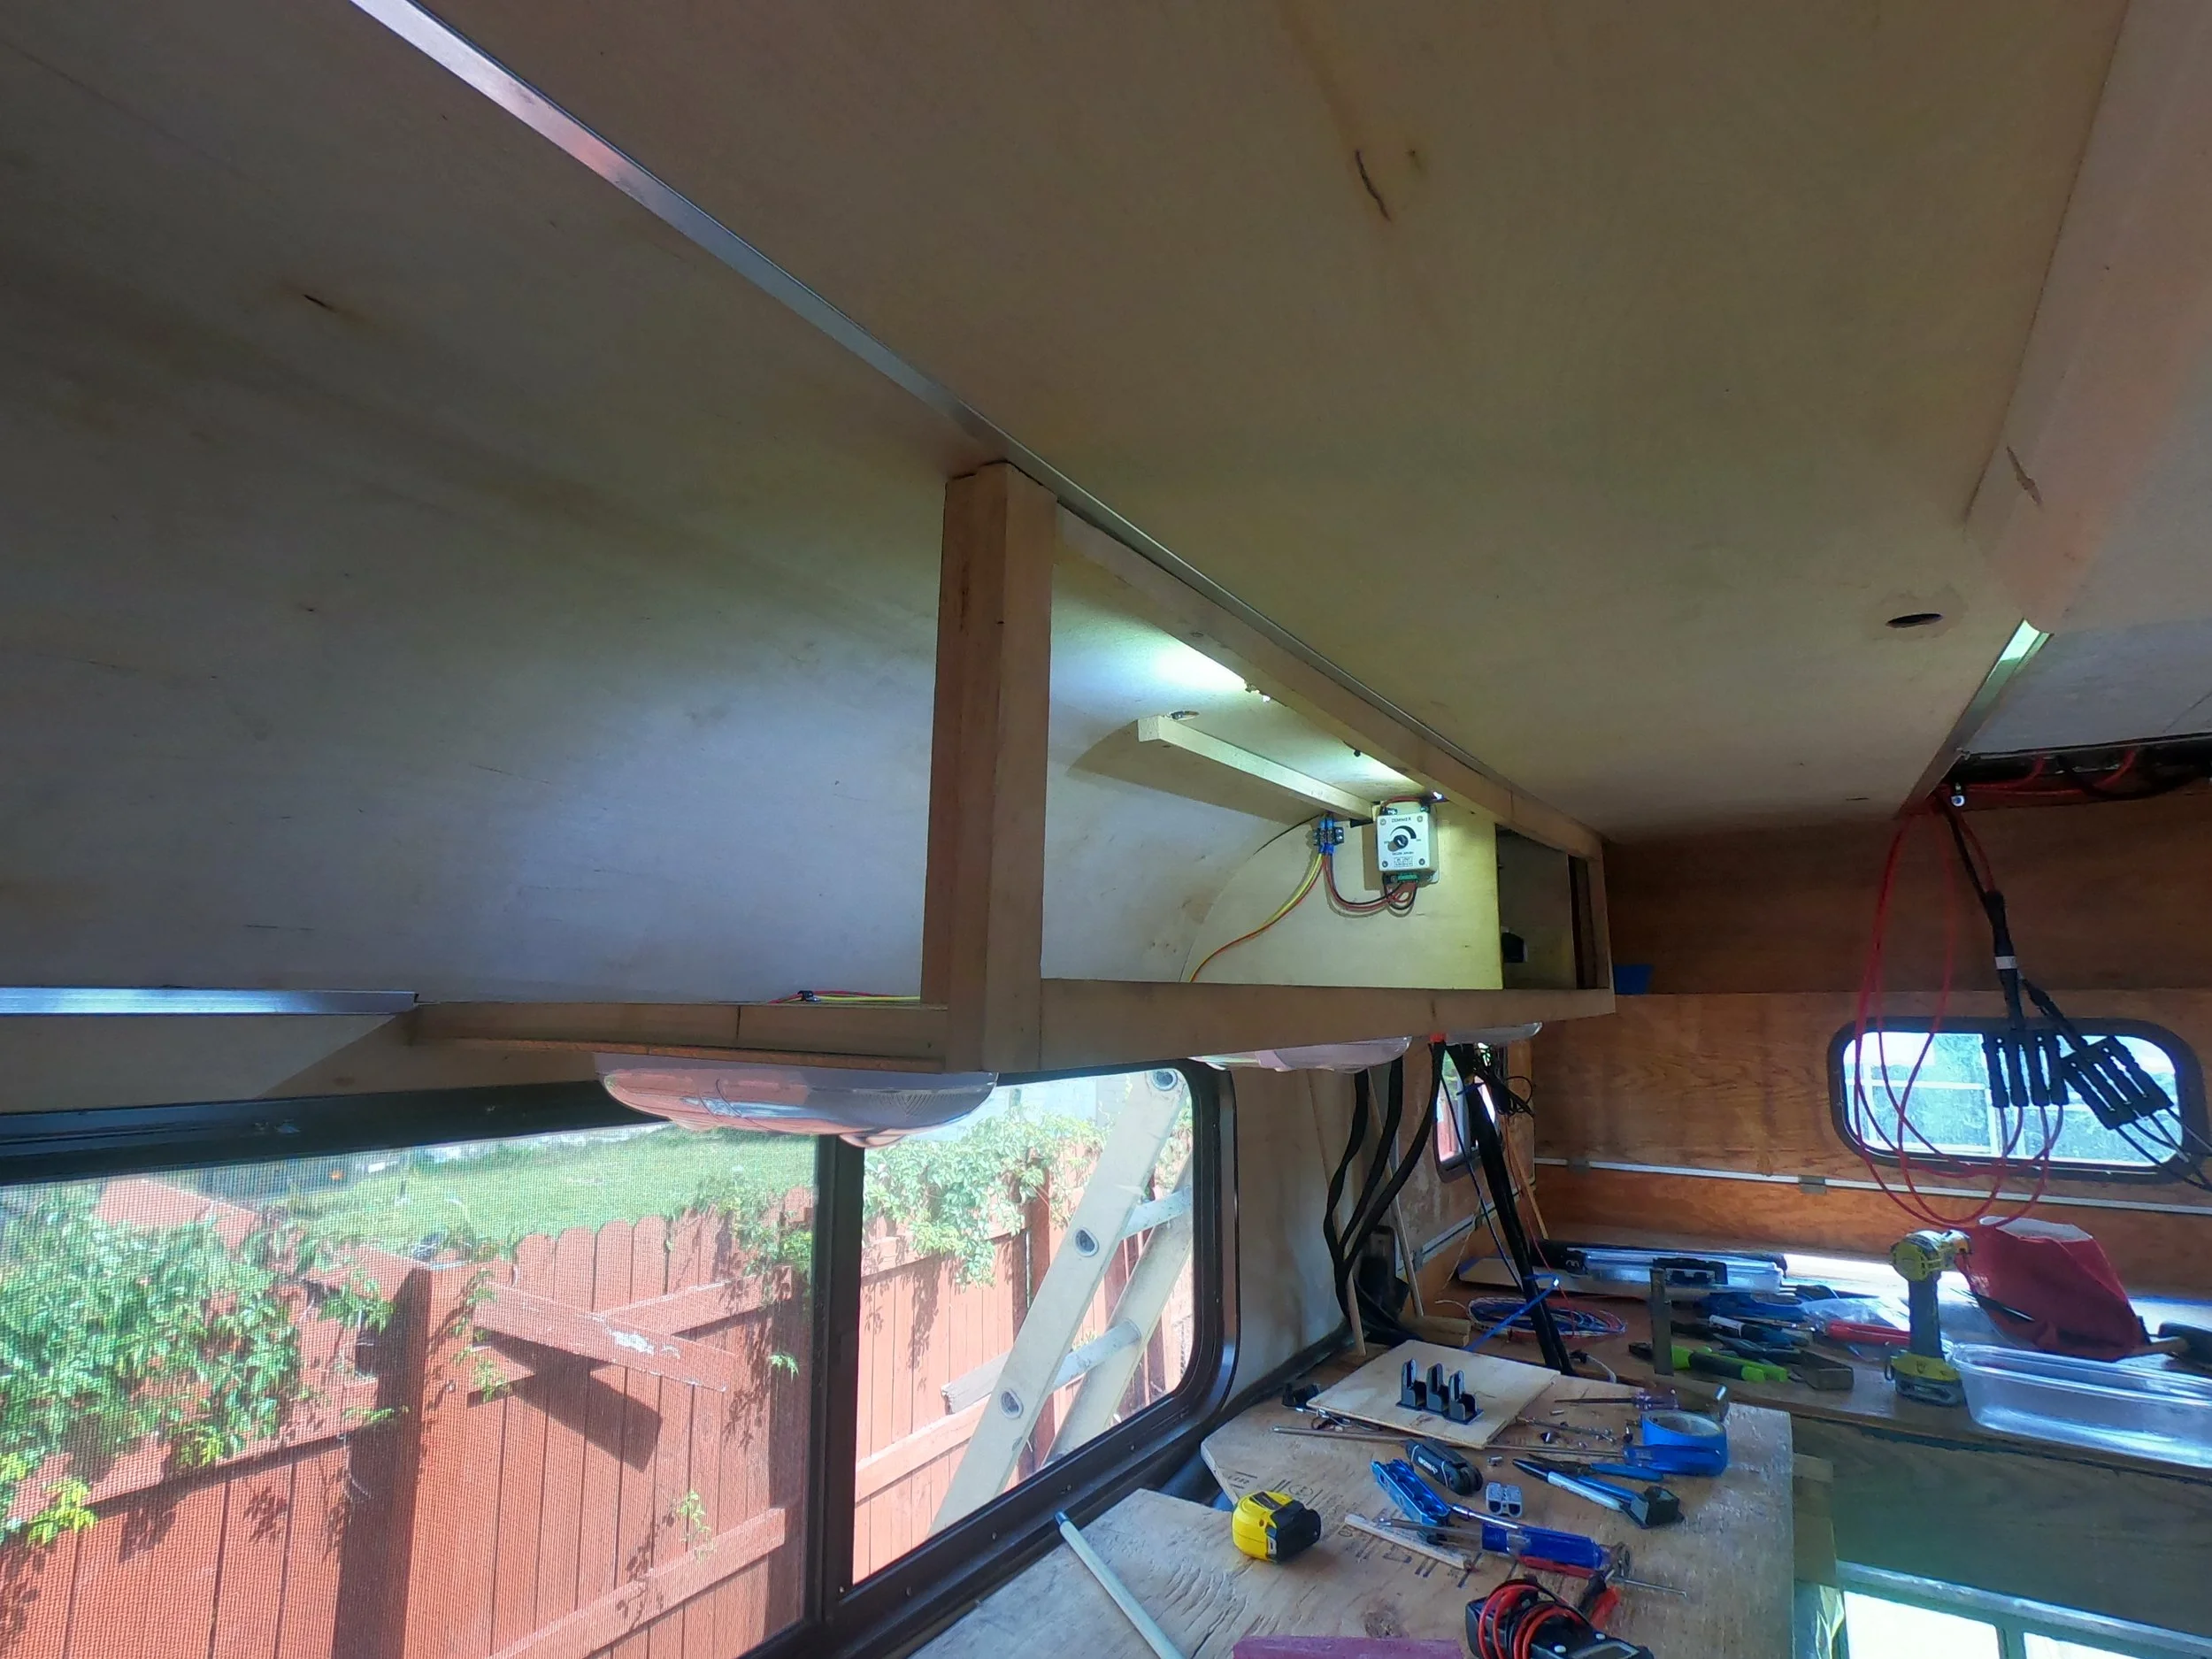
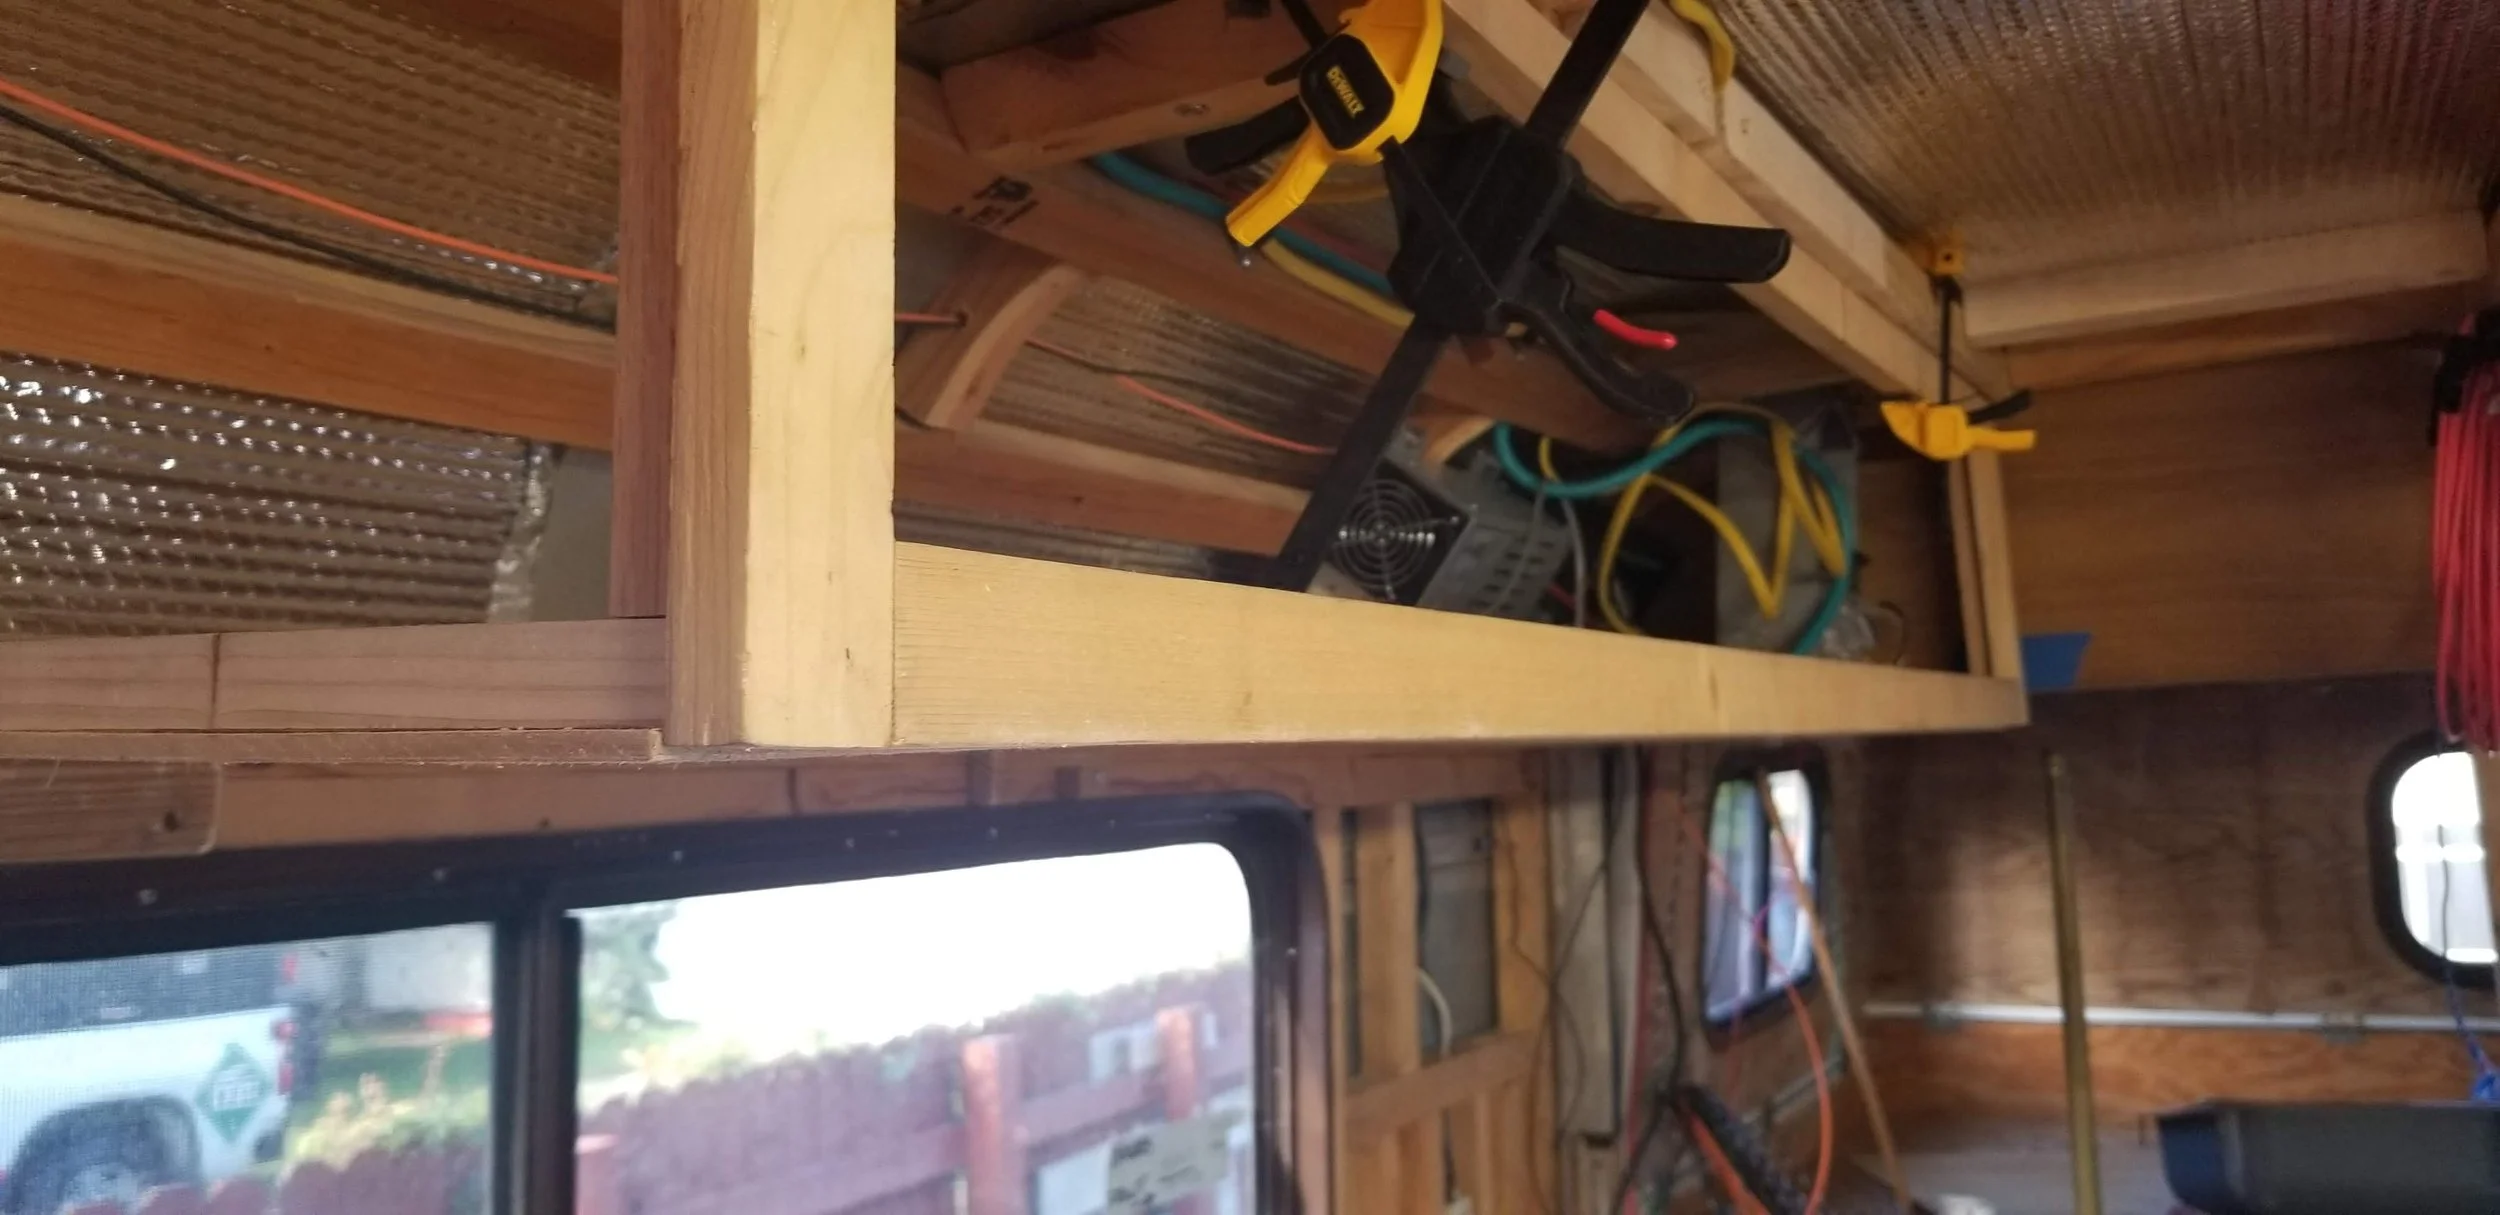
Added some LED lights with a controller in the upper cabinet area 01.

Added some LED lights with a controller 02.
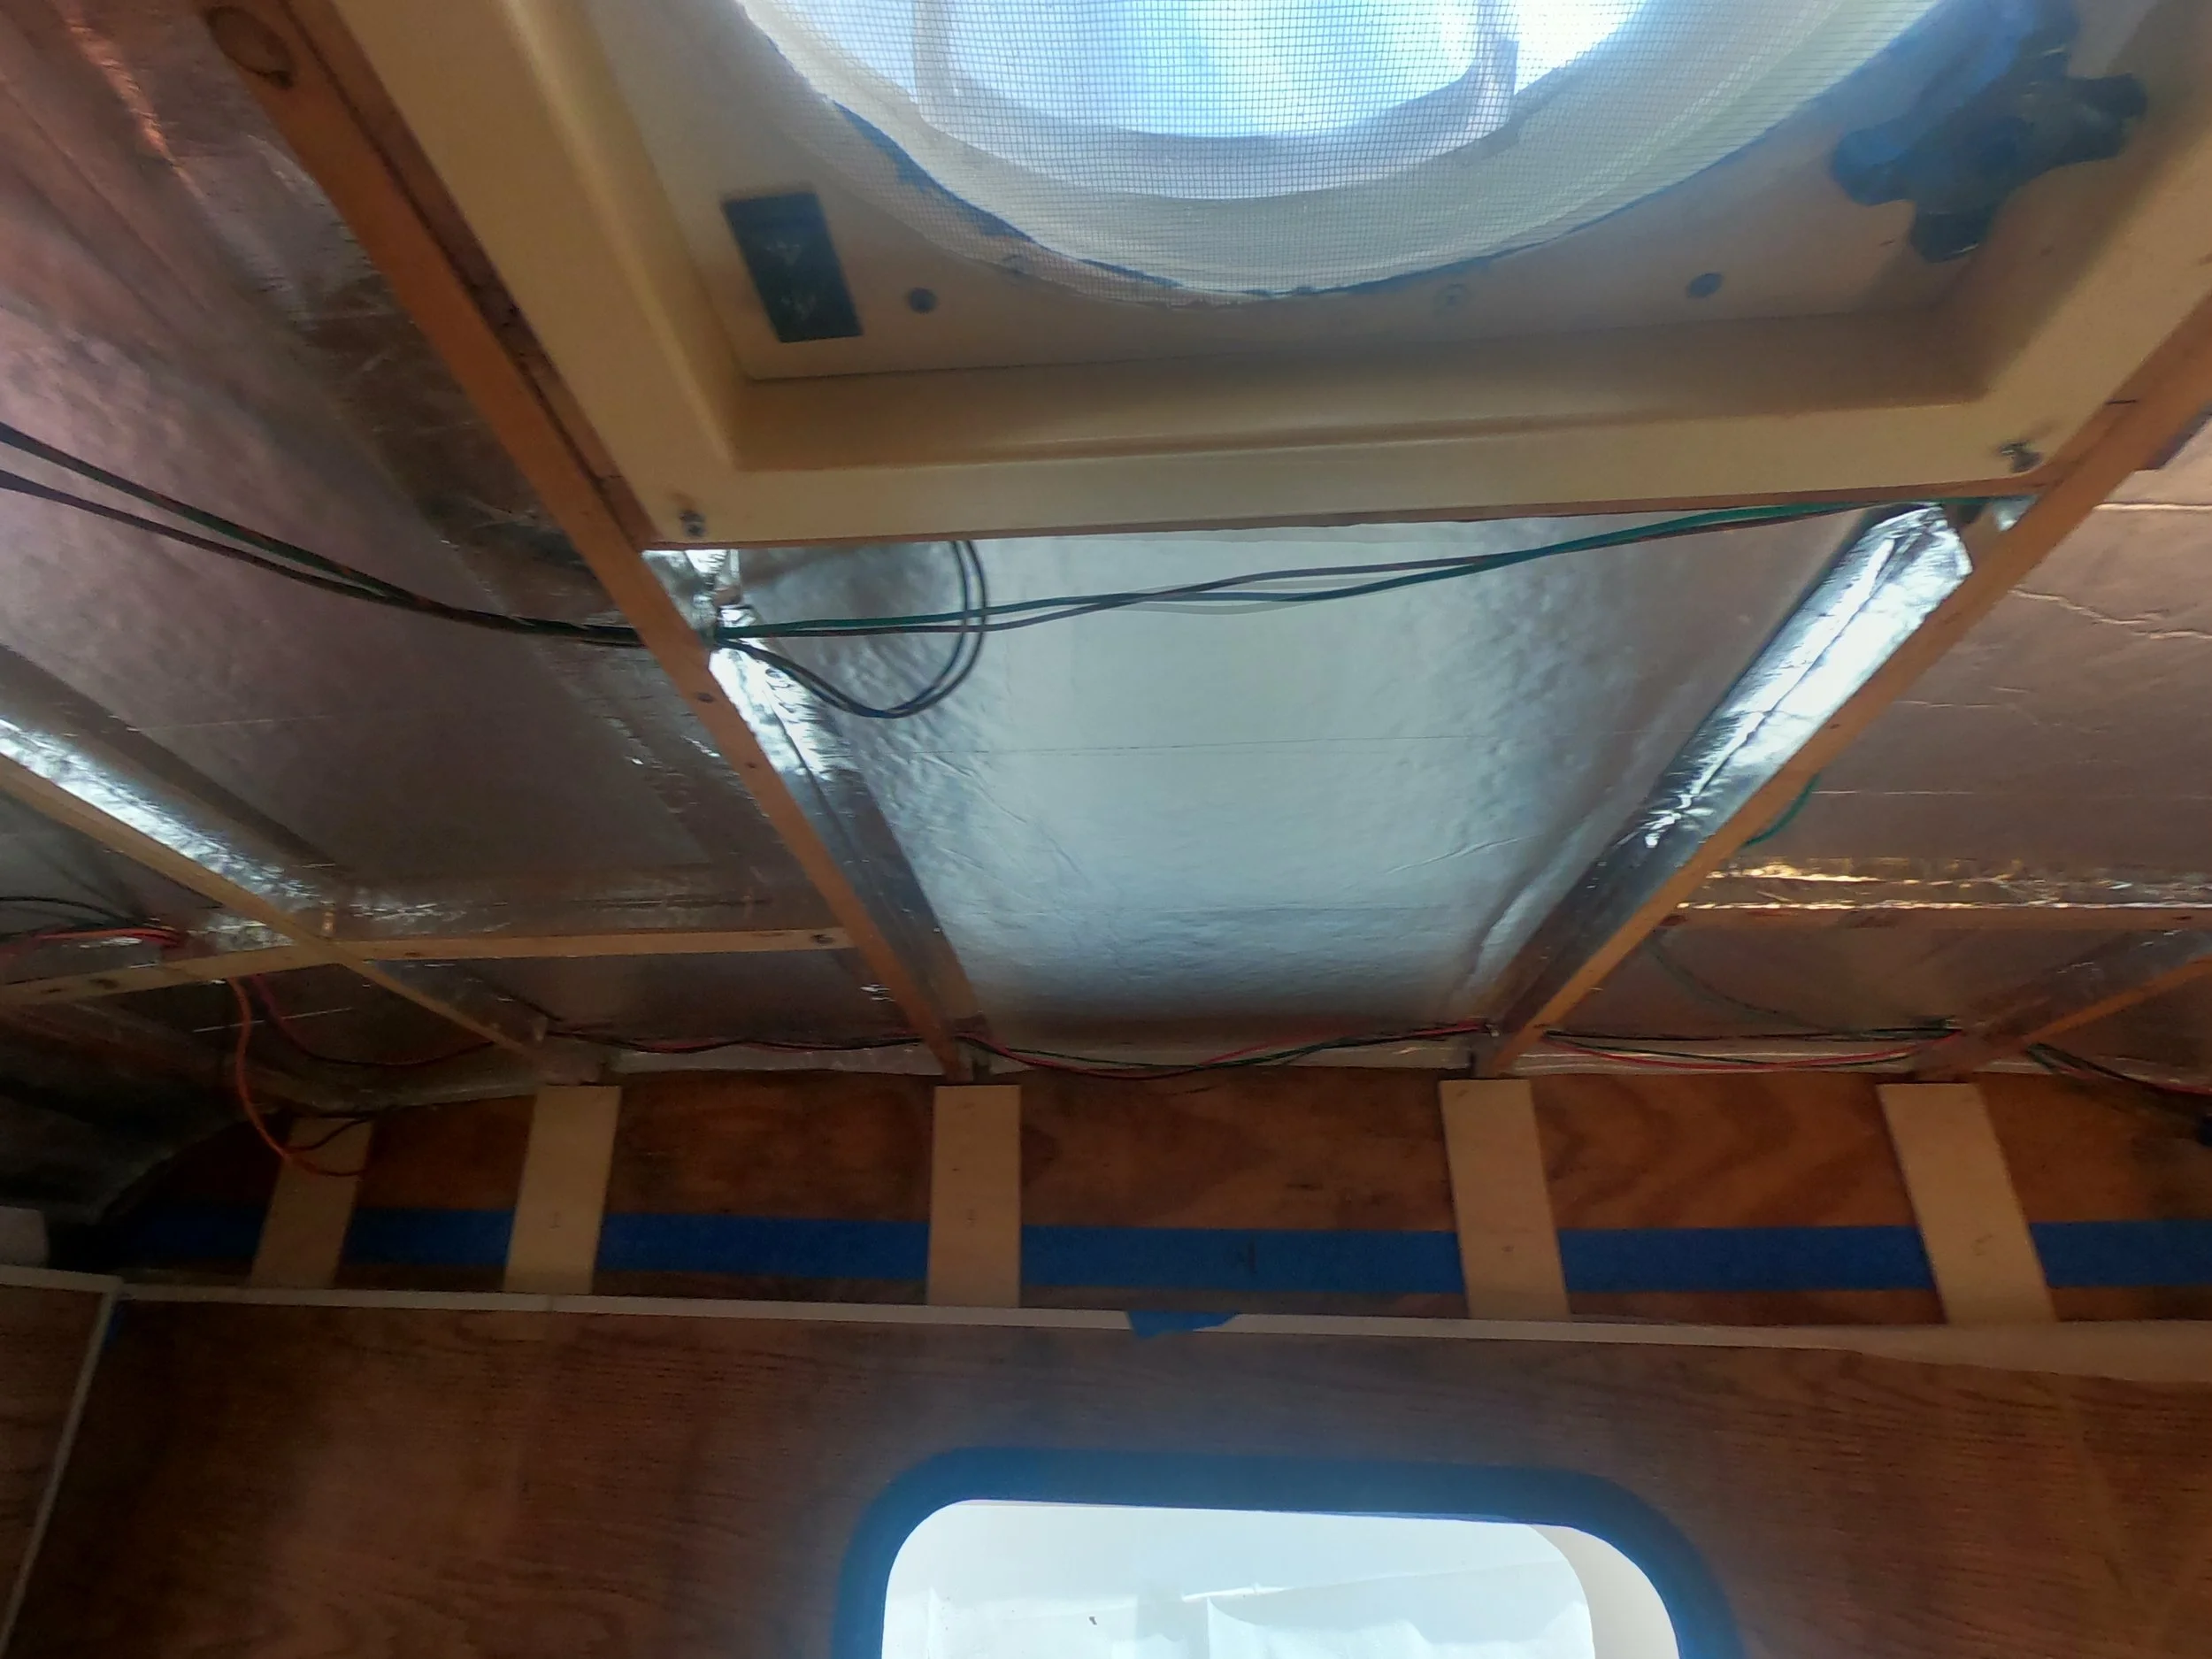
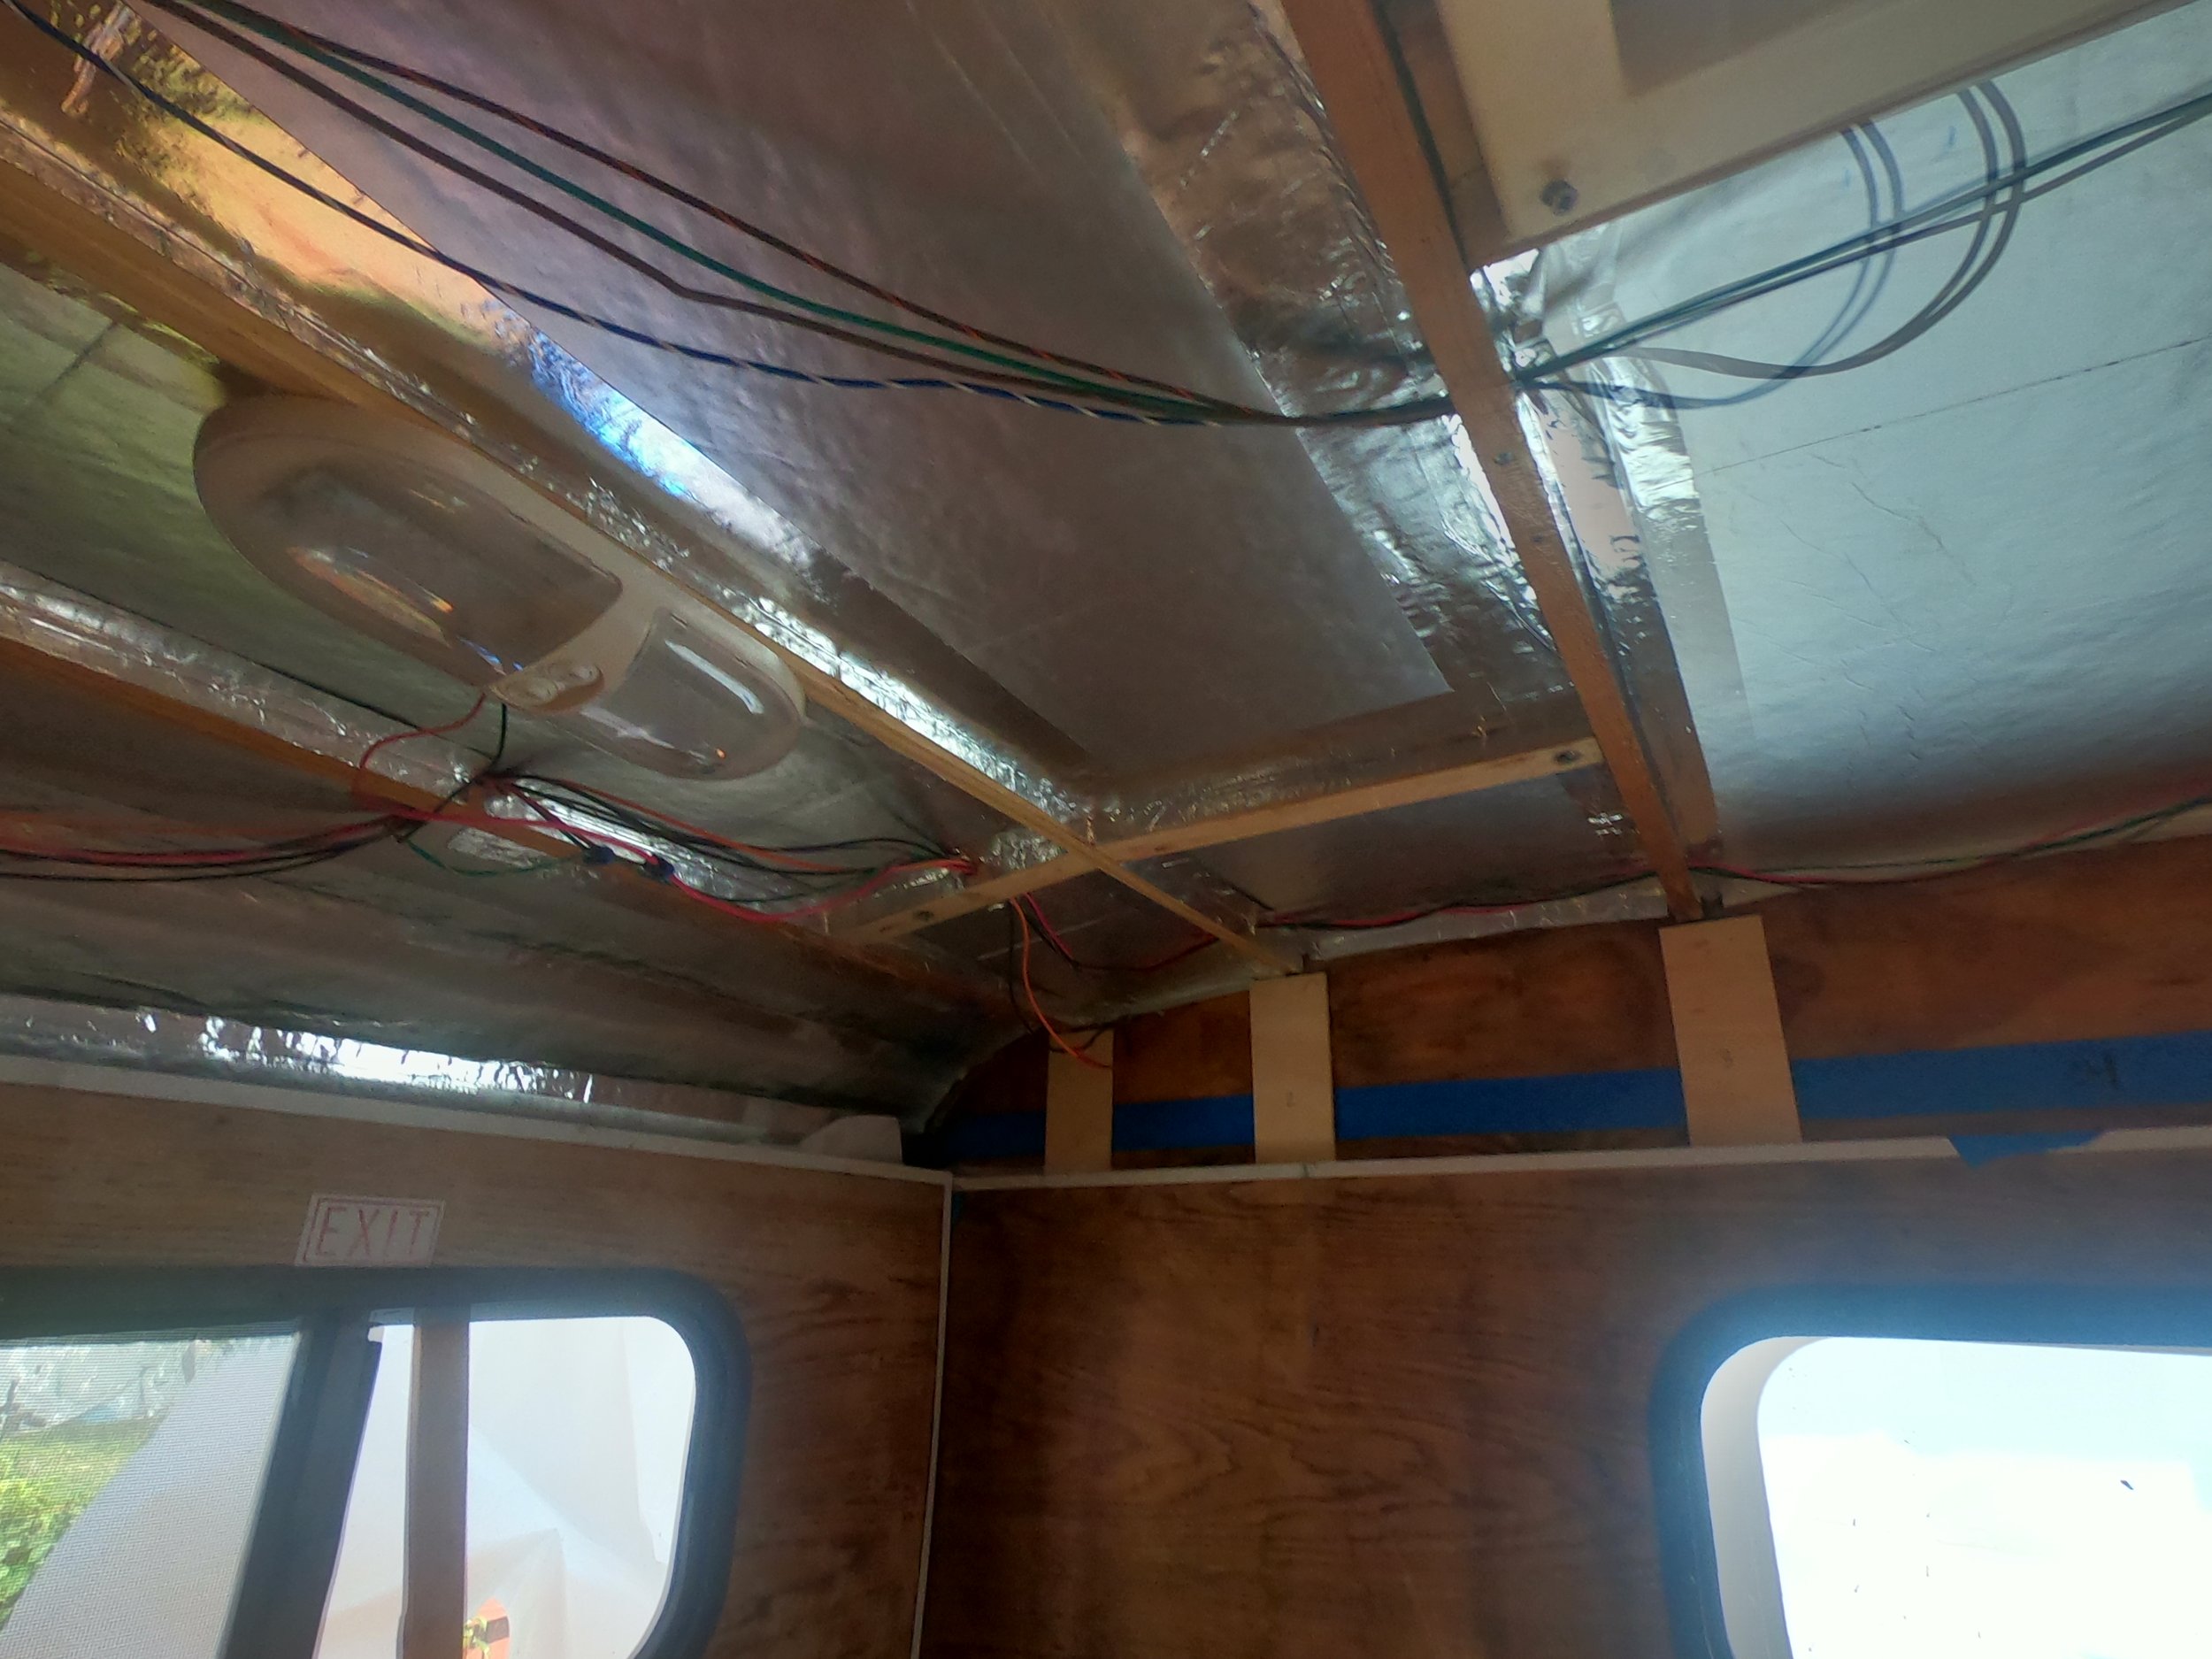
Added cross bracing support for the 4 Solar panels and cut/taped 3/4" R7 insulation for the entire ceiling area 01.
Added cross bracing support for the 4 Solar panels and cut/taped 3/4" R7 insulation for the entire ceiling area 02.

Mounted the IOTA charger and Progressive power conditioner on the 2"x2" longitudinal pieces.
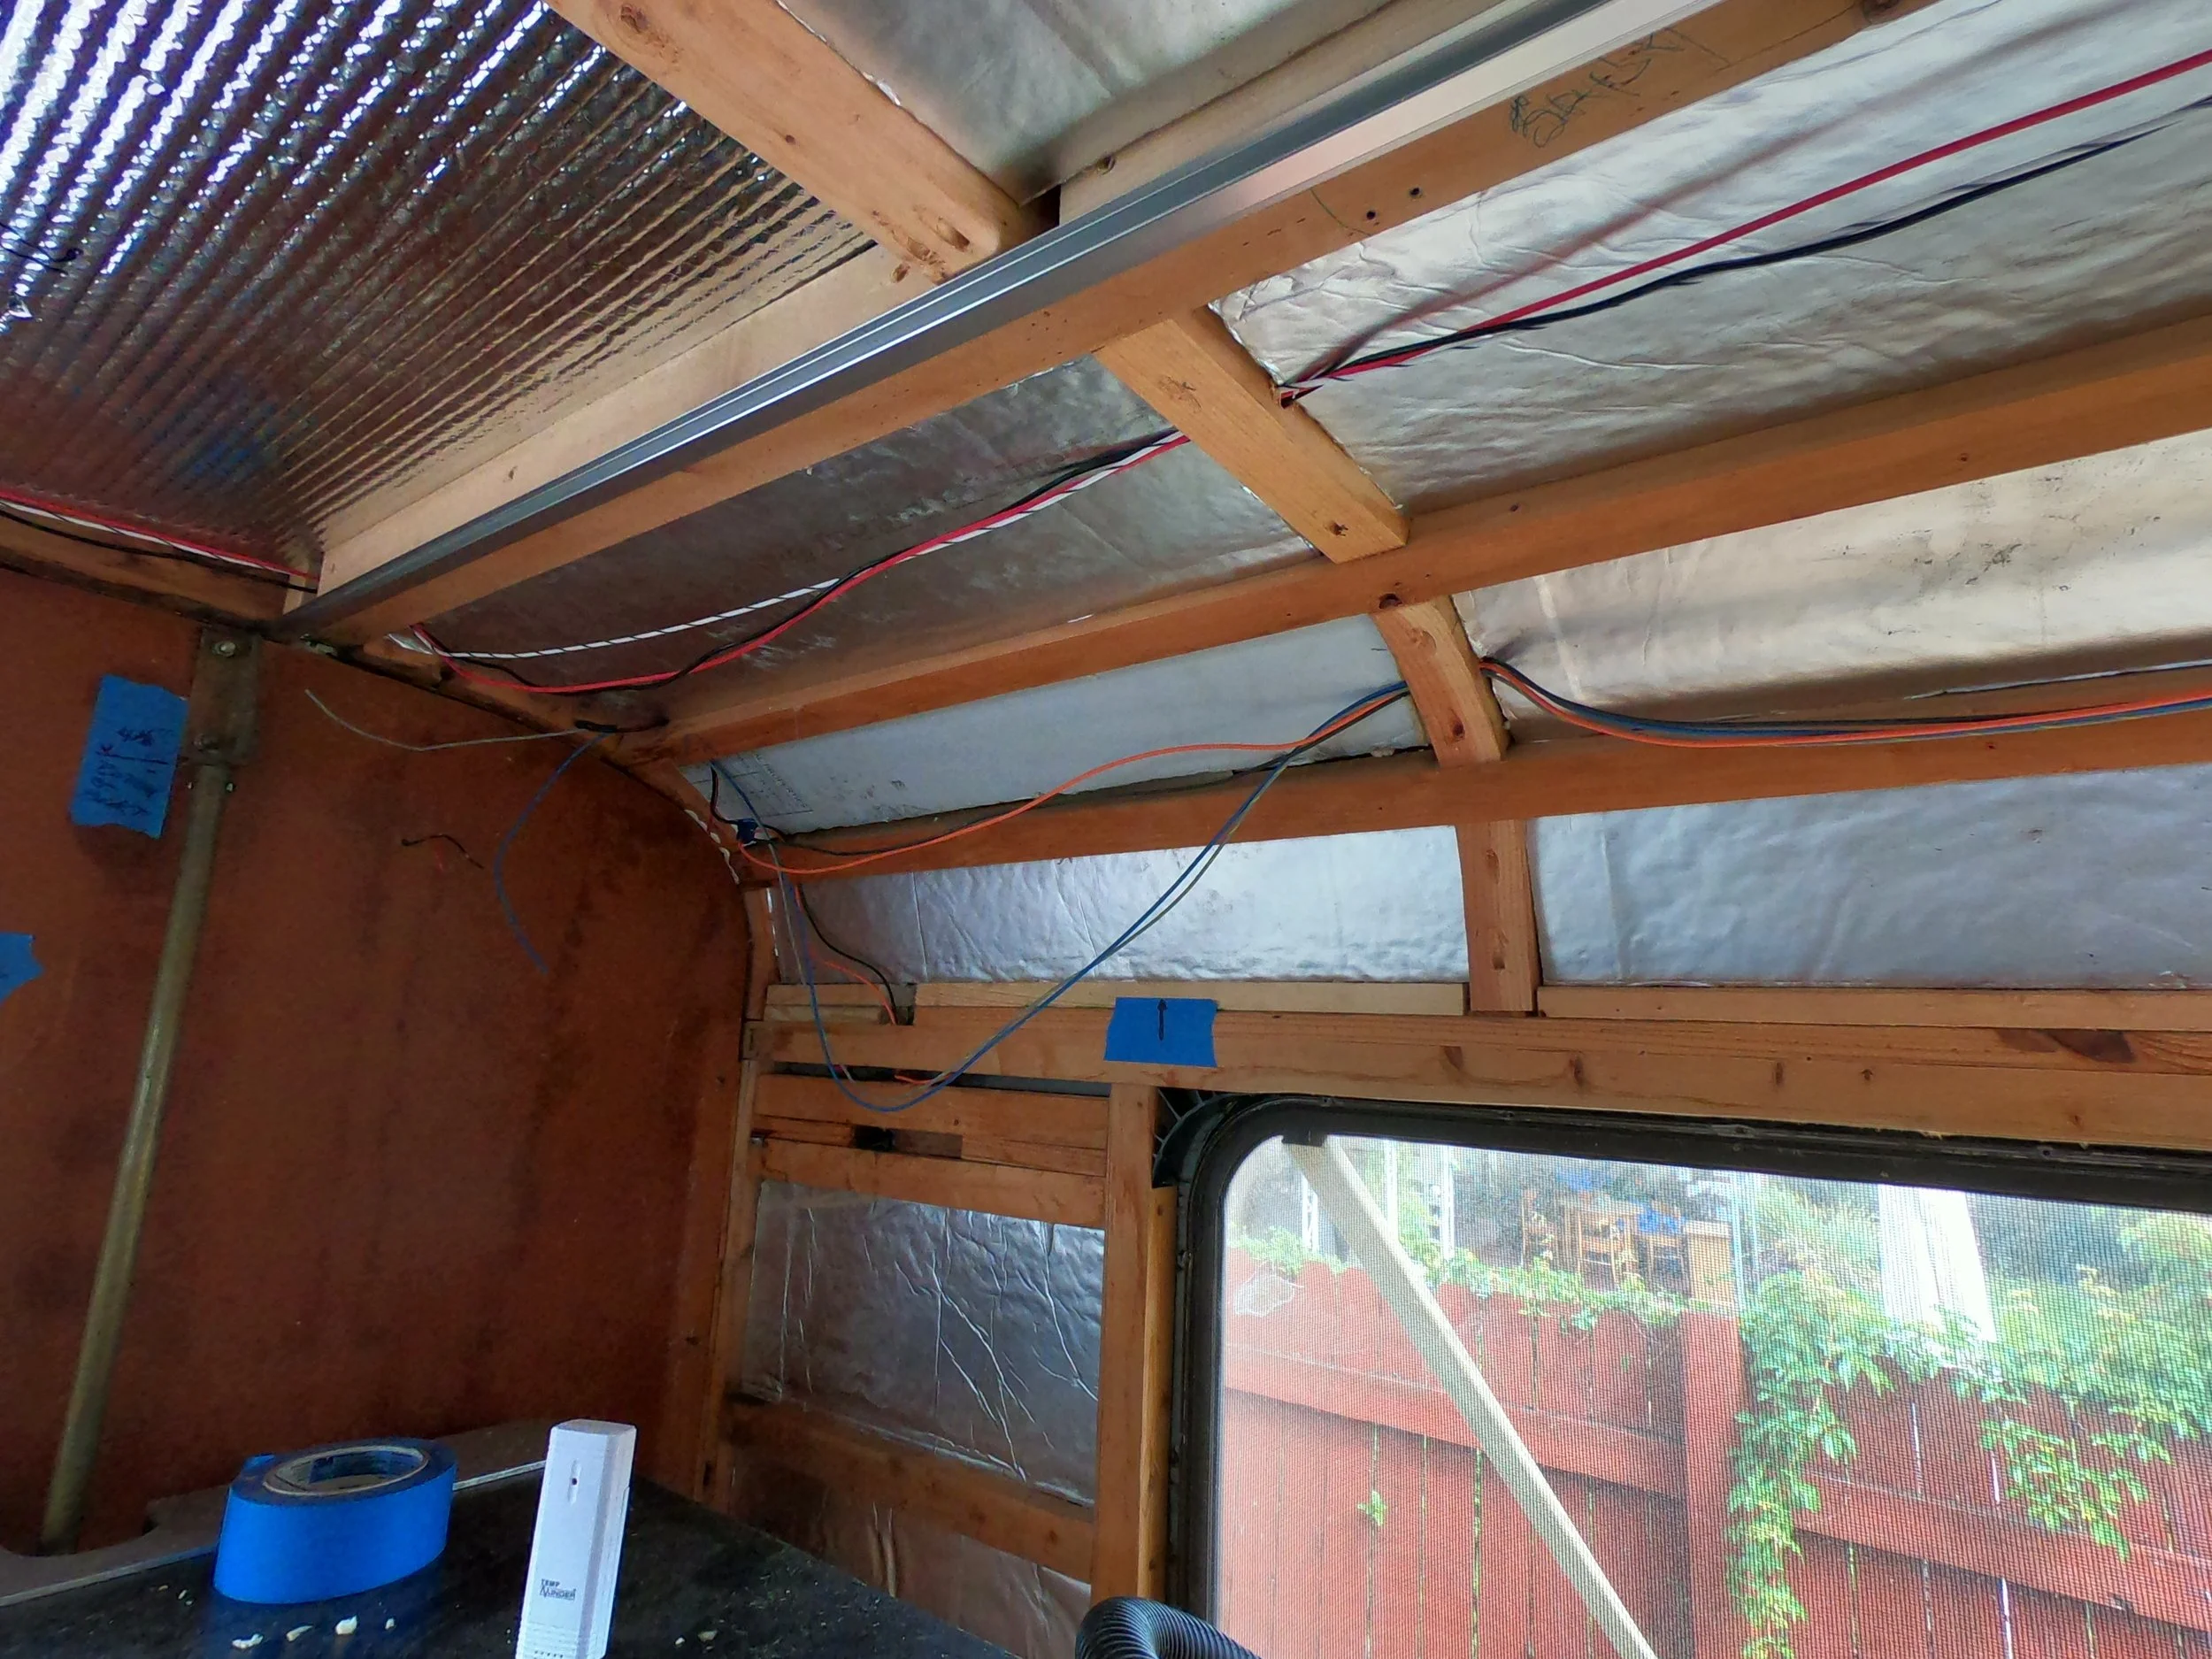
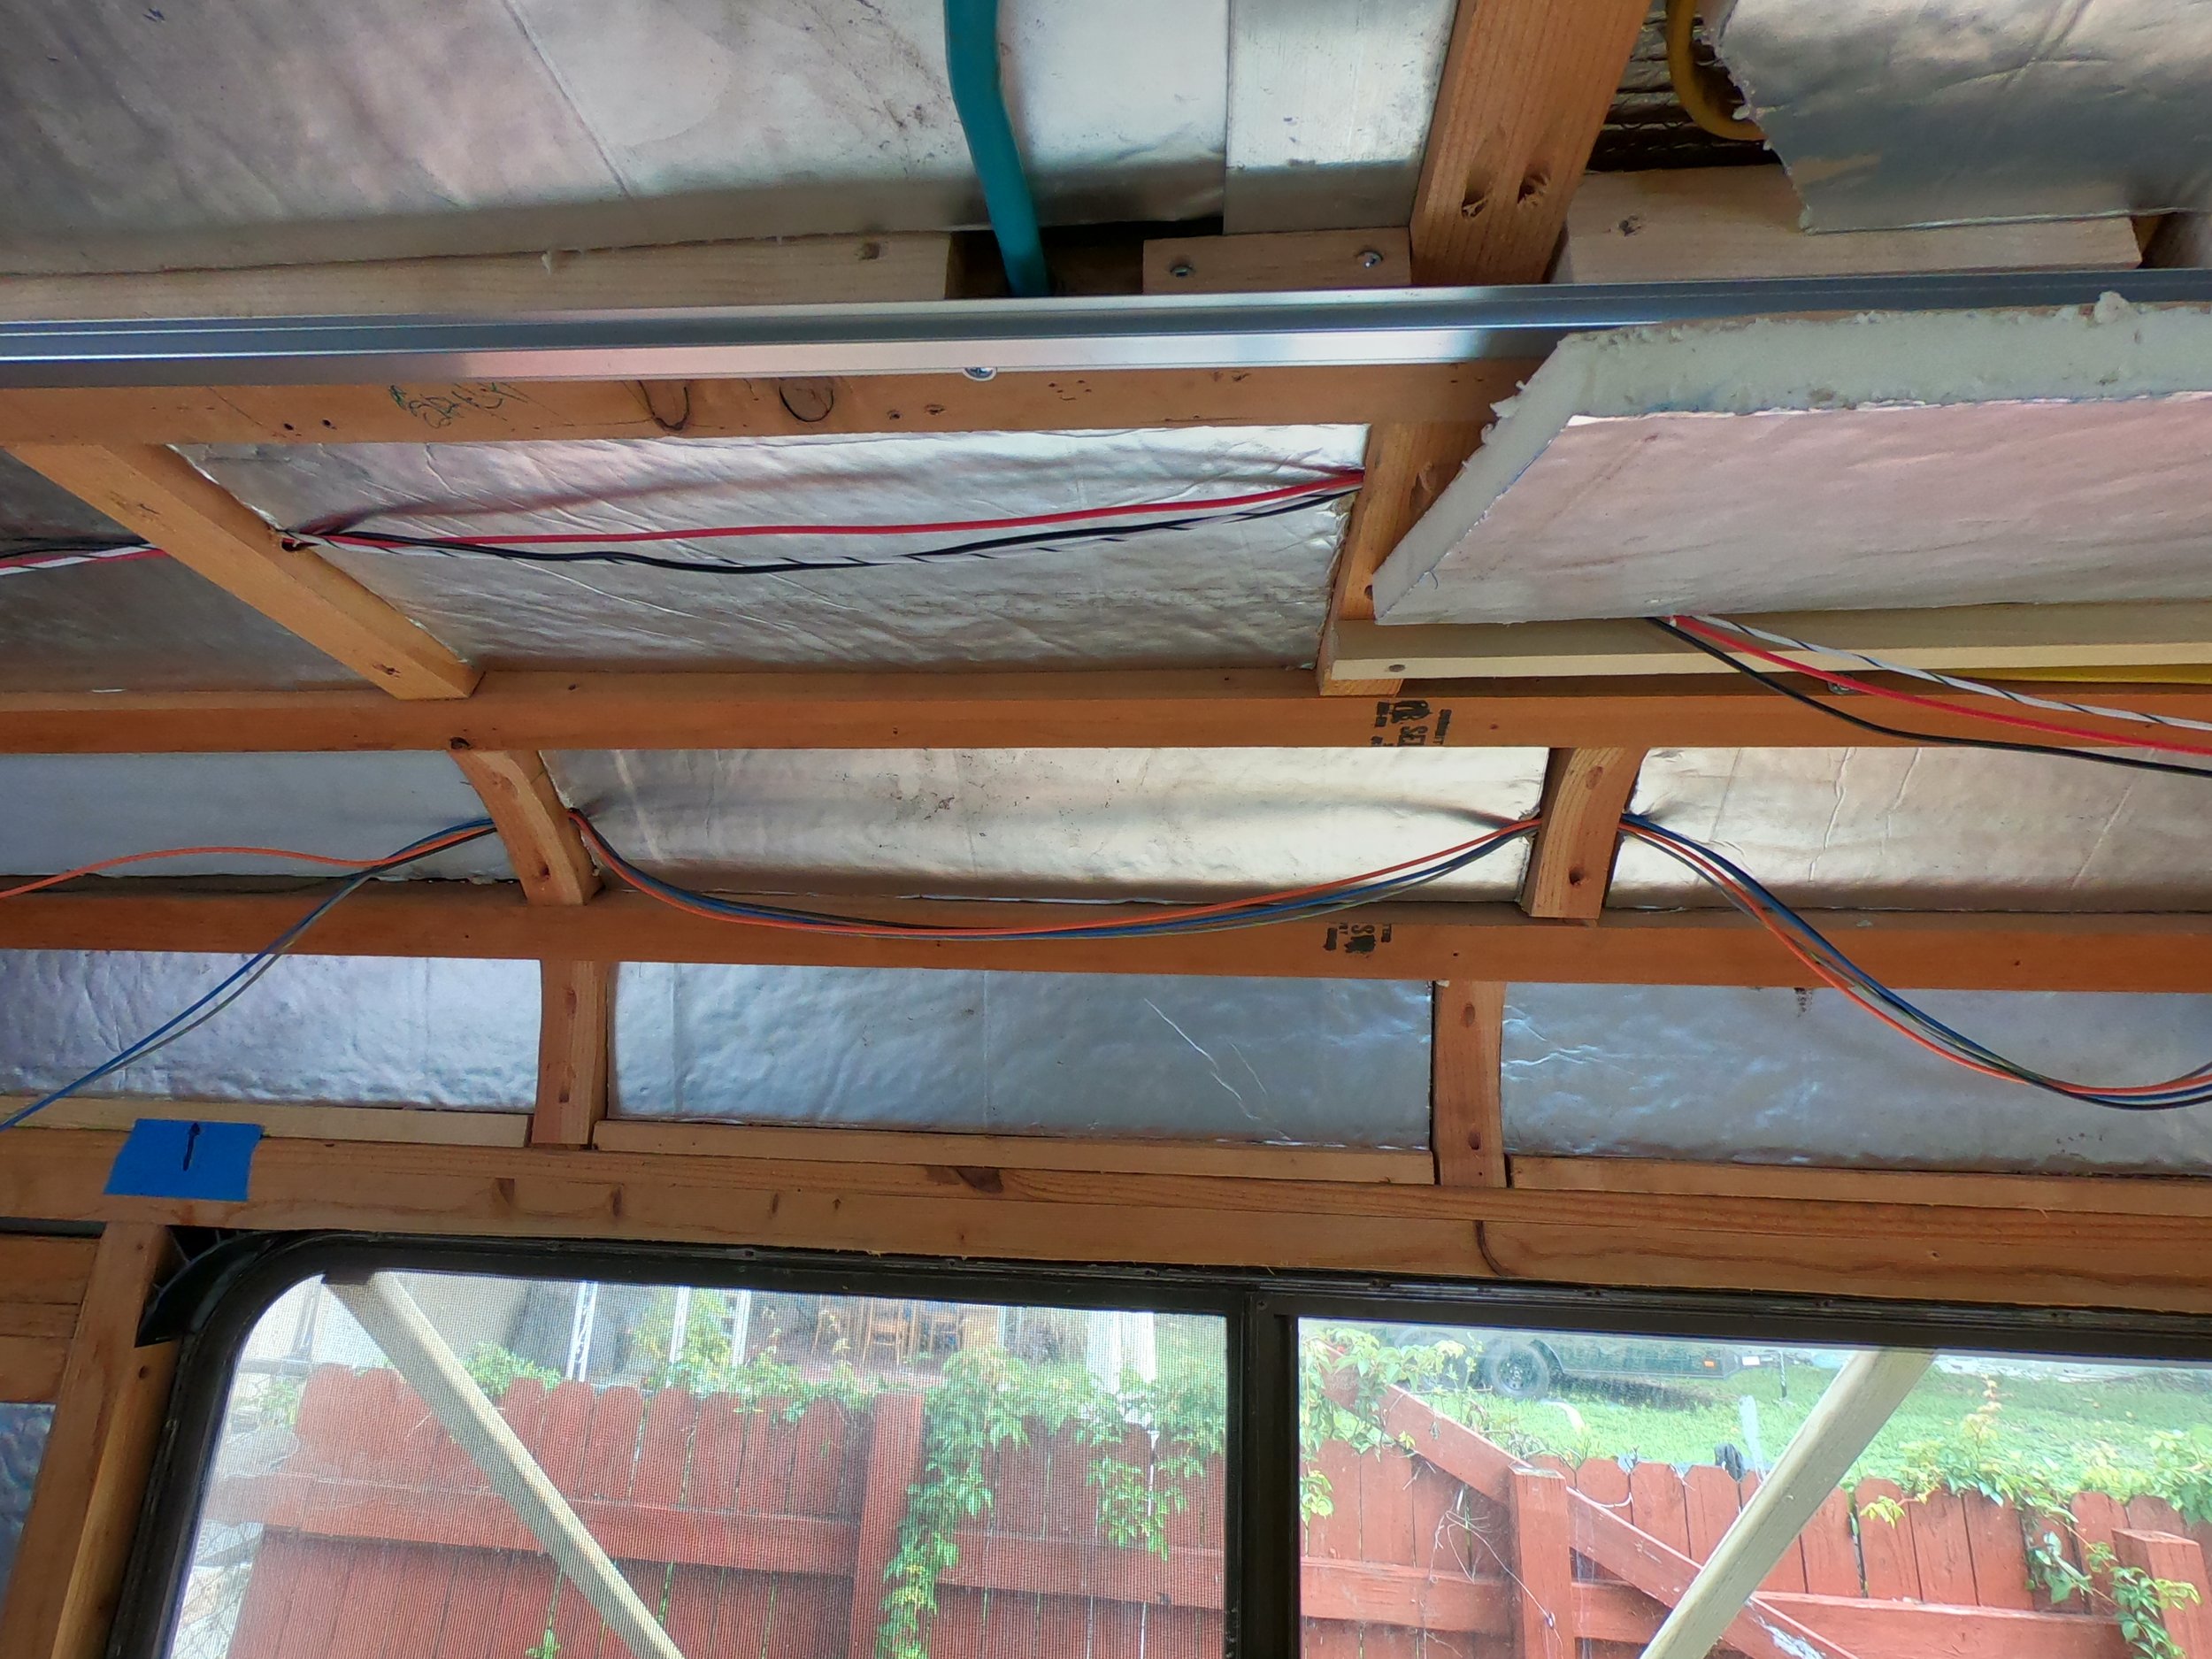
Wiring below the insulation before overhead paneling goes in 01.
Wiring below the insulation before overhead paneling goes in - rough in of overhead lighting in the Cab Over area 02.
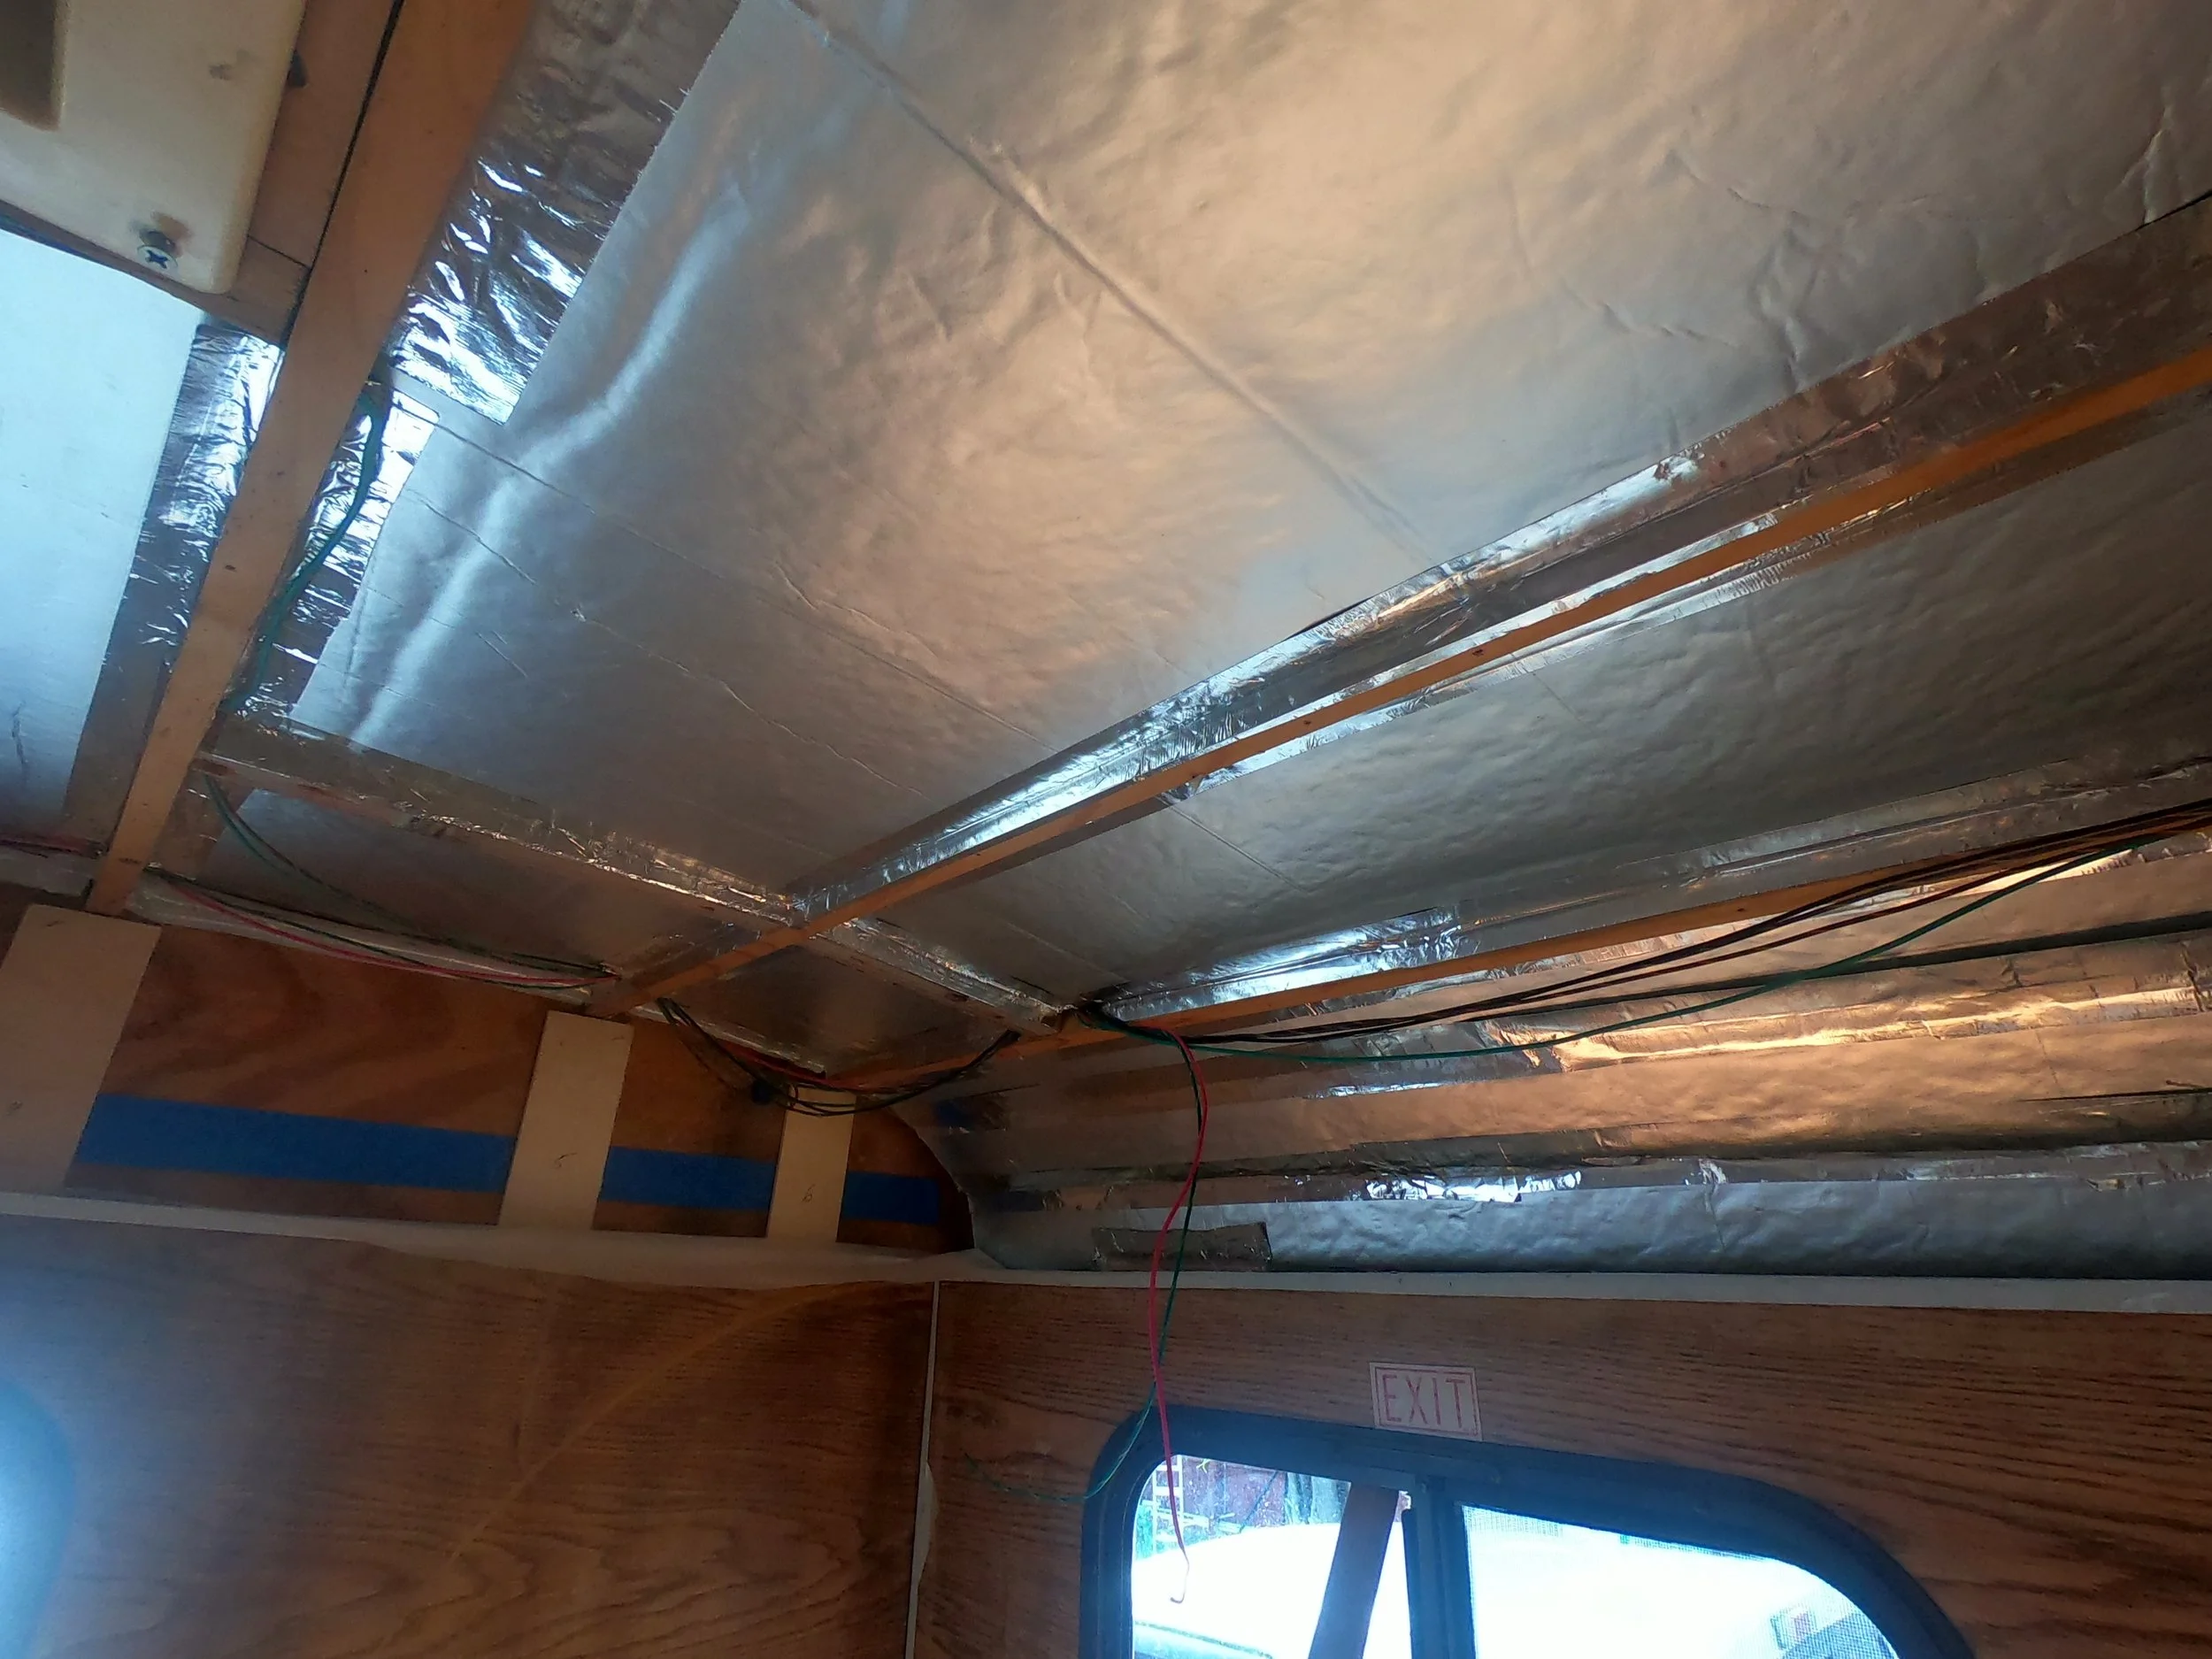
Tape, Tape and more Tape. I used over 65 different pieces of R7 insulation for all the overhead spaces.
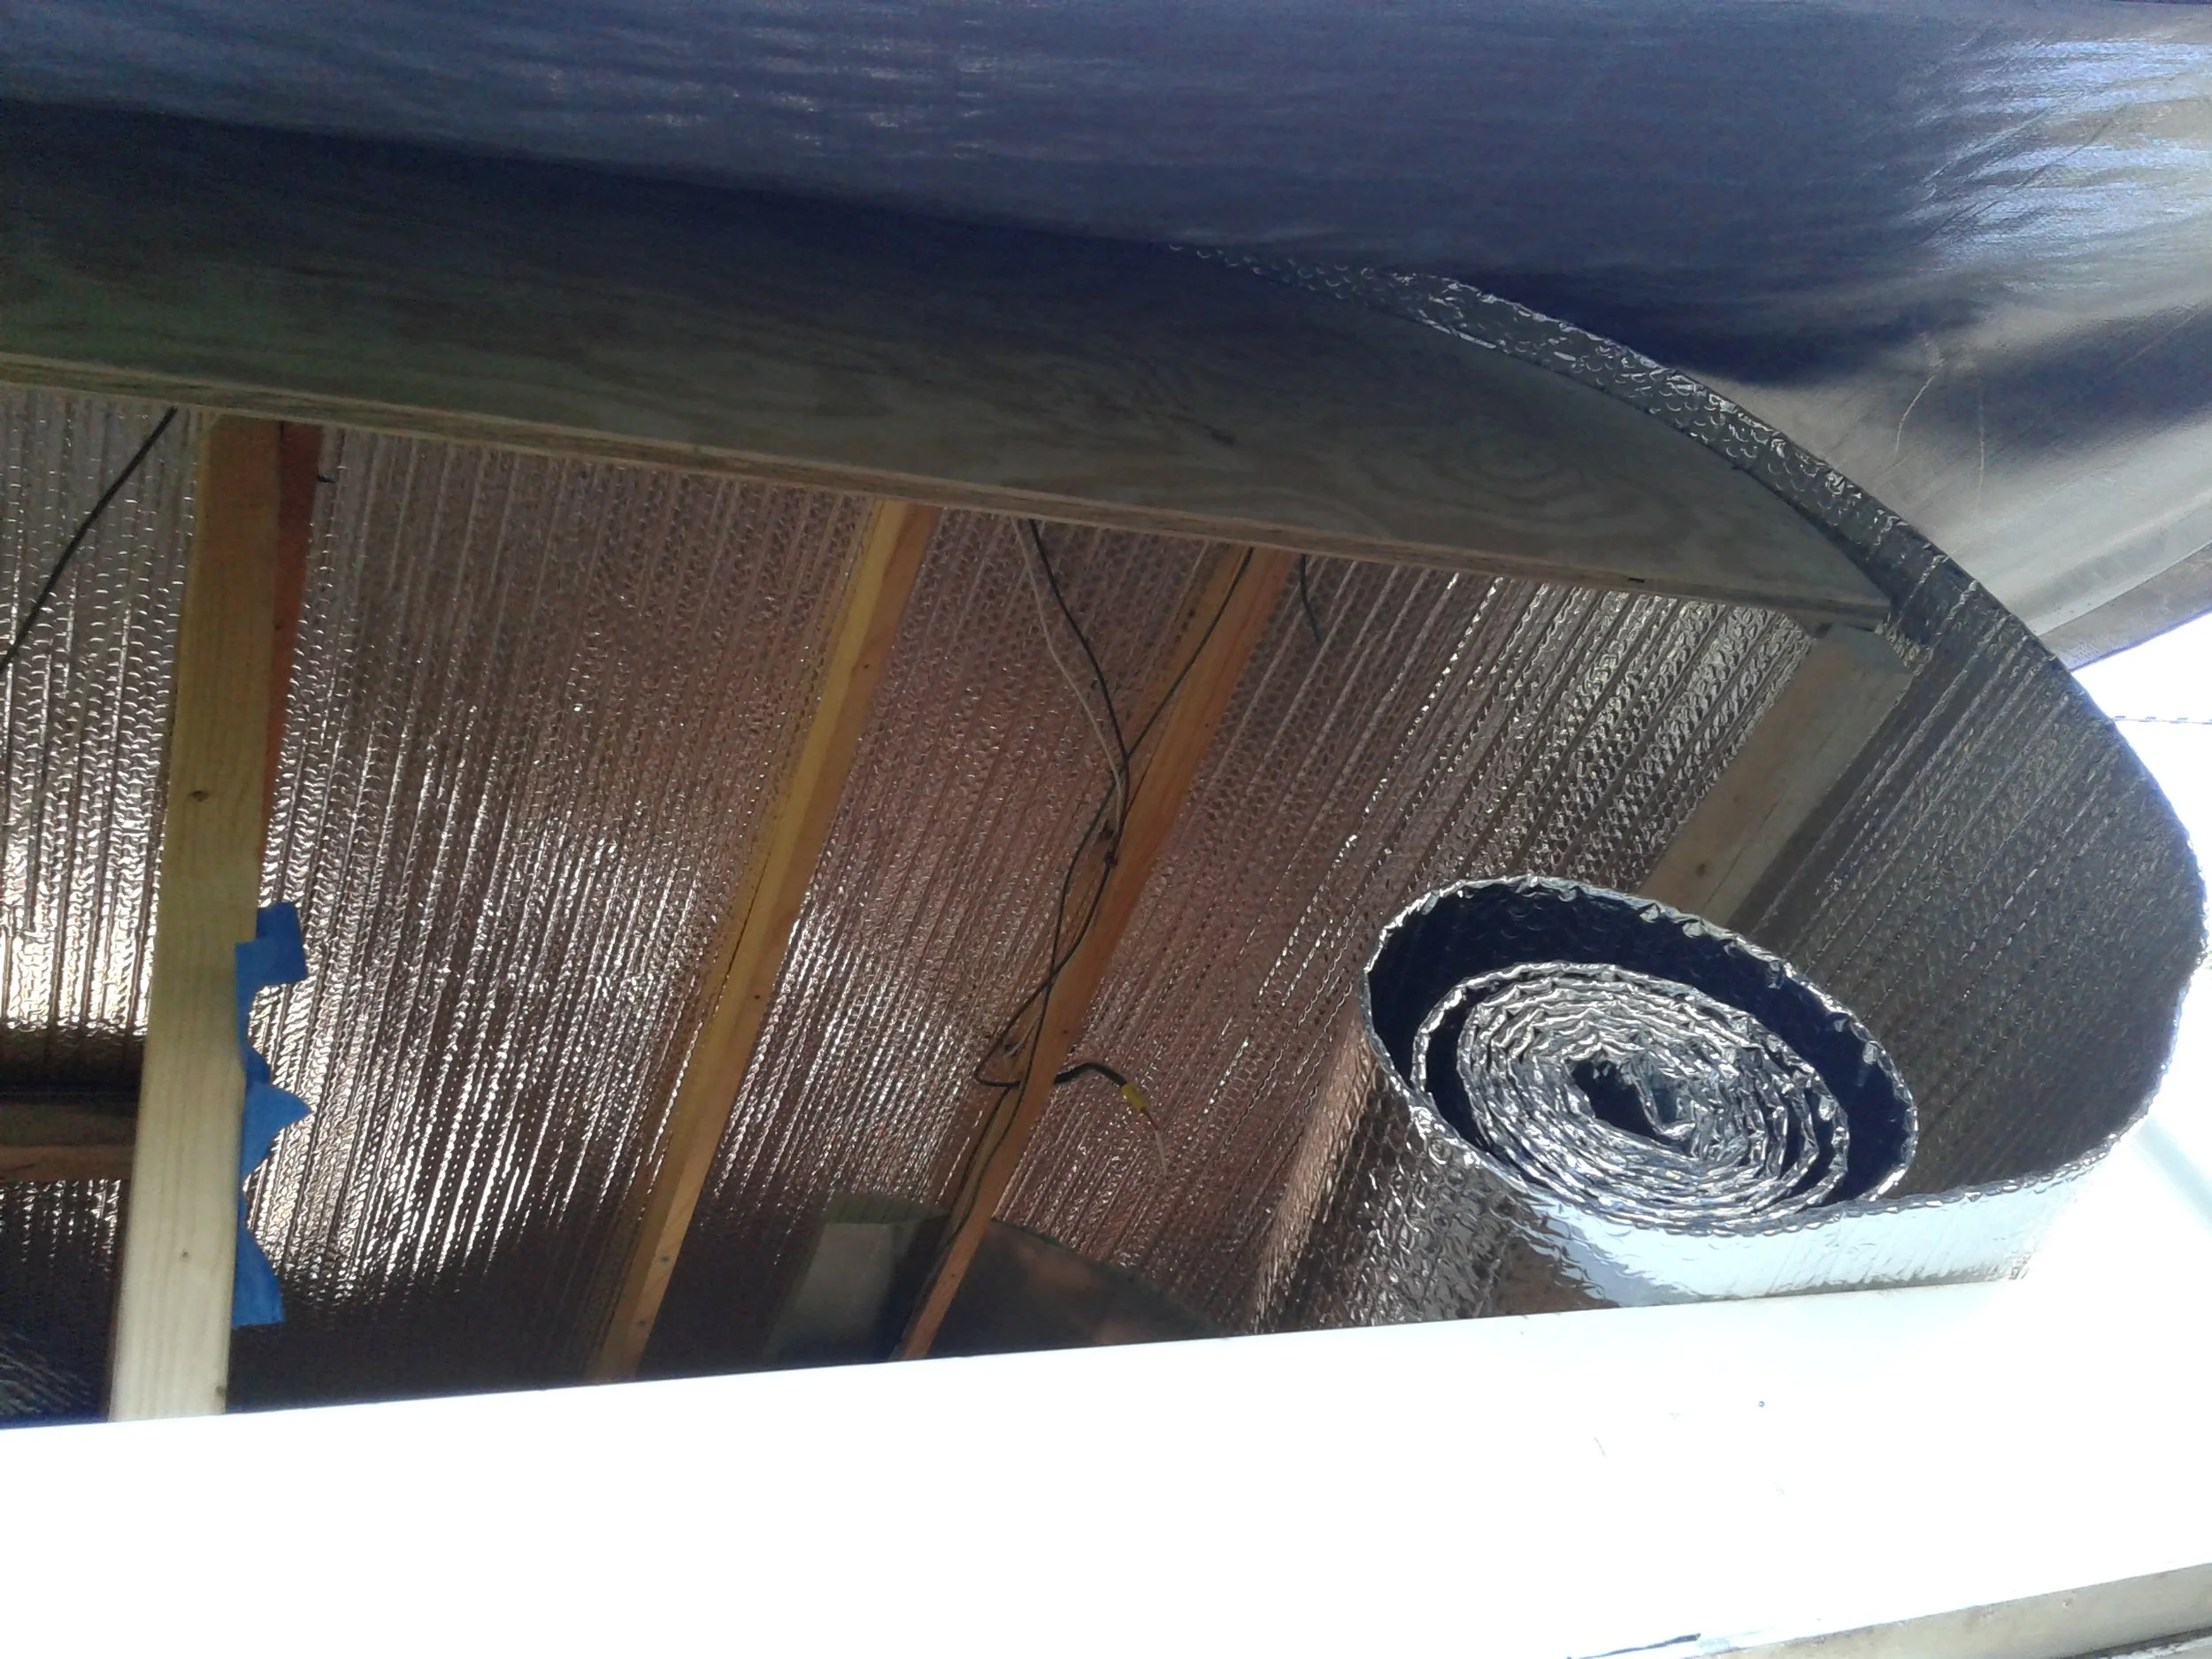
Added Reflectix horizontally under the roof skin and taped as a barrier before installing/taping all the R7 insulation.
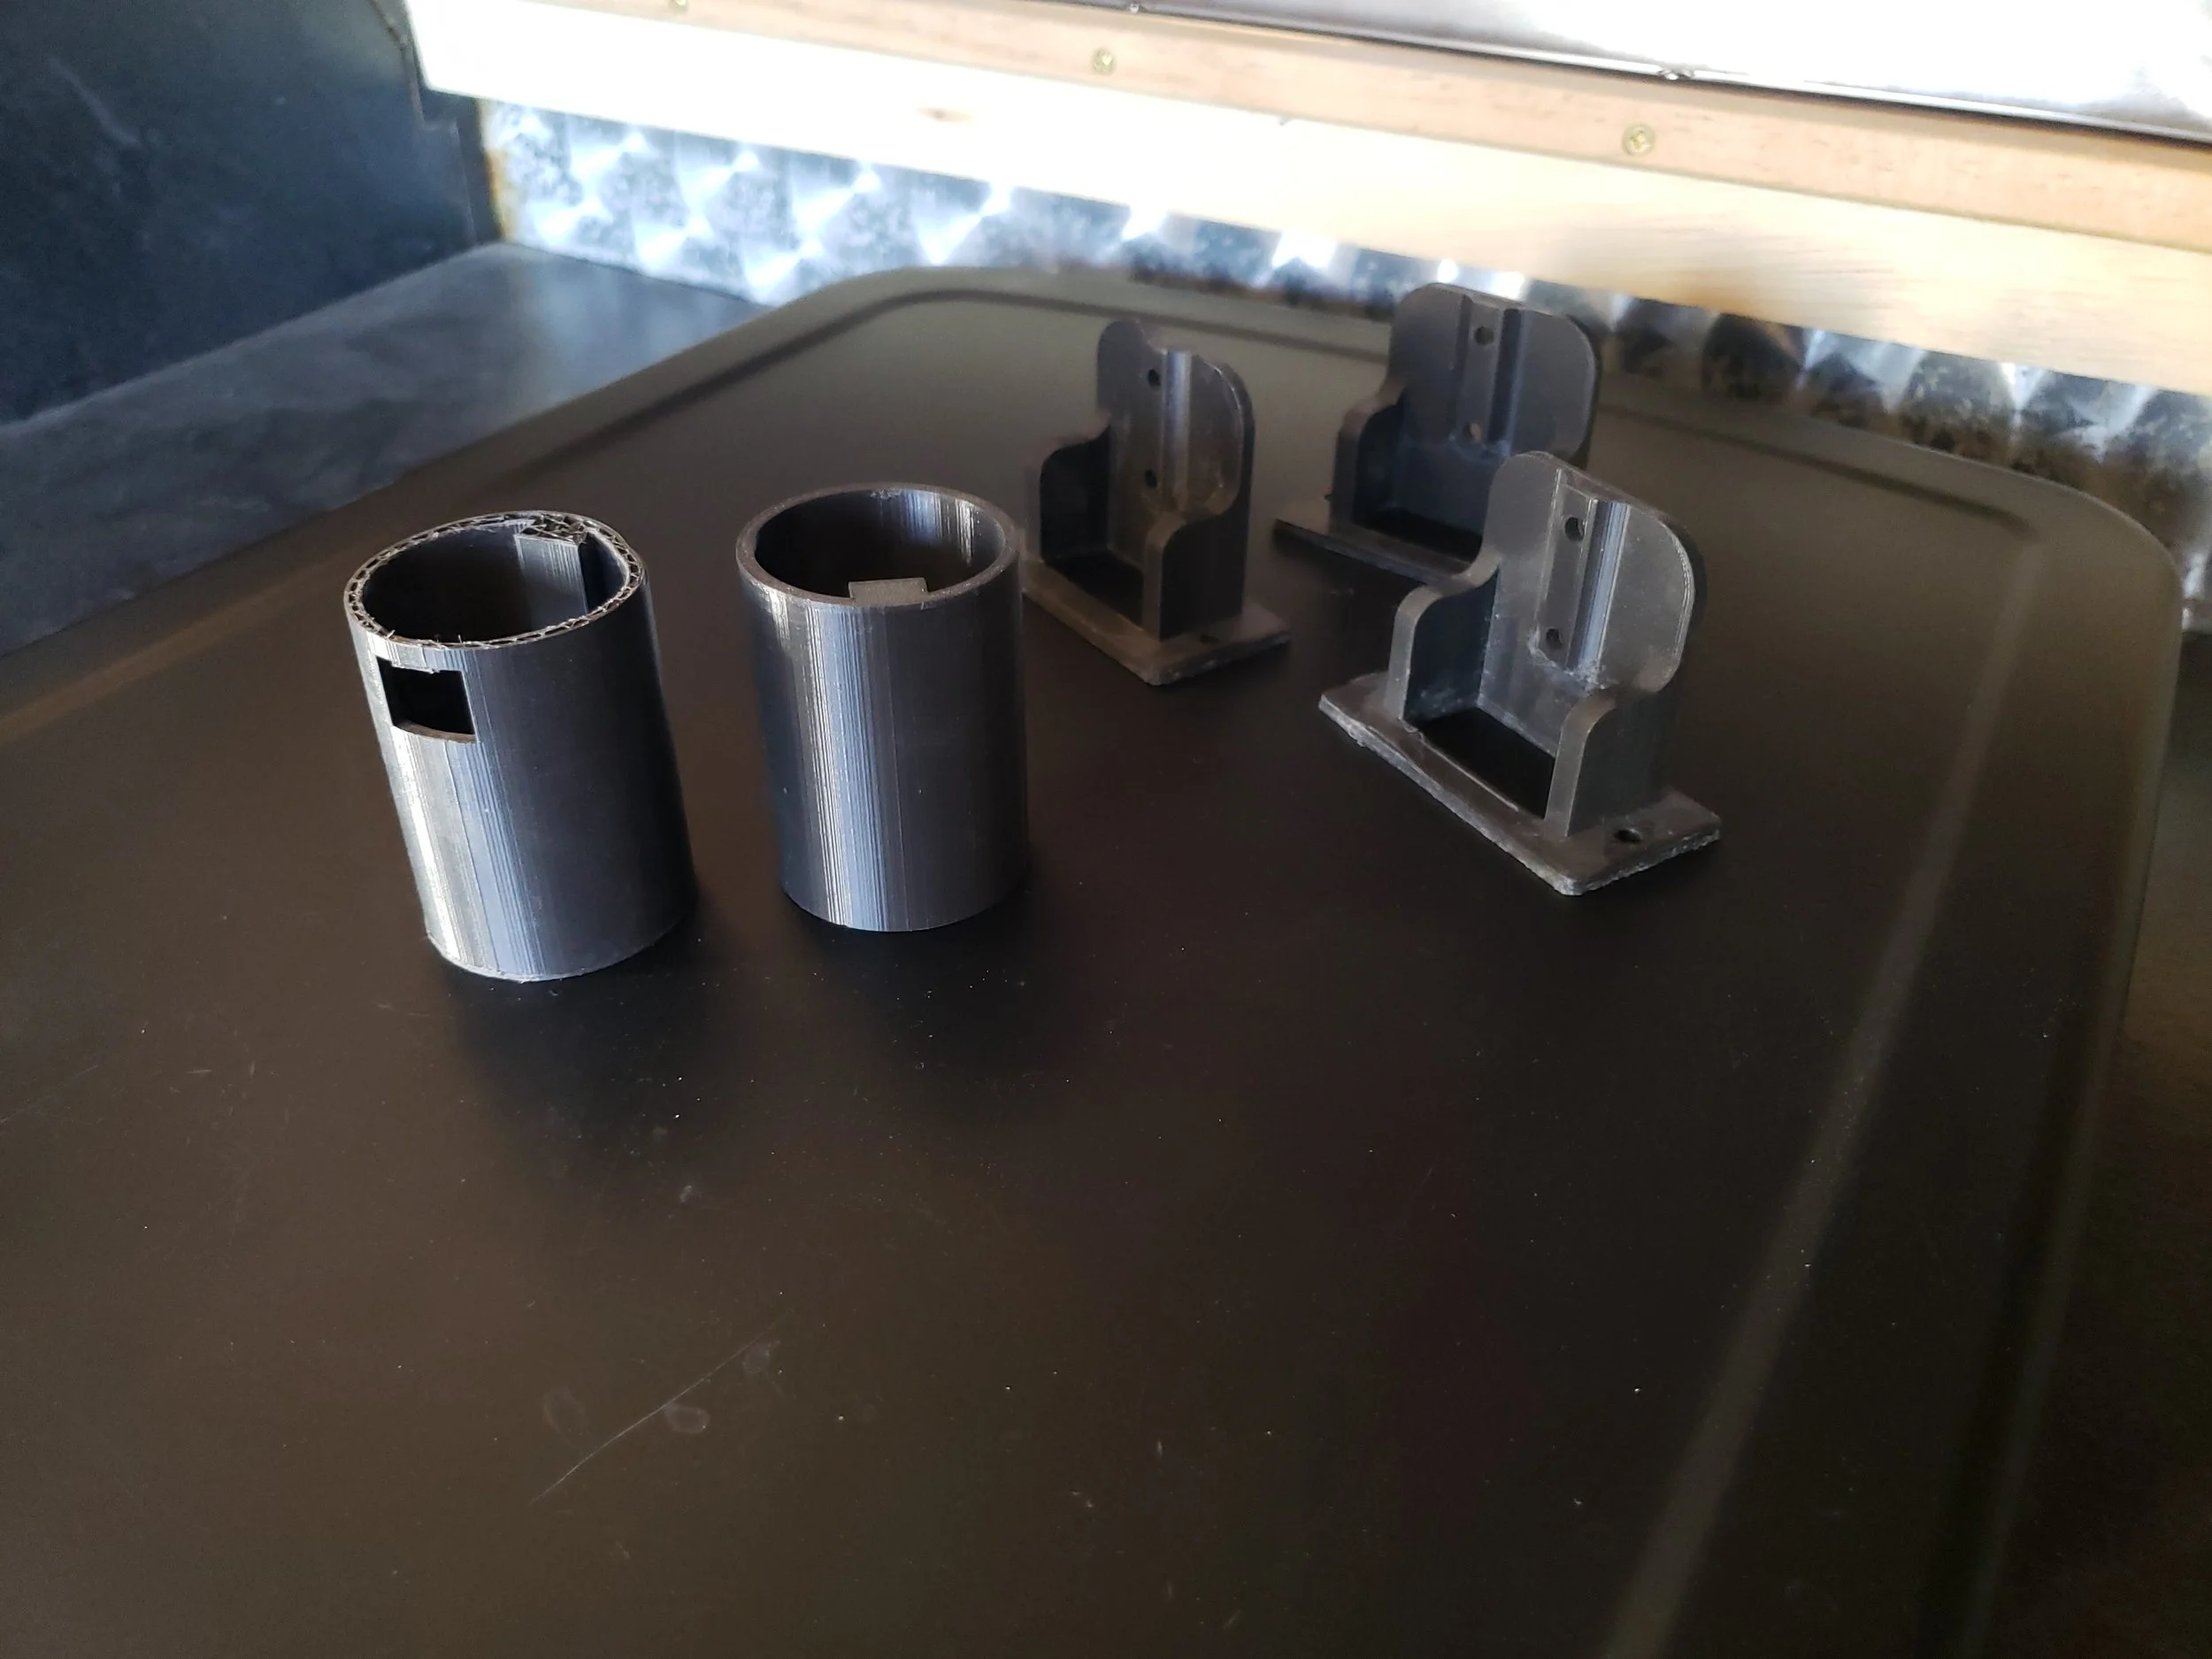
2 items on left are inserts for the Starlink extended pipe mount. 3 items on the right are the Anderson connector mounting plates.
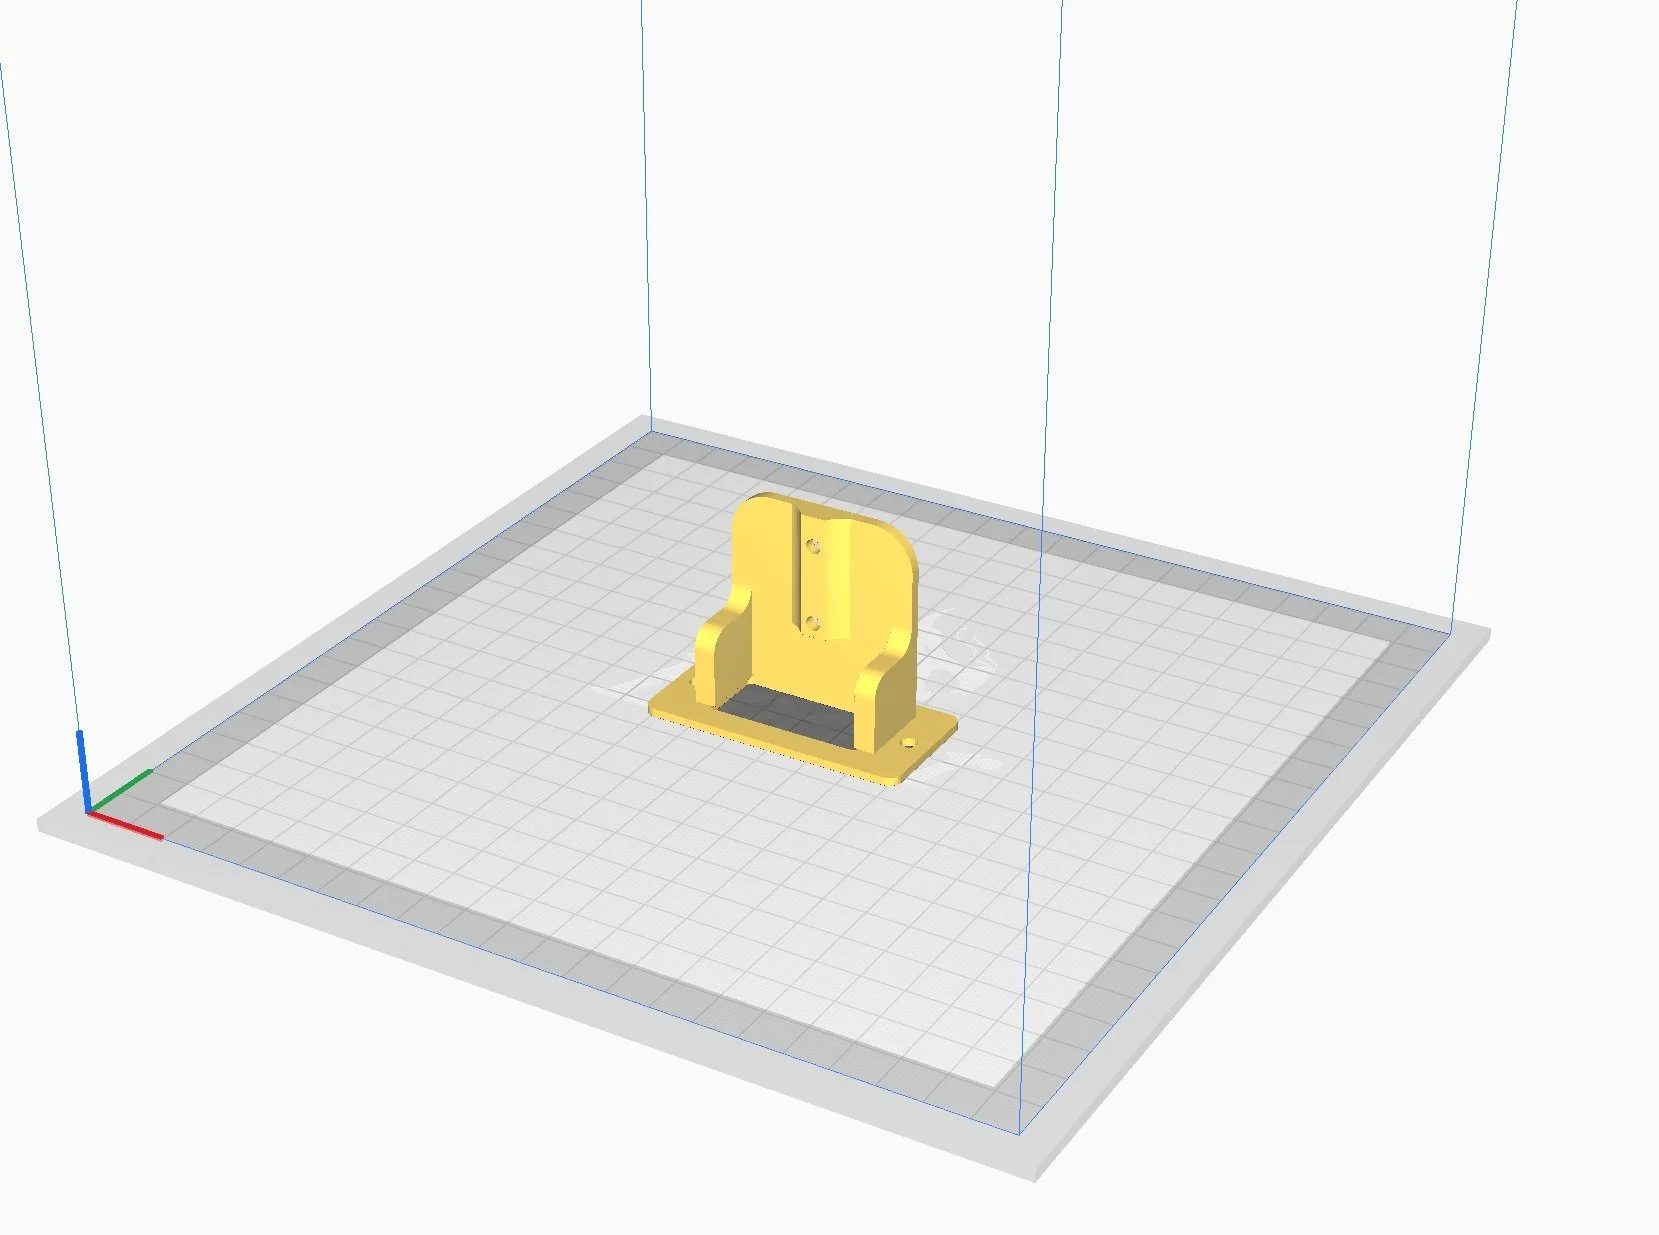
3D printed STL file I used.
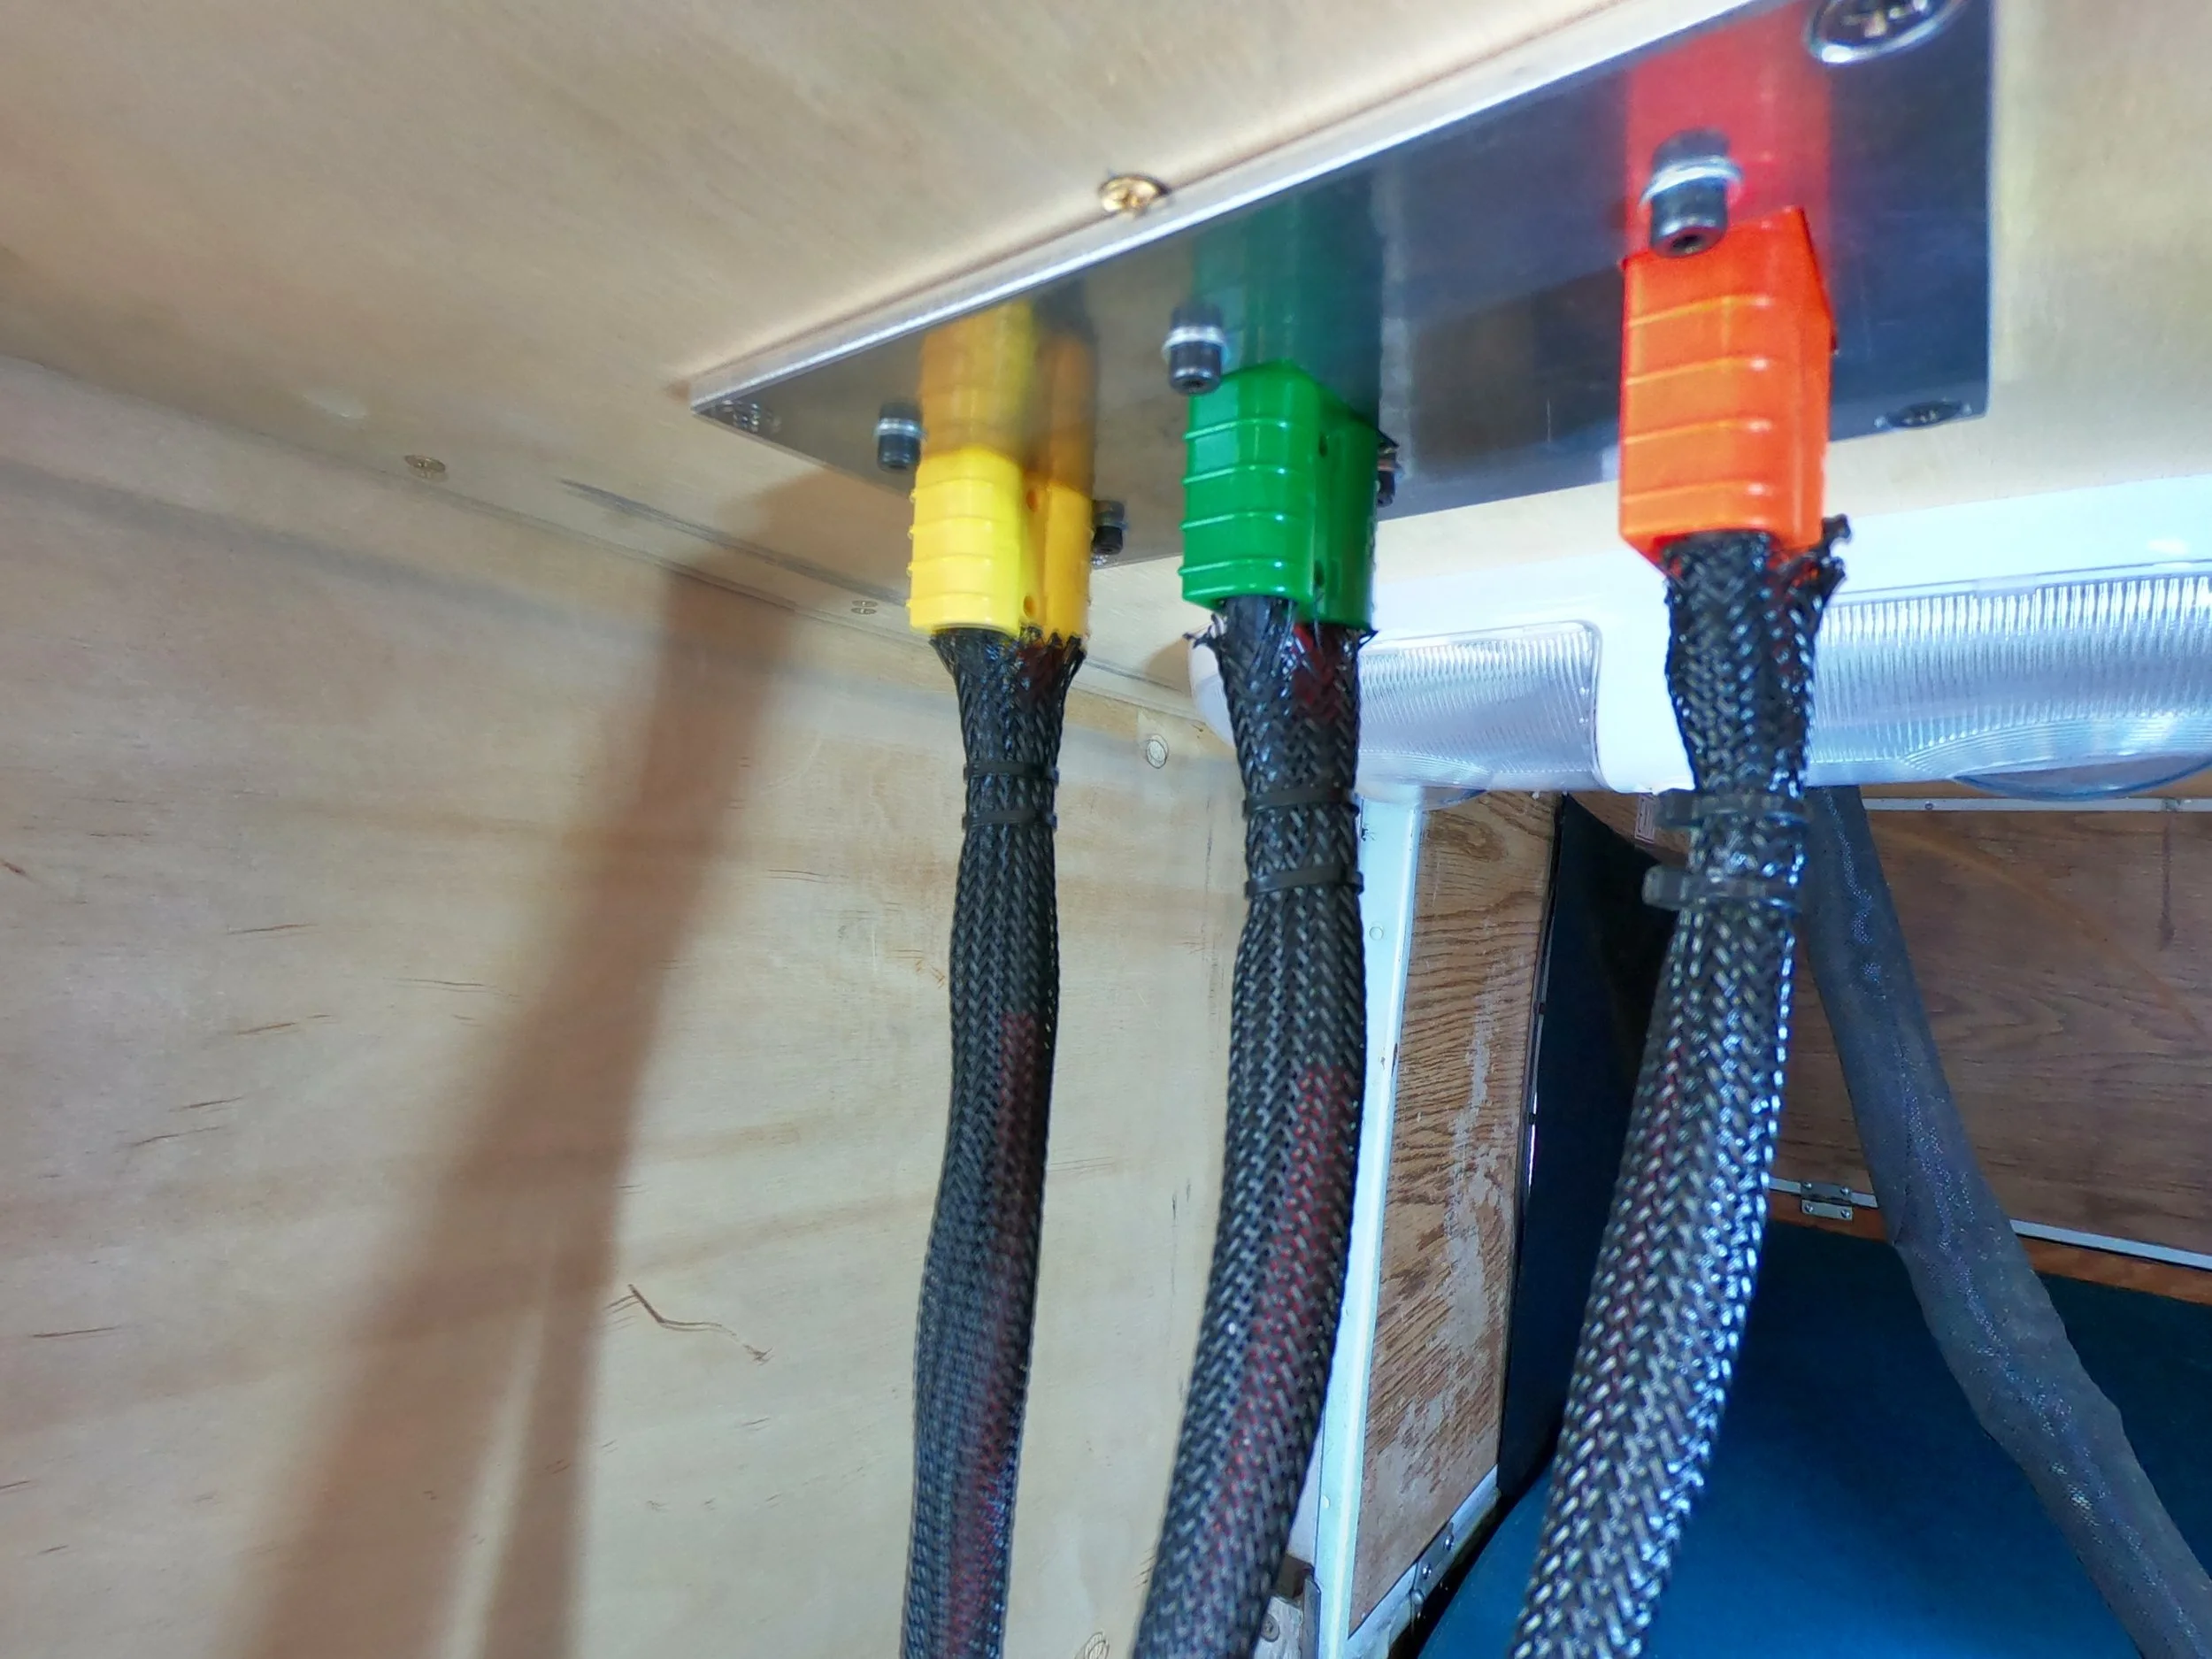
Custom aluminum plate holds the Anderson connector mounting brackets in the cabinet space above.
Did my best to insulate and keep a moisture barrier to increase heating/cooling efforts. I had some draft stoppers made 8’ long x 2 1/2” diameter and filled with Cotton/Buckwheat Hulls to place on top of the Pirelli seal spot between the upper/lower sections as an added barrier for dust/critters.